Lighting design principles separate mediocre installations from spaces that actually work. Most contractors and designers rely on guesswork or outdated rules instead of proven methods that save time and money.
At OpenLumen, we’ve seen how the right approach transforms projects. This guide cuts through the theory and shows you exactly what works in real installations.
What Illuminance, Color, and Layering Actually Mean on Site
Illuminance: The Number That Determines Success or Failure
Illuminance is not a theoretical number-it’s the amount of light hitting a work surface, measured in lux, and it directly affects whether your installation passes inspection or gets rejected. EN 12464-1 specifies 300 to 500 lux for typical office tasks, but this range shifts dramatically based on what people actually do in the space. Precision work like drafting or quality control demands 500 lux minimum, while casual circulation areas need only 150 to 200 lux.
Many contractors apply a flat 300 lux everywhere and wonder why occupants complain about dim corners or wasted energy in hallways. The real skill lies in measuring the actual surface reflectance in your space and adjusting illuminance accordingly-a white ceiling reflects far more light than dark wood paneling, so the same fixture layout produces different results. Photometric simulation tools predict illuminance distribution before installation; this prevents costly redesigns.
Color Temperature and Rendering Index: Why They Shape Perception
Color temperature and rendering index matter more than most people realize, especially in retail and healthcare where color accuracy directly impacts sales or patient perception. A 4000K color temperature with CRI 80 in a grocery store looks institutional and kills appetite appeal, while 3500K with CRI 90+ makes food look fresh and inviting.
The Illuminating Engineering Society recommends CRI 80 as a minimum for general spaces, but color-critical applications like art galleries or cosmetics counters demand CRI 90 or higher. TM-30-15 fidelity and gamut metrics offer more precision than CRI alone, yet most installers still ignore them entirely. These metrics reveal how a light source renders specific color families, not just an overall average.
Layering Light: Three Roles, One Cohesive System
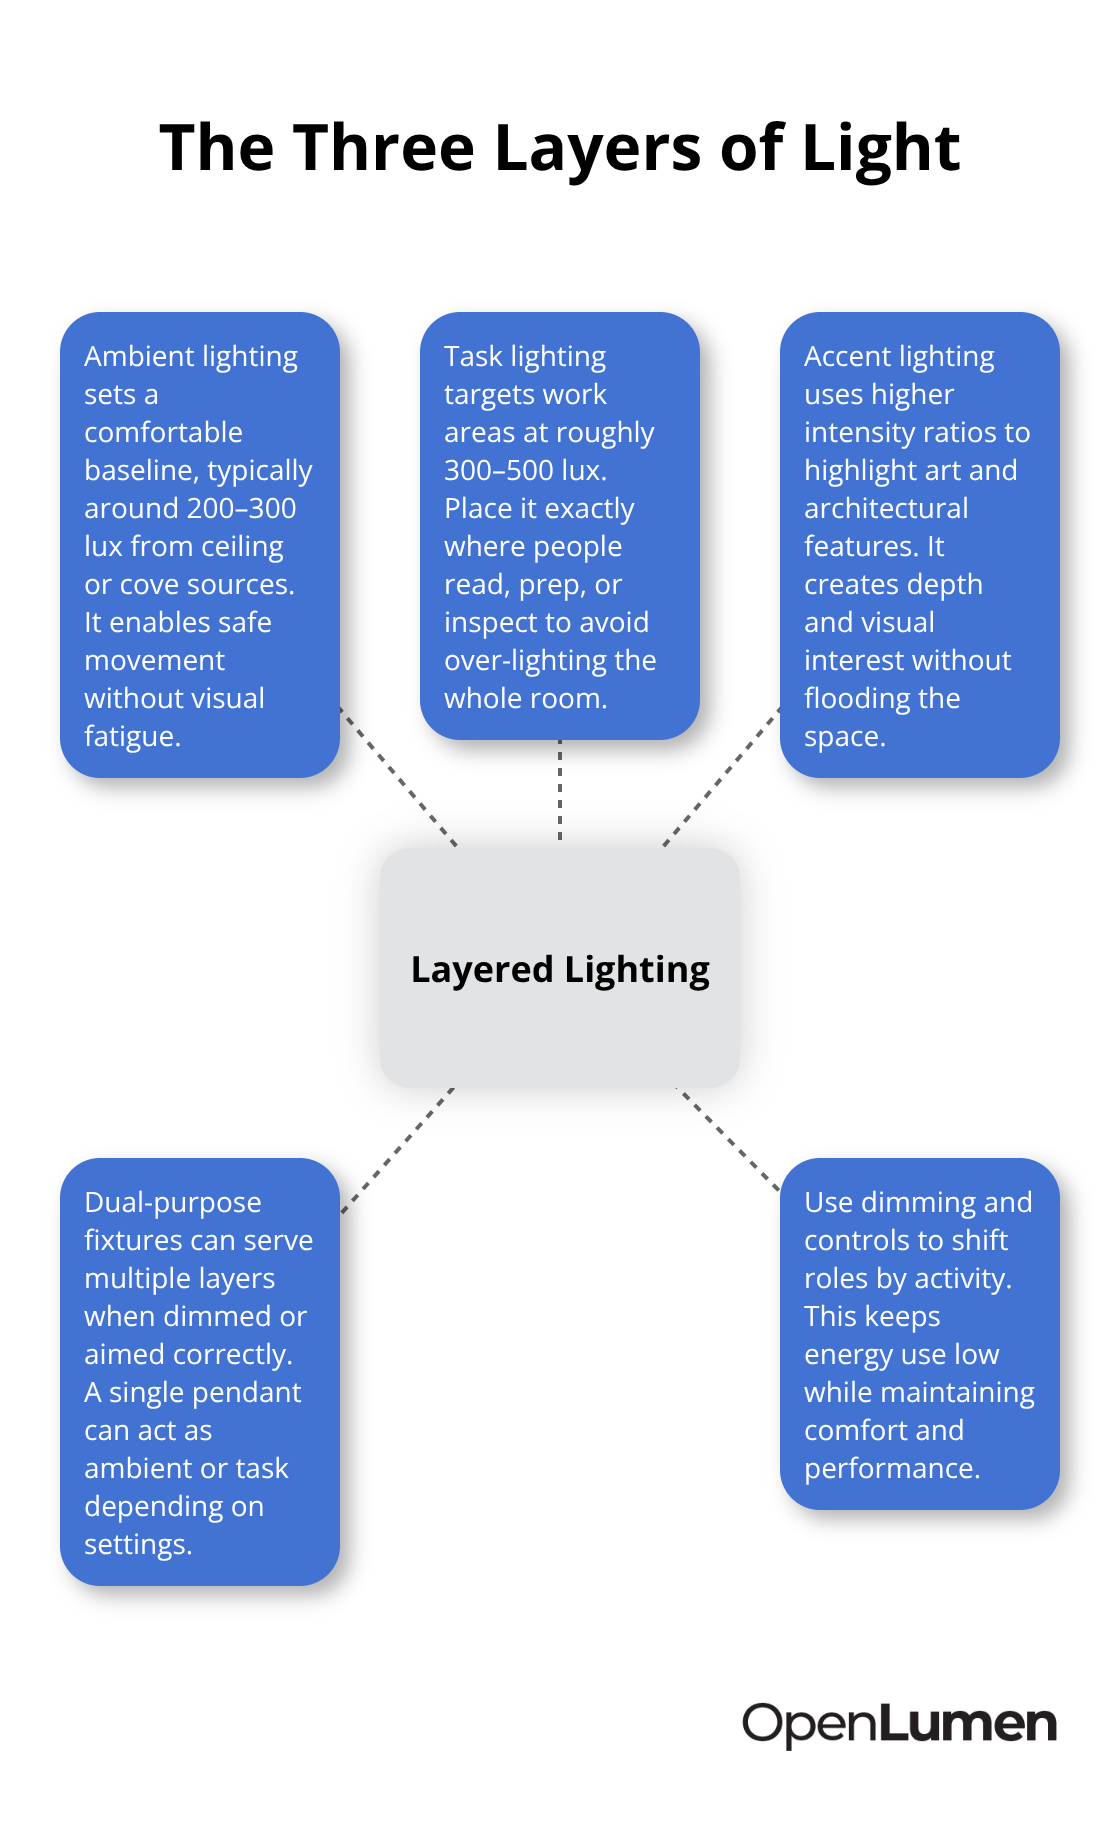
Layering light means combining three distinct roles-ambient, task, and accent-to create spaces that work for multiple activities without overpowering the senses. Ambient lighting provides the baseline glow that lets people move safely, typically 200 to 300 lux from ceiling fixtures or cove lighting. Task lighting concentrates 300 to 500 lux exactly where work happens: under kitchen cabinets, above desks, beside reading chairs.
Accent lighting uses directional spotlights at much higher intensity ratios to highlight artwork or architectural details, creating visual interest without flooding the space. A single fixture can serve multiple layers if you design it right-a pendant above a kitchen island works as both ambient and task light depending on dimmer settings.
The Cost of Overlooking Layering
Most contractors install only ambient light and wonder why the space feels flat or why occupants add table lamps everywhere. Effective layering means fewer total fixtures but smarter placement, which saves energy and improves satisfaction. Start with zones: where do people read, cook, work, or relax? Assign task lighting to those zones first at the correct illuminance level.
Then add ambient light at 60 to 70 percent of task intensity to avoid harsh contrasts. Finally, place accent lights to reveal texture and depth. This three-step workflow prevents the hospital-bright, shadowless interiors that waste energy and feel sterile. Once you understand how these three layers interact, you’re ready to identify the specific mistakes that derail most projects-and how to sidestep them entirely.
Common Lighting Design Mistakes and How to Avoid Them
Illuminance Errors That Waste Energy and Leave Zones Dark
Most projects fail not because contractors lack skill, but because they skip the illuminance measurement step entirely. EN 12464-1 specifies 300 to 500 lux for office tasks, yet installers often apply this range uniformly across an entire floor without accounting for the actual work happening in each zone. A reception desk where staff spend eight hours reading documents needs 500 lux minimum on the work surface, while a hallway used only for circulation requires just 150 lux. Applying 300 lux everywhere wastes energy in low-activity areas and leaves precision zones under-lit.
The fix starts with surface reflectance. A polished concrete floor reflects 30 to 40 percent of light, while white gypsum reflects 75 to 85 percent. The same fixture layout produces vastly different illuminance on these surfaces. Measure the reflectance of surfaces in your actual space before design to avoid costly surprises. Photometric simulation tools predict the actual lux distribution on walls, desks, and counters before you order anything, preventing the redesign that happens when occupants complain the space is too dim or too bright after installation.
Glare and Light Spill Destroy Comfort Faster Than Low Illuminance
Contractors routinely ignore the Unified Glare Rating standard, yet glare and light spill destroy comfort faster than insufficient light. EN 12464-1 demands UGR under 19 for general office spaces and under 16 for precision tasks like surgery or jewelry inspection. Most recessed downlights in ceilings create UGR values above 22 because they lack proper shielding or diffusers, resulting in squinting, headaches, and lost productivity.
Specify fixtures with baffle or louver systems that keep the lamp hidden from direct view at typical sitting and standing heights. Test the actual glare performance using tools that calculate UGR from photometric data, not marketing claims. Light spill causes equal damage: outdoor fixtures that flood neighboring properties create liability and waste 30 to 50 percent of energy. Control spill with asymmetrical or directional optics that concentrate light only where needed.
Lumen Depreciation Causes Installations to Fail Within Five Years
Most contractors ignore lumen depreciation entirely and assume a fixture produces the same light for ten years. In reality, LEDs retain only 70 to 80 percent of initial lumens after 35,000 to 50,000 hours of operation. A 500 lux installation drops to 350 to 400 lux within five years if you don’t account for L70 metrics, leaving occupants in progressively dimmer conditions.
Plan for this decline by designing to 110 to 120 percent of target illuminance at installation, so the space maintains acceptable levels as the fixture ages. Check the LM-80 test data provided by manufacturers to confirm how quickly lumens actually depreciate in your climate and operating hours. This single step transforms a mediocre installation into one that performs reliably for its entire lifespan. With illuminance, glare, and depreciation addressed, you now need the right tools to validate these decisions before installation begins.
How to Validate Lighting Designs Before Installation
Photometric data separates confident installations from expensive failures. Most contractors skip this step entirely because they assume experience alone is enough, then spend weeks redesigning when occupants complain the space is too dim or too bright. EN 12464-1 specifies exact illuminance targets, but hitting those targets requires you to simulate the actual fixture layout in your real space before ordering anything.
Simulate Before You Install
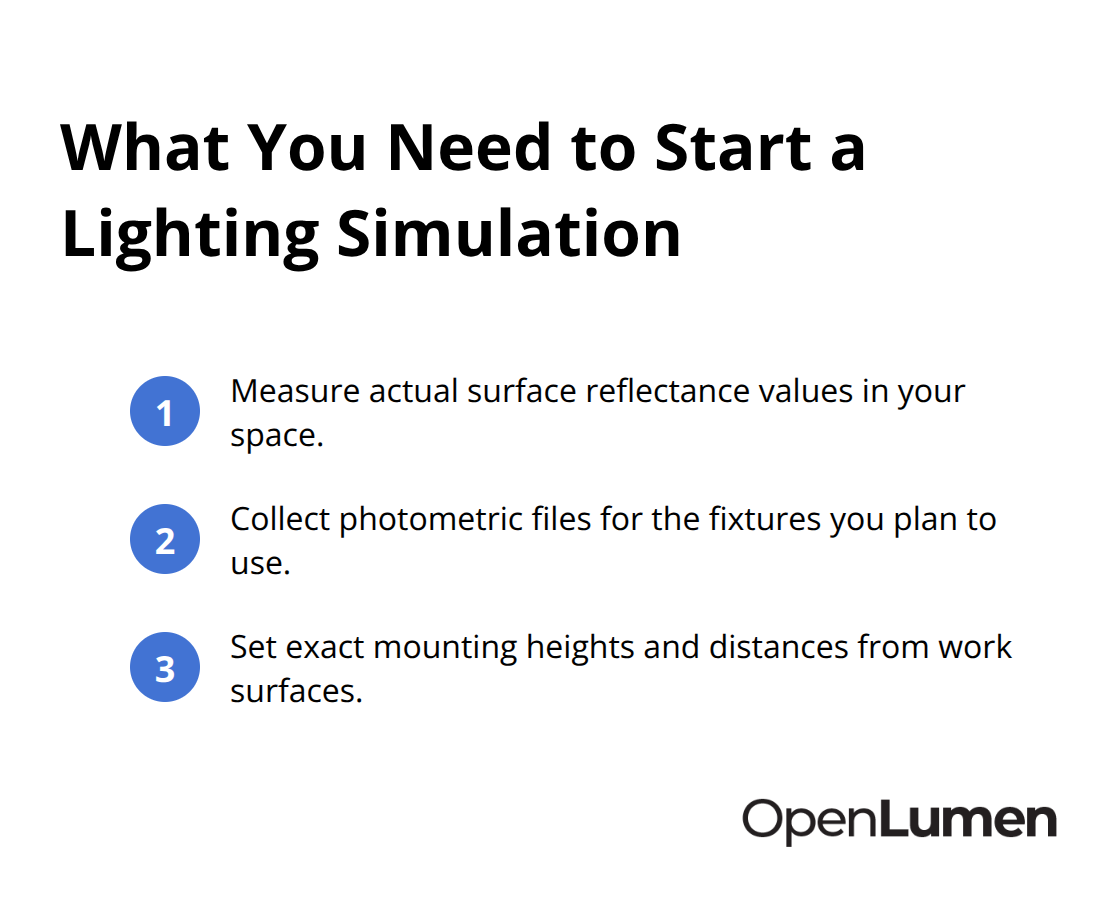
Photometric simulation tools predict illuminance distribution across walls, desks, and work surfaces with accuracy within 5 to 10 percent of field measurements. This means you catch under-lit corners, glare hotspots, and uneven brightness before installation begins. Start with three pieces of information: the actual reflectance values of surfaces in your space, the photometric files of the fixtures you plan to use, and the exact mounting heights and distances from work surfaces.
A white ceiling reflects 75 to 85 percent of light while dark wood paneling reflects 30 to 40 percent, so the same fixture layout produces vastly different results on each surface. Photometric files contain polar charts and zonal lumen data that show exactly how much light a fixture sends in every direction. Without this data, you are guessing.
Tools like DIALux and RELUX run these simulations, but they demand significant learning time and cost thousands per license. A browser-based platform like OpenLumen lets you upload photometric data, set surface reflectance values, and see instant illuminance predictions across your entire layout. You get polar charts, BUG ratings for glare control, and zonal lumens in seconds instead of hours.
Validate Predictions on Site
Real-time analysis transforms how you sell and install lighting. Most designers present 2D drawings and renderings that bear little resemblance to actual performance, then face pushback when the installed space doesn’t match expectations. Showing clients the exact illuminance map on their desk, the glare rating at eye level, and how lumen depreciation affects the space over five years eliminates objections and accelerates approvals.
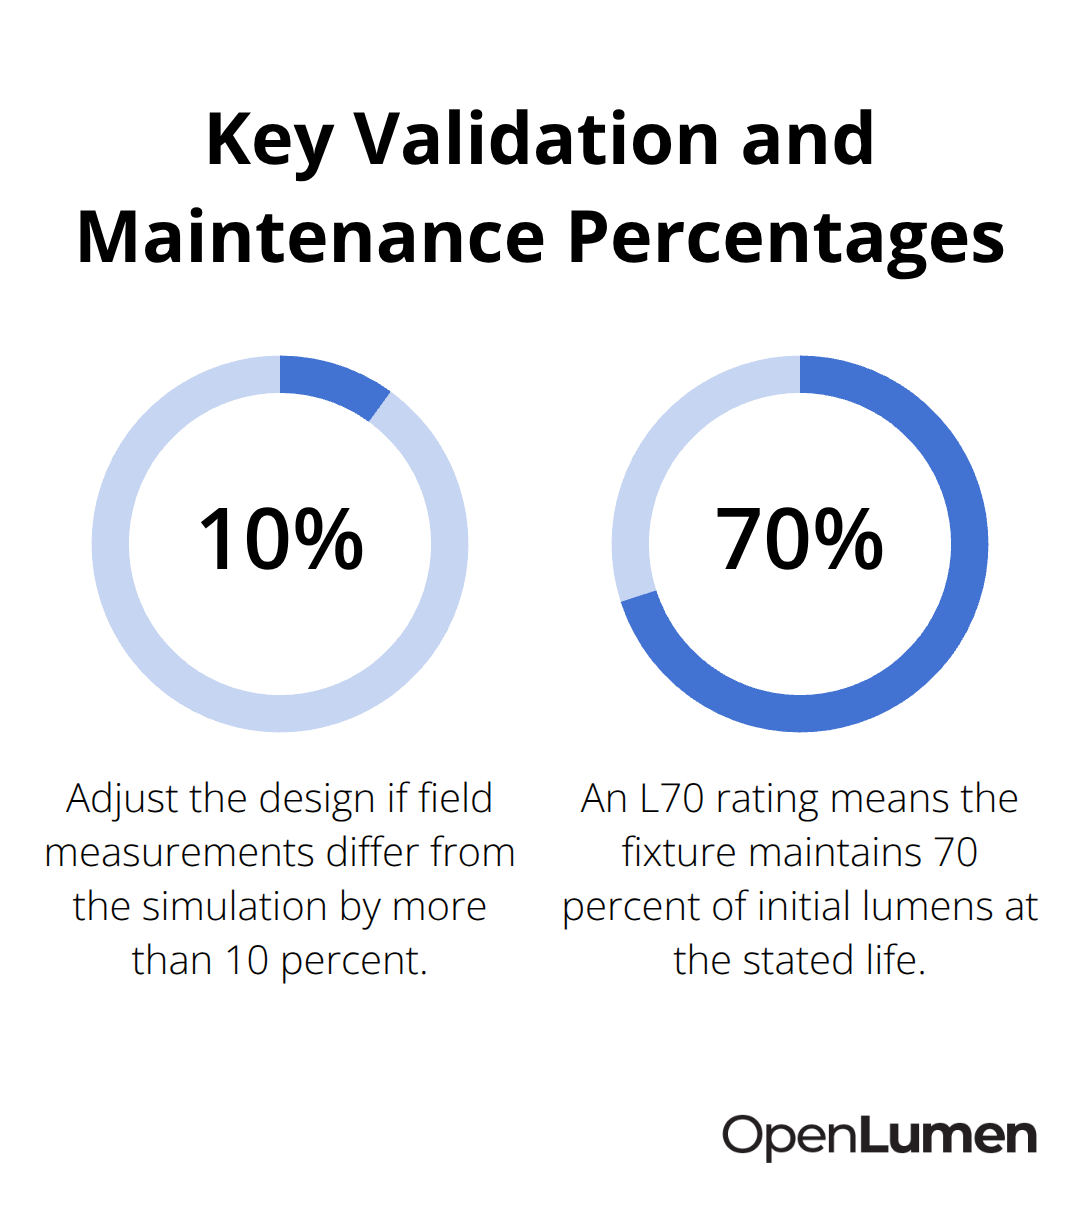
Measure illuminance on site with a light meter at the exact work surfaces to validate your simulation predictions, then adjust fixture placement or quantity if reality diverges from the model by more than 10 percent. This validation step takes 30 minutes but prevents costly redesigns.
Match Illuminance to Task Type
For offices, maintain 300 to 500 lux on desks and 150 to 200 lux in circulation areas according to EN 12464-1 standards. For retail, try 500 to 750 lux on merchandise displays and 300 to 400 lux in general shopping zones to show colors accurately. Healthcare spaces need 300 to 500 lux in patient rooms and 500 lux minimum in surgical areas with UGR under 16 to prevent eye strain during long procedures.
Control Glare Through Photometric Data
Once you validate the illuminance distribution, check the Unified Glare Rating to confirm fixtures stay below 19 in general spaces and 16 in precision tasks. Photometric data includes UGR calculations when you input the viewing geometry, so you know exactly where glare occurs before installation. If a recessed downlight produces UGR 22 at typical sitting height, add a baffle or switch to a diffused fixture before ordering. This single decision prevents headaches and lost productivity that show up within weeks of occupancy.
Plan for Lumen Decline Over Time
Finally, plan for lumen depreciation by designing to 110 to 120 percent of target illuminance at installation. Check the LM-80 test data from manufacturers to confirm how quickly lumens decline in your climate and operating schedule. A fixture rated L70 after 50,000 hours maintains 70 percent of initial lumens, so a 500 lux installation drops to 350 lux within five years unless you oversize at the start. This workflow takes one to two hours per space but saves weeks of complaints and rework after the project goes live.
Final Thoughts
Lighting design principles work only when you move from theory to measurable results on site. The gap between what designers intend and what occupants experience shrinks dramatically when you validate illuminance, control glare, and plan for lumen depreciation before installation. Most projects fail not because contractors lack skill, but because they skip the validation step and hope experience alone carries them through.
The real shift happens when you treat photometric data as a requirement, not an option. Simulating your fixture layout against actual surface reflectance values catches under-lit corners and glare hotspots before you order anything. Measuring on site confirms your predictions match reality within acceptable tolerances, and planning for L70 lumen depreciation ensures the space performs reliably five years after installation.
Digital tools make this workflow practical for contractors and designers working at any scale. Browser-based platforms remove the barrier of expensive software licenses and steep learning curves that kept photometric analysis out of reach for most teams. Start your next project at OpenLumen and experience how validation transforms your workflow from reactive problem-solving to proactive design confidence.
The information provided is for general educational purposes only and should not be considered professional engineering or lighting design advice. Always verify project requirements, local codes, and specifications with qualified professionals before making final decisions.


