
Getting illumination calculations for layouts right separates professional work from costly mistakes. Most contractors and designers either skip this step or waste hours on manual math that slows down projects.
At OpenLumen, we’ve built tools that strip away the complexity. This guide shows you exactly how to run accurate light level analysis-fast, without the guesswork.
Why Getting the Light Levels Right Matters
Poor lighting costs money and creates safety problems that compound over time. When a warehouse or retail space has uneven illumination, employees work slower and make more mistakes-studies show that inadequate lighting reduces productivity by up to 20 percent. Dark corners and hotspots also become liability issues; inadequate pathway lighting in parking areas or entryways increases accident risk and invites security problems. The IES (Illuminating Engineering Society) sets specific footcandle targets for different spaces for this reason-a hospital lab needs 75–100 footcandles, while a hallway needs only 10–20 footcandles. Missing these targets wastes energy on over-lit areas while leaving critical zones dangerously dim.
The Price of Skipping Calculations
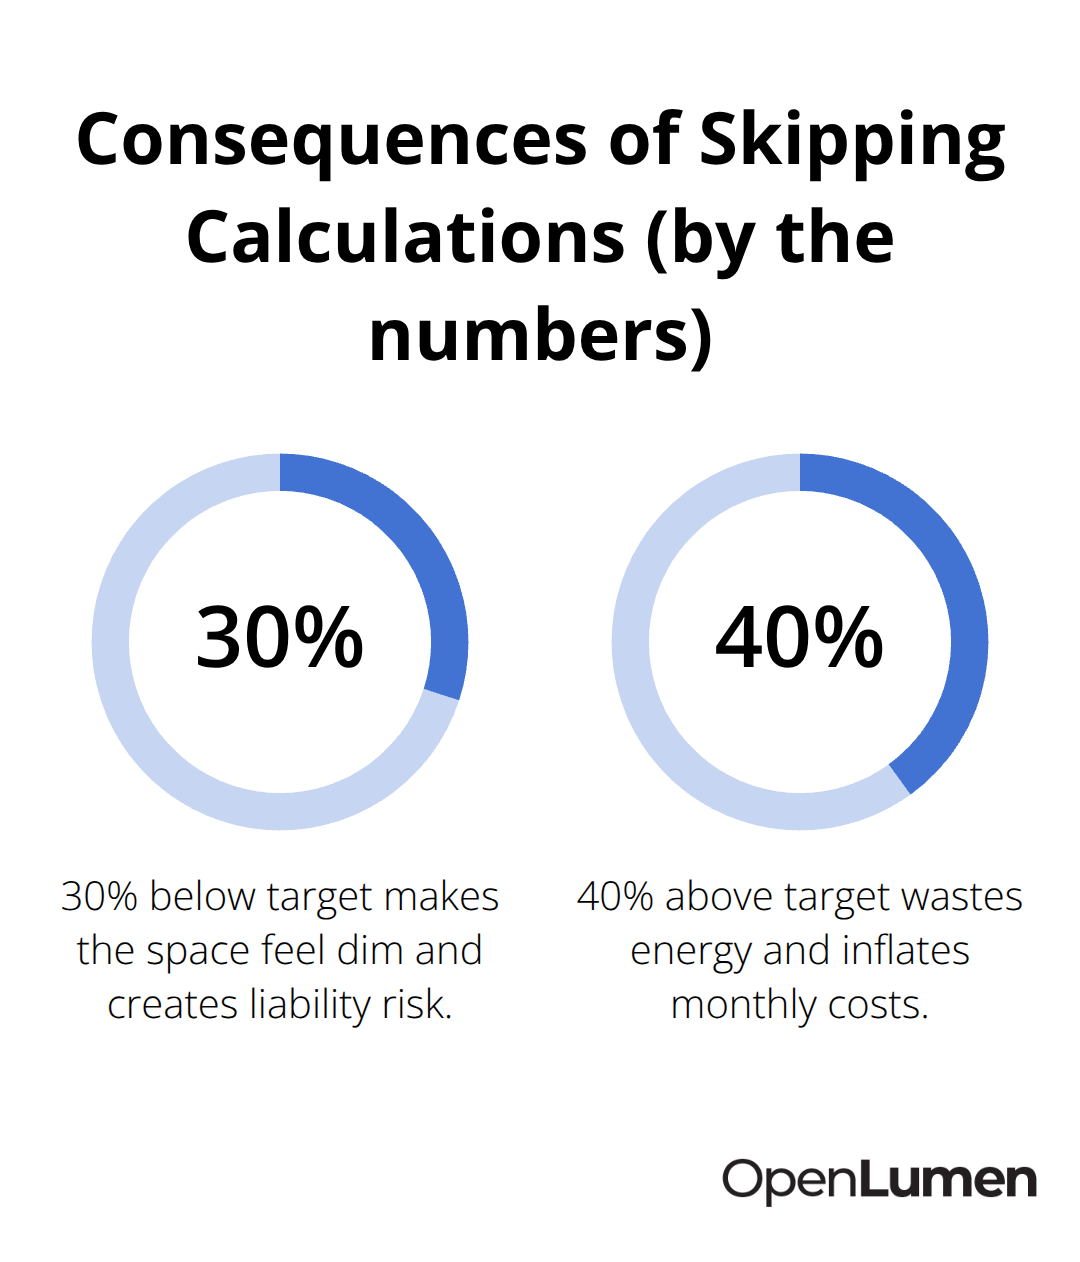
When you skip illumination calculations or guess at fixture counts, you either over-specify (wasting thousands on unnecessary lumens and electricity) or under-specify (forcing costly retrofits and creating operational headaches). A 20 by 20 foot room with a 12-foot ceiling needs roughly 8,900 lumens for proper general lighting-miss that target by 30 percent and the space feels dim; exceed it by 40 percent and you burn money monthly on wasted energy. These errors compound across multiple projects and damage your bottom line faster than most contractors realize.
How Room Reflectance Changes Everything
Room reflectance matters enormously in your calculations. Dark walls and ceilings require double the lumens compared to light surfaces, according to IES guidance. The lumen method-calculating required lumens using the formula E = F × n × N × UF × MF / A-accounts for this through the Utilisation Factor (UF), which captures how room geometry and surface reflectance affect light distribution. Measure your room’s reflectance values directly when possible, or apply standard defaults (ceilings at 70 percent, walls at 50 percent, floors at 20 percent) if measurement isn’t feasible.
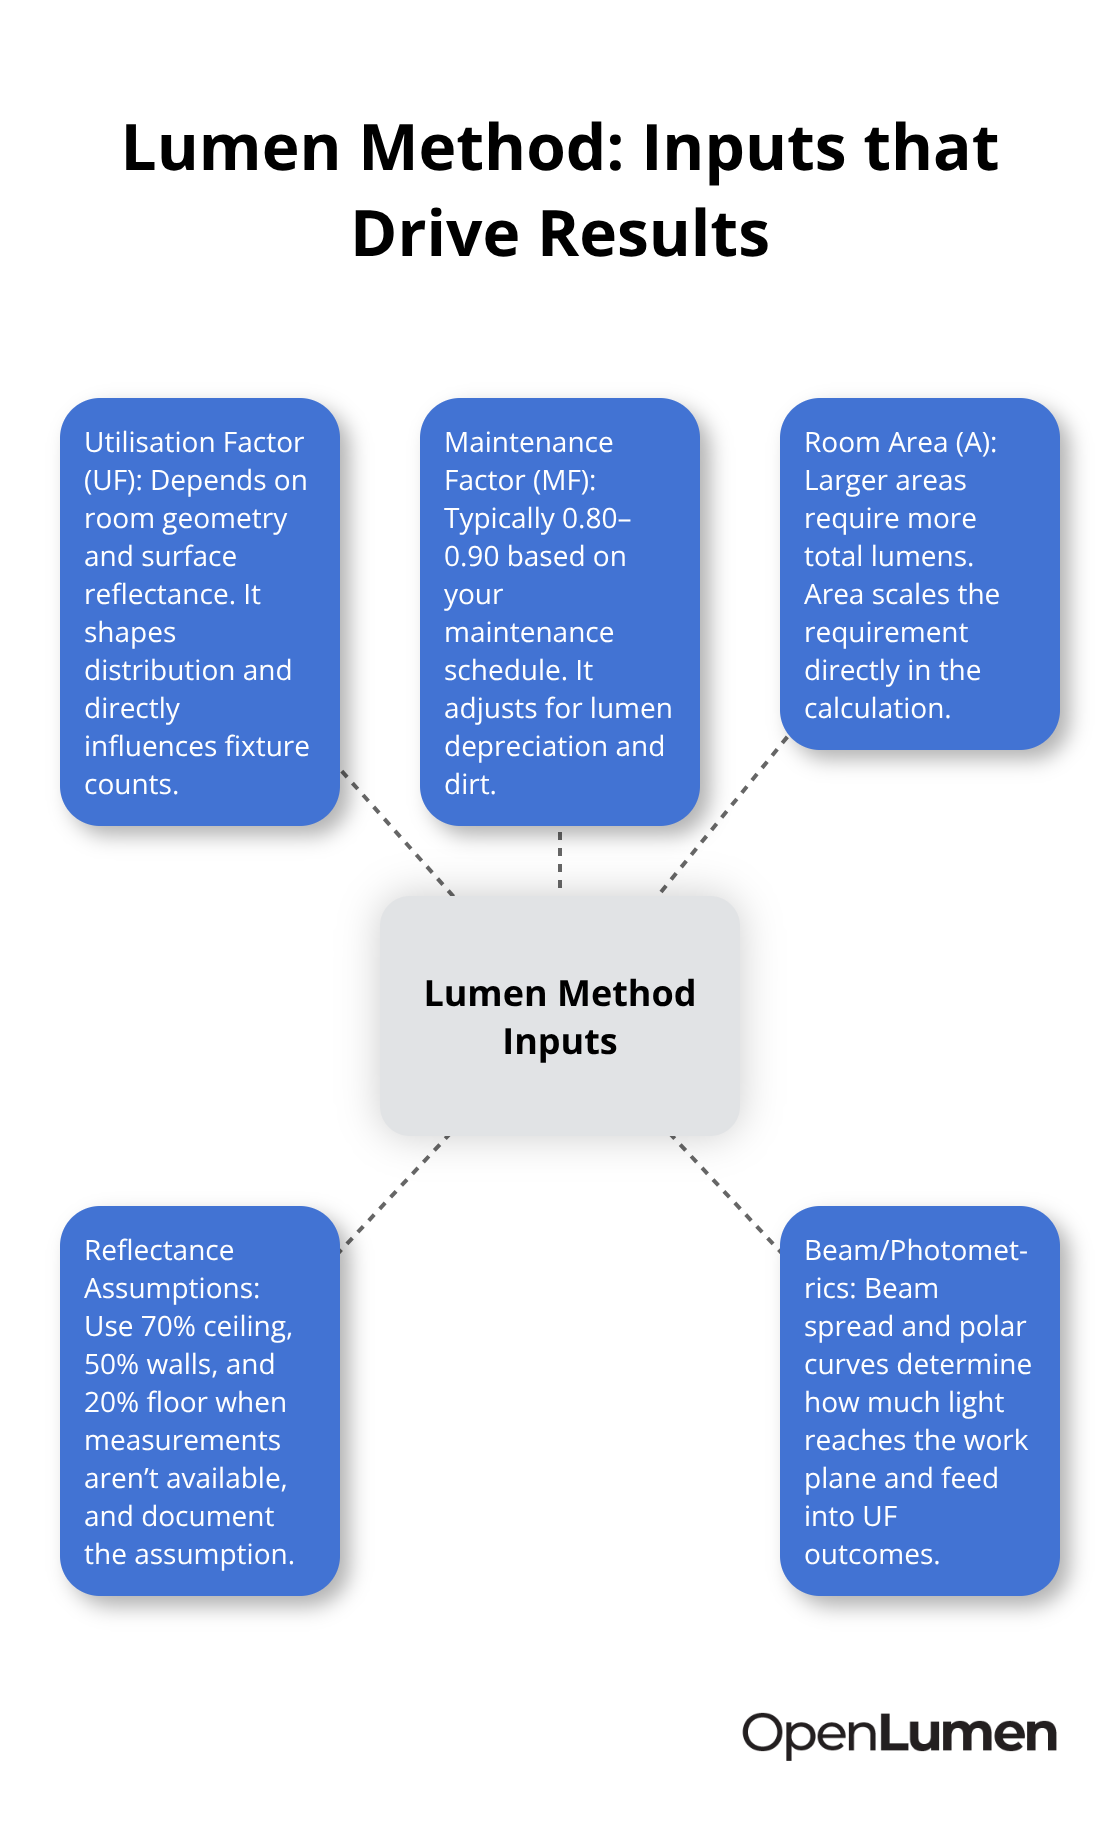
This single variable can swing your fixture count by 50 percent or more, so ignoring it guarantees inaccurate results.
Professional Layouts Demand Real Numbers
Contractors and designers who measure properly separate themselves from competitors. Running illuminance analysis before installation means you catch problems on screen, not after the project is live. The lumen method gives you the fixture count and expected light level upfront. Tools that automate this math (rather than relying on spreadsheets or mental math) eliminate errors and speed delivery. Professional work means validating that your design meets the client’s needs and the relevant standards-whether that’s EN12464-1 for commercial spaces or residential IES footcandle targets.
Skipping this step leaves you vulnerable to change orders, client disputes, and callbacks that damage your reputation and margin. The next section walks you through the core concepts that make these calculations work.
Understanding Light Distribution and Calculations
Lumens, Lux, and What They Actually Mean
Lumens and lux form the foundation of every illumination calculation, and confusing them costs projects real money. Lumens measure total light output from a fixture-a 19,000 lumen luminaire emits that much light in all directions combined. Lux measures light falling on a surface at a specific distance, accounting for how that light spreads as it travels. This distinction matters because a fixture’s lumen rating tells you nothing about light levels at your work plane without knowing distance and beam spread. The IES uses footcandles (lumens per square foot) for residential and commercial spaces, while EN12464-1 specifies lux (lumens per square meter) for European and industrial applications. A hospital lab requires 75–100 footcandles according to IES standards; that same space needs roughly 800–1,000 lux under EN12464-1. The conversion is straightforward (1 footcandle equals about 10.76 lux), but the point is this: you cannot specify fixtures or validate designs without understanding which metric applies to your project and what target level the client actually needs.
How Distance and Beam Angle Control Light Placement
Distance and beam angle control whether that light reaches your work plane or wastes energy in the wrong places. A fixture with a tight 30-degree beam spread concentrates lumens into a small area, creating high intensity but requiring more fixtures to cover a large space. A wide 65-degree beam spreads the same lumens across more area, reducing peak intensity but covering ground faster. The lumen method formula-E = F × n × N × UF × MF / A-accounts for this through the Utilisation Factor, which depends on room geometry and how light bounces off walls and ceilings. In a 50 by 50 meter space with 6-meter ceilings, the lumen method produced an estimate of roughly 200 lux with 30 fixtures that matched actual Dialux simulation results of 196 lux, proving the method’s reliability when you account for real beam characteristics.
Reading Photometric Data Sheets
Photometric data sheets provide polar curves that show intensity (candelas) at different angles; a polar chart reveals whether your fixture delivers light where you need it or wastes lumens on walls and ceilings. Zonal lumen breakdowns show exactly how many lumens fall into specific zones (downward, sideways, upward), letting you predict whether the fixture will light your work plane or create unwanted glare and shadows. Surface reflectance values-70 percent for light ceilings, 50 percent for medium walls, 20 percent for dark floors-feed into the Utilisation Factor calculation and can swing your fixture count by 50 percent or more.
Measuring and Applying Room Reflectance
Measure reflectance on site with a reflectometer when possible; if that is not feasible, apply standard defaults and note the assumption in your design documentation. Room reflectance matters enormously in your calculations. Dark walls and ceilings require double the lumens compared to light surfaces, according to IES guidance. The lumen method accounts for this through the Utilisation Factor (UF), which captures how room geometry and surface reflectance affect light distribution. This single variable can swing your fixture count by 50 percent or more, so ignoring it guarantees inaccurate results.
Validating Your Design Before Installation
Professional lighting designers run simulations with tools like Dialux or Relux after using the lumen method to confirm uniformity and catch hotspots before installation, because no amount of manual math catches distribution problems that software reveals instantly. These tools automate the calculations and show you exactly where light falls on your work plane, eliminating guesswork and protecting your reputation. The next section walks you through the step-by-step process for running these analyses on your own layouts.
Running Illuminance Analysis on Your Layouts
Define Your Target, Room, and Fixtures
Start your illuminance analysis by identifying three things: your target light level, your room dimensions, and your fixture specifications. The IES provides footcandle targets for nearly every application-a kitchen sink needs 70–80 footcandles, a general office workspace needs 50–75 footcandles, and a hospital lab needs 75–100 footcandles.
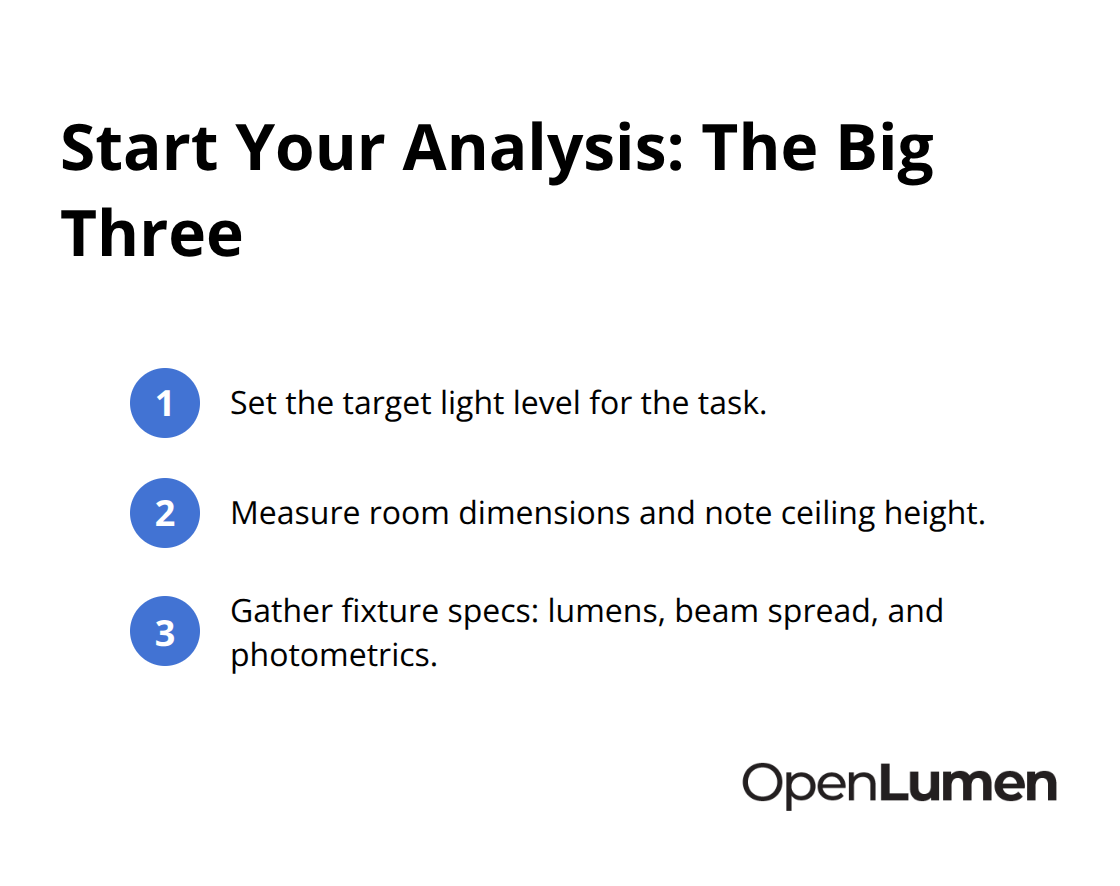
Measure or estimate your room’s reflectance values (ceiling, walls, floors) because they directly affect your Utilisation Factor and can shift your fixture count by 50 percent or more. Then gather your luminaire’s photometric data: total lumens output, beam spread, and polar curve.
Calculate Required Lumens and Fixture Count
The lumen method formula E = F × n × N × UF × MF / A provides your calculation path, but accurate input numbers determine whether your design works or fails. A 20 by 20 foot room with a 12-foot ceiling and standard reflectance (70 percent ceiling, 50 percent walls, 20 percent floor) needs roughly 8,900 lumens for general lighting at proper levels. Specify 30 percent below that target and the space feels dim, creating liability problems; exceed it by 40 percent and you waste thousands annually in electricity. The Maintenance Factor (typically 0.80–0.90 depending on your maintenance schedule) and Utilisation Factor (calculated from room cavity ratio and reflectance) account for real-world conditions, so skipping these adjustments produces fiction, not usable designs.
Verify Uniformity With Simulation Software
Professional lighting design software automates this math and shows you exactly where light lands on your work plane. Dialux and Relux use point-by-point and radiosity methods rather than the lumen calculation method, giving you pixel-level accuracy and instant visualization of hotspots, shadows, and uniformity problems that manual math never catches. A 50 by 50 meter warehouse with 6-meter ceilings designed using the lumen method estimated 200 lux with 30 fixtures; Dialux simulation confirmed 196 lux, proving the method’s reliability when you feed in real data.
Catch Problems Before Installation
The most common mistake contractors make is trusting fixture counts without verifying uniformity-you can hit your target average lux and still have dark corners that create safety hazards or bright zones that waste energy. Test your simulation, check the illuminance map for coverage gaps, adjust fixture placement or lumen output, then test it again. Tools like OpenLumen let you test layouts in real time without expensive software subscriptions, compare different fixture types instantly, and generate client-ready photometric reports that prove your design meets standards before installation begins. Skipping simulation costs you callbacks, change orders, and reputation damage far more expensive than the 20 minutes it takes to validate your work on screen.
Final Thoughts
Accurate illumination calculations for layouts separate contractors who win repeat business from those who face callbacks and disputes. You measure your space, identify your target light level from IES or EN12464-1 standards, account for room reflectance, and validate your design before installation. Skip any of these steps and you either waste money on over-lit spaces or create safety hazards in under-lit zones.
Tools that automate this process save hours on every project. Instead of wrestling with spreadsheets or relying on guesswork, you run real-time analysis, compare fixture options instantly, and generate photometric reports that prove your design meets standards before the first luminaire ships. This confidence translates directly to faster project delivery, fewer change orders, and clients who trust your expertise.
OpenLumen removes the friction from this workflow by letting you create photometric layouts, run illuminance analysis, and generate professional reports without expensive software or steep learning curves. Whether you’re a contractor validating fixture counts, a distributor helping customers choose the right products, or a facility owner planning upgrades, the platform handles the math so you focus on results.
The information provided is for general educational purposes only and should not be considered professional engineering or lighting design advice. Always verify project requirements, local codes, and specifications with qualified professionals before making final decisions.


