
Lighting design mistakes cost money. A single miscalculation in illuminance, color rendering, or glare control can force expensive fixture replacements or redesigns after installation.
At OpenLumen, we’ve seen how early validation catches these errors before they become problems. This guide shows you exactly how to validate your lighting design and avoid costly missteps.
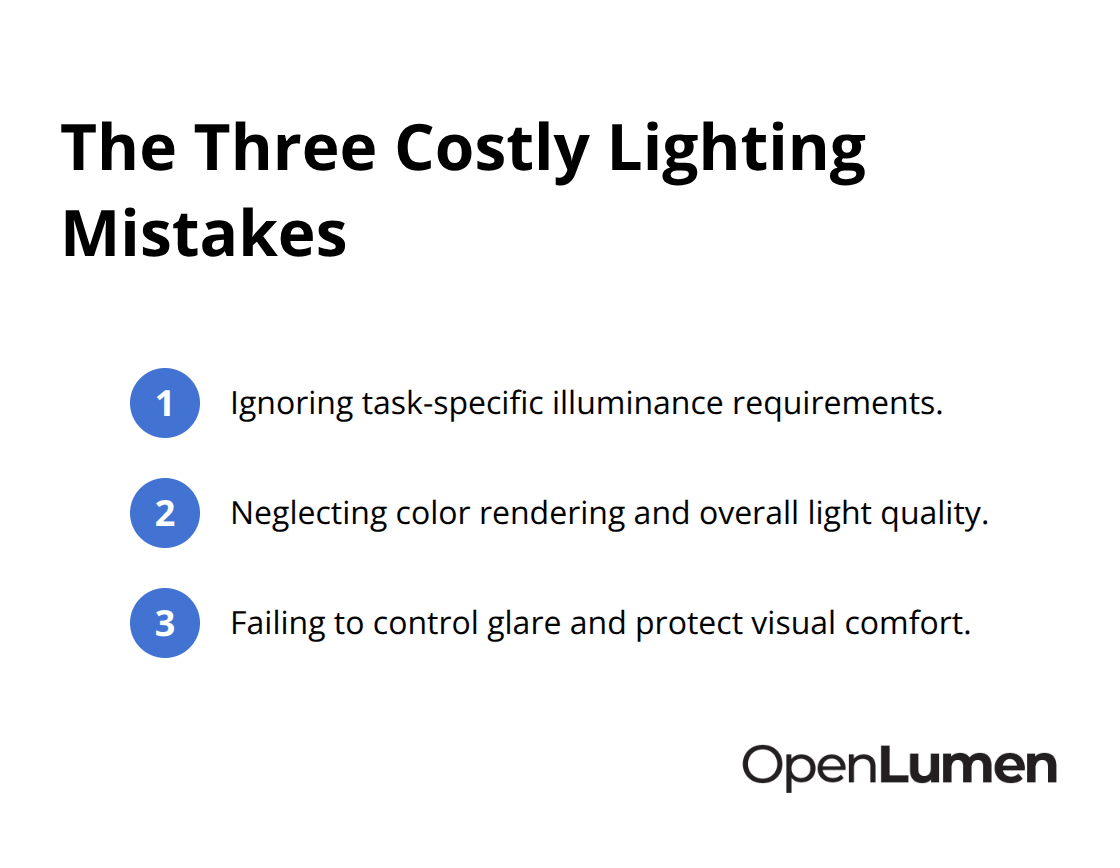
The Three Mistakes That Sink Lighting Projects
Ignoring Task-Specific Illuminance Requirements
Most lighting design errors fall into three categories, and each one hits your budget hard. The first mistake is ignoring what a space actually needs. A retail showroom demands 500 lux on merchandise, but a warehouse aisle needs only 150 lux. Many designers apply the same illuminance level everywhere, then wonder why clients complain about wasted energy or poor visibility. The IES Lighting Handbook specifies exact illuminance targets for different tasks, and skipping this step means you’re guessing.
A grocery store that receives 200 lux instead of 300 lux on produce looks dim and loses sales. Conversely, overlighting a break room to office standards wastes 30 to 40 percent of your energy budget. The fix is straightforward: match your fixture selection and spacing to the actual task illuminance your space requires, not some generic standard you remember from another project.
Neglecting Color Rendering and Light Quality
The second mistake is treating color rendering as optional. A hospital operating room lit with 80 CRI lamps makes blood look brown instead of red, which confuses surgeons. A clothing boutique with poor color rendering loses customers because fabrics look wrong under the lights. The CRI standard measures how accurately a light source renders colors compared to daylight, and anything below 90 CRI is a compromise you should only make consciously.
Retail spaces, healthcare facilities, and design studios need 90 CRI or higher. Even a modest 80 CRI bulb costs the same as a 95 CRI alternative, so there’s no reason to accept poor color rendering. This oversight compounds across a project-one bad color choice affects every fixture you specify.
Failing to Account for Glare and Visual Comfort
The third mistake is ignoring glare, which causes eye strain, headaches, and reduced task performance. A desk lamp pointed at an employee’s face or a ceiling fixture visible from seating areas creates direct glare that tanks productivity. Indirect glare bounces off shiny surfaces like glass or polished counters and causes discomfort without anyone realizing why they feel tired.
The solution is to check your fixture placement against sight lines, use diffusers or baffles to shield bright sources, and measure luminance ratios to confirm no surface exceeds three times the brightness of its surroundings. Test your design from the occupant’s perspective, not just on a floor plan. These three mistakes-mismatched illuminance, poor color rendering, and uncontrolled glare-share one root cause: designs that skip validation before installation. The next section shows you how to catch all three before they become expensive problems.
Validating Your Design Before You Order Fixtures
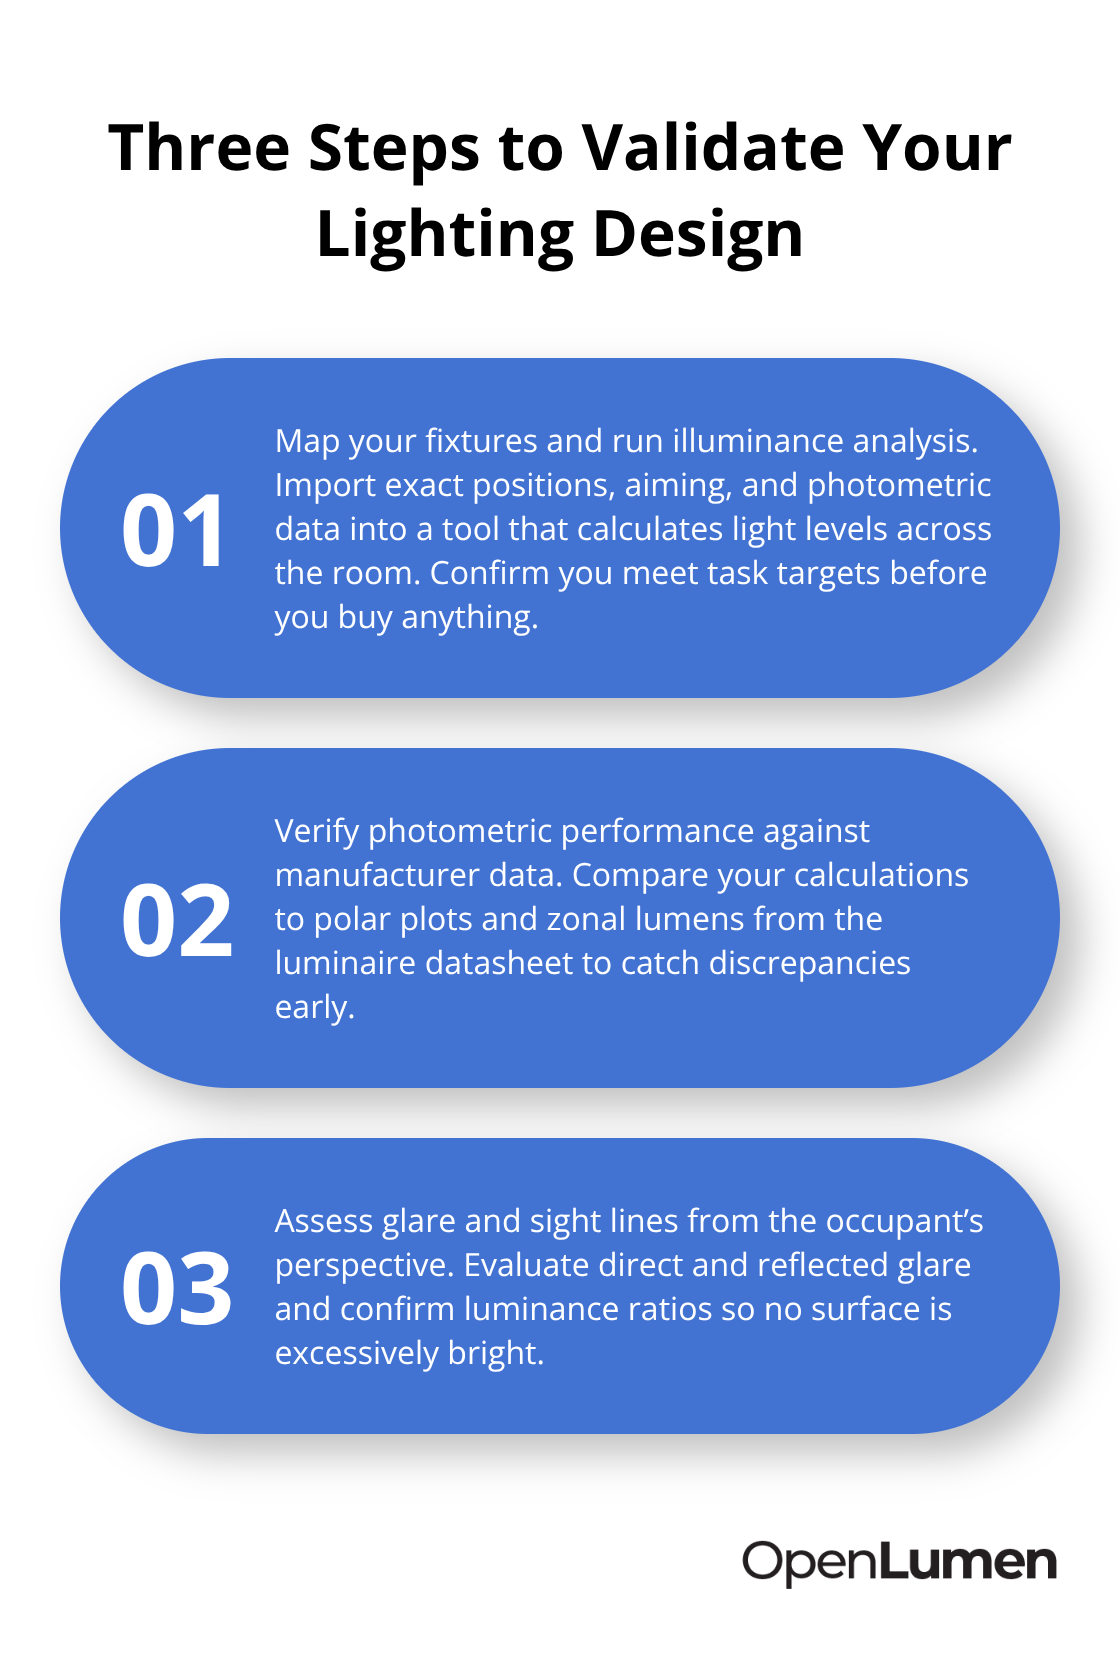
Map Your Fixtures and Run Illuminance Analysis
Validation stops expensive mistakes before installation. The fastest way to catch illuminance errors, color rendering problems, and glare is to run real-time analysis on your fixture layout before you commit to purchasing. Map your exact fixture positions, angles, and photometric data into a design platform that calculates illuminance across your space. This reveals whether you hit your task requirements-say 300 lux on a retail counter or 500 lux on a surgical field-or fall short. Many designers skip this step and discover the problem only after installation, when a retrofit costs 40 to 60 percent more than getting it right the first time.
Verify Photometric Performance Against Manufacturer Data
Check your photometric data against the manufacturer’s polar charts and zonal lumen specifications to confirm the fixture behaves as advertised. A 36-degree beam angle on paper might perform differently in 3D space, especially near walls or ceilings that reflect light unpredictably. Pull the actual performance metrics from the luminaire’s datasheet and compare them to your layout calculations. This step catches discrepancies between what the spec sheet promises and what the fixture actually delivers in your specific room geometry.
Assess Glare and Sight Lines from the Occupant’s Perspective
Review your fixture placement and spacing against sight lines from the occupant’s perspective, not just the floor plan view. This catches direct glare issues where a fixture sits in someone’s line of sight and indirect glare where reflections off glass, polished counters, or mirrors create discomfort. Measure luminance ratios to verify no surface exceeds three times the brightness of adjacent areas-a common source of eye strain that gets overlooked in 2D layouts. Test your design from where people actually sit, stand, or work to spot problems that floor plans hide.
Generate Documentation That Proves Your Design Works
Generate a photometric report that documents your illuminance levels, fixture types, and performance metrics so your team and the client see exactly what to expect. This report becomes your installation checklist and proof that you validated the design before work began. The documentation also protects you if questions arise after installation-you have evidence that the design met specifications before the fixtures went in. With validation complete and documented, you’re ready to move forward with confidence that your fixture selections will perform as intended.
Speed Up Validation Without Expensive Software
Free Tools Replace Costly Software Licenses
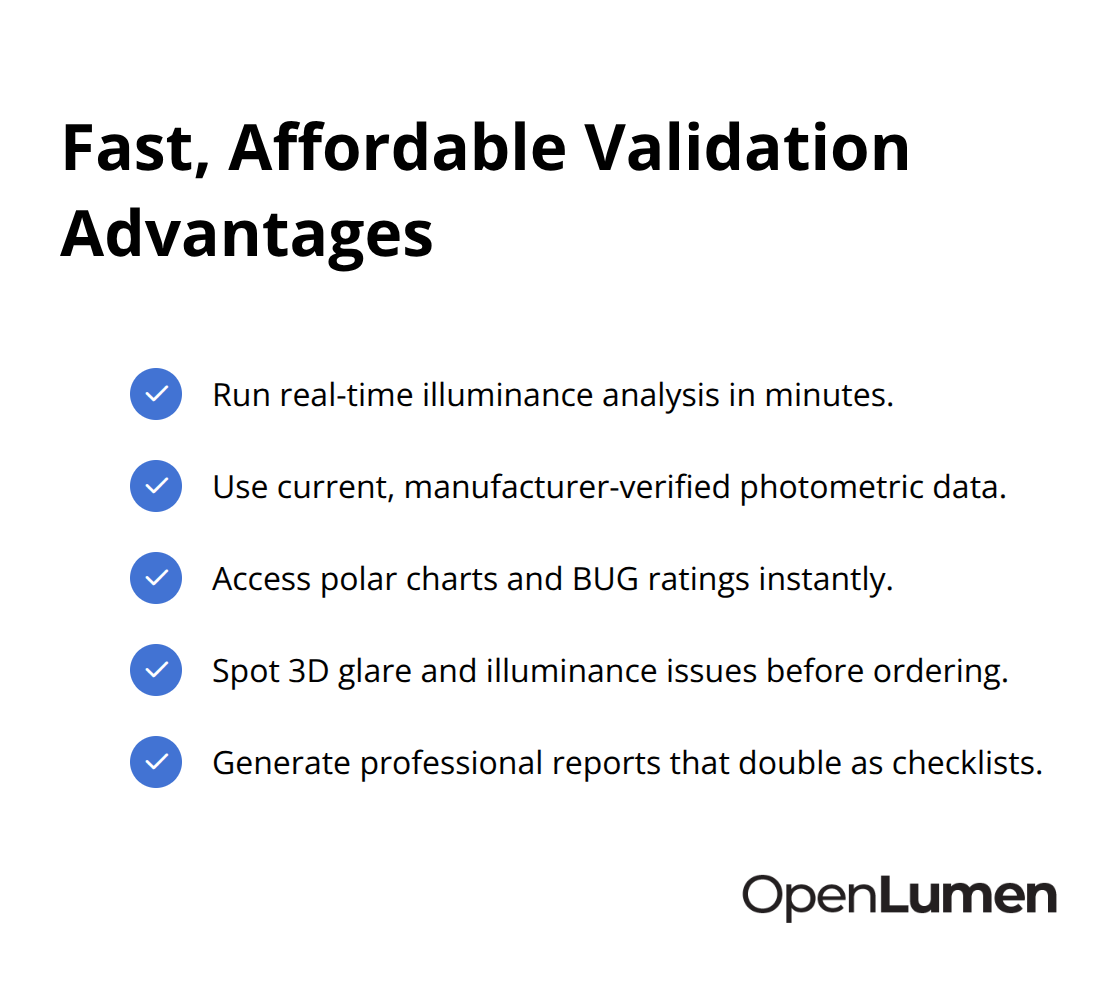
Validation tools no longer require thousand-dollar licenses or months of training. Browser-based platforms now handle real-time illuminance analysis, photometric reporting, and fixture layout in minutes instead of days. You map fixtures, run calculations across your specific room geometry, and generate professional reports without desktop software or complex workflows. This shift eliminates the friction between design concept and installation readiness, which means smaller firms and independent contractors can validate designs with the same rigor as large studios.
Community-Verified Data Cuts Research Time
A community-verified luminaires library pulls actual manufacturer photometric data so you work with current specs, not outdated PDFs or supplier estimates. Manufacturers update performance metrics continuously, which means your calculations always reflect what’s actually available on the market. Instead of hunting through spec sheets or calling distributors to confirm beam angles and zonal lumens, you access polar charts and BUG ratings instantly. This approach saves hours per project and eliminates the guesswork that leads to illuminance mismatches and fixture substitutions after purchase.
Real-Time Analysis Catches Problems Before Installation
Three-dimensional illuminance analysis reveals exactly how light behaves in your specific space before anyone orders fixtures. You see illuminance gaps, color rendering issues, and glare hotspots that 2D floor plans hide completely. Contractors and distributors who adopt this workflow report faster project closeouts because clients see validated designs before purchase orders go out, which eliminates costly revisions. Facility owners benefit because they receive proof that the design meets task requirements before installation begins, so there’s no surprise about energy use or performance after the lights go live.
Professional Reports Serve as Installation Checklists
Generate a single document that combines your design validation and installation checklist in one place. The report documents illuminance levels, fixture placement, color rendering specifications, and glare assessment so your entire team works from the same validated baseline. This documentation protects you if questions arise after installation-you have evidence that the design met specifications before work began. Clients see exactly what to expect, which builds confidence and reduces post-installation disputes about performance or energy consumption.
Speed Paired with Accuracy Transforms Your Workflow
The combination of instant photometric metrics and real-time spatial analysis transforms validation from a bottleneck into a competitive advantage. Instead of manually comparing spreadsheets or relying on incomplete data, you see how light actually performs across your room geometry in three dimensions. This approach works especially well when you’re juggling multiple projects and tight deadlines, because validation happens in parallel with design rather than as a separate step after everything is already specified.
Final Thoughts
Avoiding lighting missteps comes down to one principle: validate before you install. The three mistakes we covered-mismatched illuminance, poor color rendering, and uncontrolled glare-all stem from the same root cause. Designers skip validation and discover problems only after fixtures are mounted and wired, when corrections cost 40 to 60 percent more than getting it right the first time.
Early validation transforms your workflow because you run real-time analysis on your exact room geometry and see exactly how light behaves in three dimensions. This catches illuminance gaps, color rendering issues, and sight-line problems before purchase orders go out. Your team works from a single validated baseline, which eliminates costly revisions and post-installation disputes about performance.
Browser-based platforms like OpenLumen let you map fixtures, run photometric analysis, and generate professional reports in minutes without expensive software licenses or months of training. Community-verified luminaires libraries pull current manufacturer data so your calculations reflect what’s actually available on the market. Contractors and distributors who adopt this workflow report faster project closeouts because clients see validated designs before purchase, and facility owners receive proof that designs meet task requirements before installation begins.
The information provided is for general educational purposes only and should not be considered professional engineering or lighting design advice. Always verify project requirements, local codes, and specifications with qualified professionals before making final decisions.


