
Exterior site lighting analysis is one of the most overlooked steps in project planning. Get it wrong, and you’re stuck with poor visibility, wasted energy, or compliance headaches.
At OpenLumen, we’ve seen how the right lighting layout transforms jobsites. This guide walks you through the analysis process so your designs meet codes, protect workers, and control costs.
Why Exterior Site Lighting Analysis Matters
Skipping lighting analysis costs money upfront and bleeds money for years. The National Electrical Code requires high-efficiency lighting for permanently installed exterior fixtures, and most states now enforce the International Energy Conservation Code, which sets strict efficiency rules. California Title 24 mandates nearly all installed lighting be high-efficiency and imposes controls on when and where you can use dimmers and sensors. If your design doesn’t account for these requirements during the layout phase, you’ll face expensive rewiring or fixture swaps after installation. Most teams treat lighting analysis as an afterthought, then scramble to meet compliance when inspectors arrive. That approach wastes time and money. Analysis at the start prevents costly mistakes and keeps projects on schedule.
Compliance Starts With Photometric Data
Codes don’t care about your intentions-they care about measurable performance. The IESNA Lighting Handbook and guidelines like RP-20-98 define exactly how much light different zones need. An E-1 intrinsically dark zone requires 1 foot-candle average illuminance with a 4 foot-candle maximum, while an E-4 urban pedestrian zone needs 2.5 foot-candles average and 10 foot-candle maximum. Without running a photometric study during design, you won’t know if your fixture placement meets these targets. The Development Review Board in many jurisdictions requires two photometric studies before approval: one showing horizontal site illuminance and another measuring vertical light trespass 6 feet above grade along the property line. Mercury vapor fixtures are already prohibited in many areas, so LED-first layouts aren’t optional-they’re mandatory.
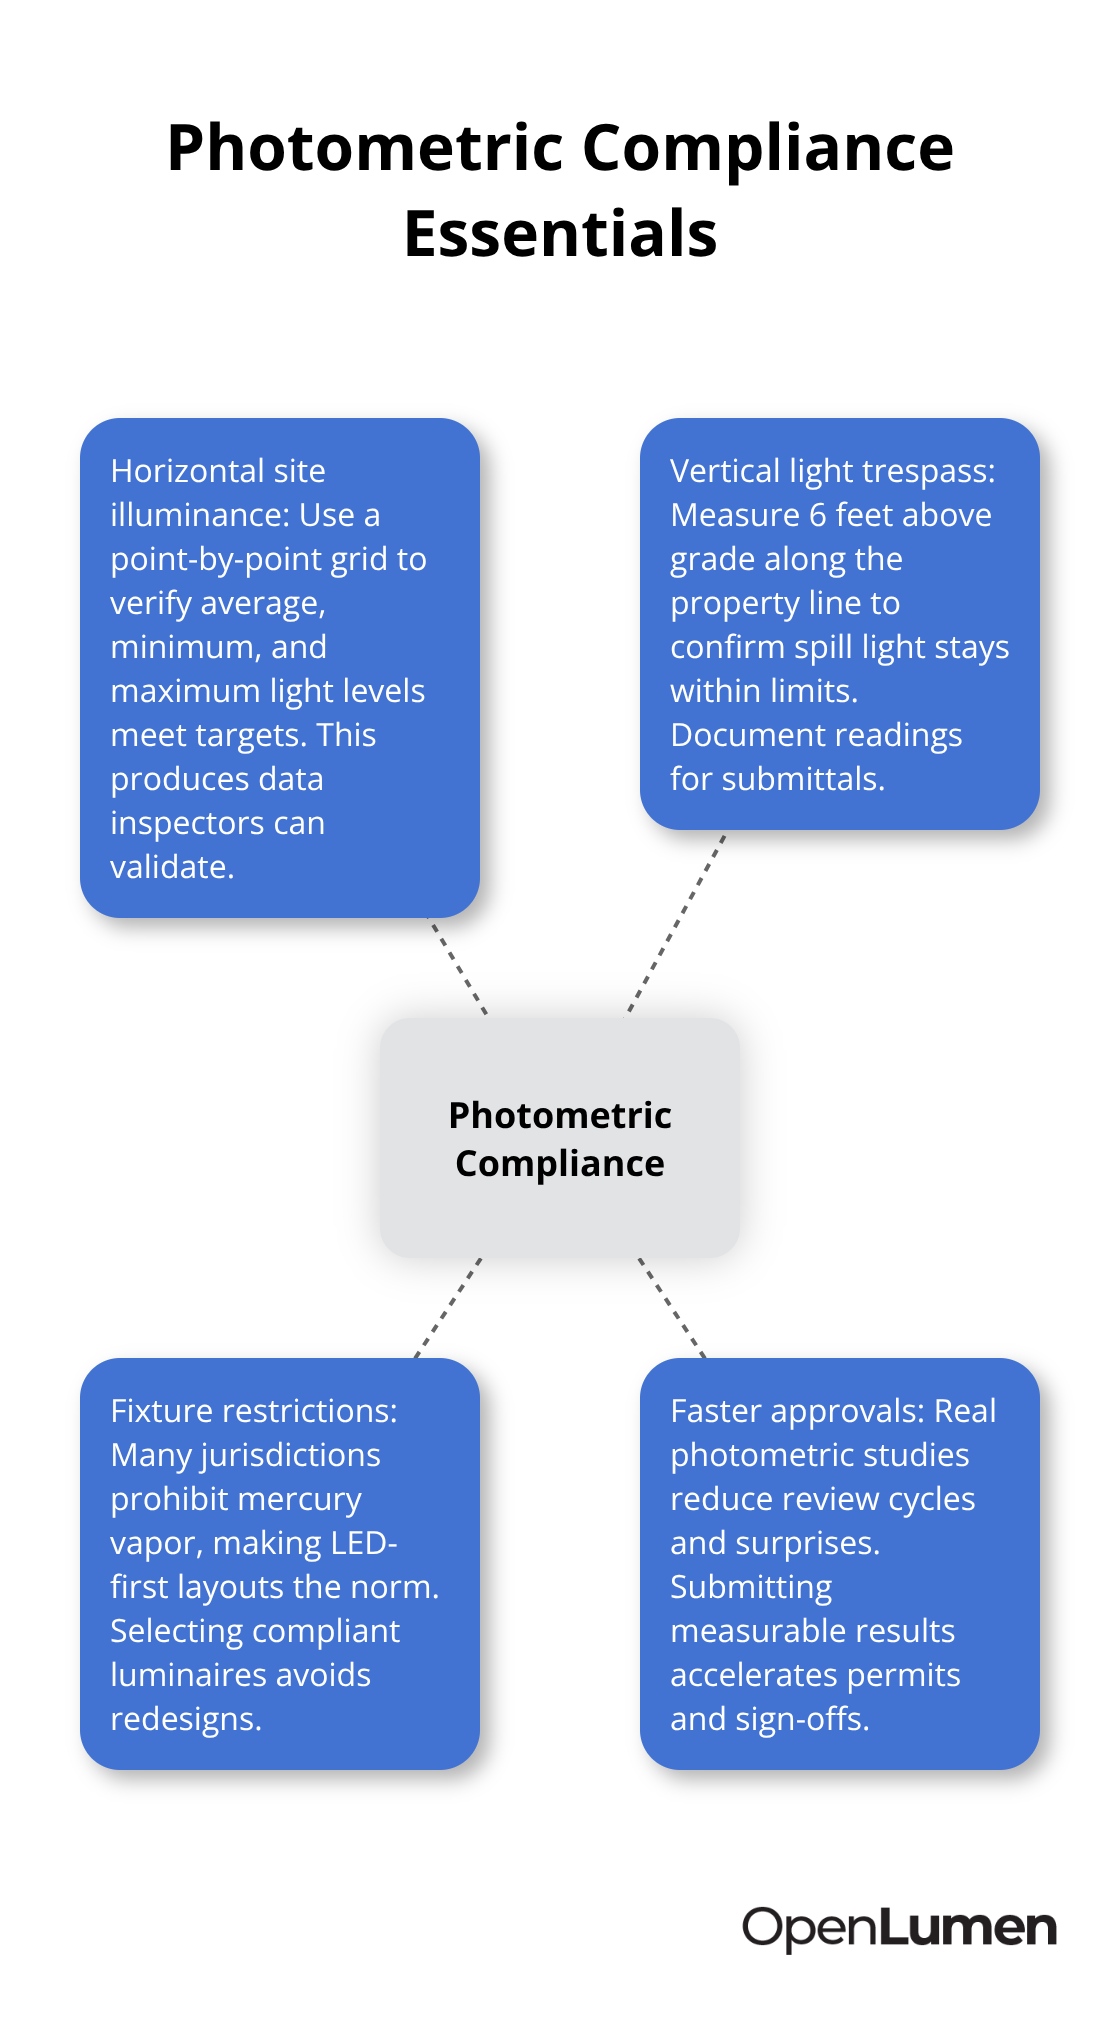
Real photometric data means one approval cycle instead of three.
Safety Performance and Worker Protection
Poor lighting on jobsites increases accident rates directly. Underlit stairs, walkways, and equipment areas create trip hazards and visibility blind spots that lead to injuries. Step lights and path lights reduce trip incidents on uneven surfaces. Recessed lights installed under each step eliminate shadows that obscure step depth at night. Entryway and address lighting help workers locate doors and assembly points quickly during emergencies. The National Electrical Code requires GFCI protection for exterior circuits and damp-location ratings for fixtures near water, which means your layout must account for electrical safety from the start. When lighting analysis identifies dark zones early, you add fixtures where they actually prevent accidents, not where they’re convenient to wire. Security lighting with motion sensors and timers also reduces liability by preventing unauthorized access and clearly documenting coverage areas for insurance purposes.
Energy Efficiency Cuts Operating Costs Fast
LED exterior lighting delivers 70 to 100+ lumens per watt compared to older technologies, which means brighter outdoor illumination at a fraction of the energy cost. The Washington State Energy Code enforces efficiency standards and smart controls, so a well-designed layout that incorporates dimmers, vacancy sensors, and daylight controls isn’t a luxury-it’s a requirement in many regions. Automatic shut-off features like motion sensors and timers prevent the common mistake of leaving outdoor lights on all night. A practical layout uses multiple moderate fixtures rather than a few very bright ones, which spreads illumination evenly and reduces energy waste from overlit areas. When you validate your design with photometric analysis before installation, you avoid the costly scenario of discovering that half your fixtures are unnecessary after the project completes. Energy Star certified fixtures simplify code compliance and performance guarantees, so factoring them into your analysis from day one aligns your design with both regulations and long-term operating budgets.
Why Analysis Matters Before You Design
Photometric data transforms lighting from guesswork into precision. The next section walks you through how to assess light distribution, balance illuminance across zones, and account for glare and light trespass-the core steps that turn analysis into layouts that actually work.
Creating Effective Exterior Lighting Layouts
Map Your Site and Define Ambient Zones
Start with a site plan that shows property lines, structures, and zones that need different light levels. Mark E-1 through E-4 ambient zones based on your location type-E-1 for intrinsically dark areas, E-2 for rural or estate settings, E-3 for suburban properties, and E-4 for urban pedestrian zones. Each zone has specific illuminance targets from the IESNA guidelines: E-1 needs 1 foot-candle average with a 4 foot-candle maximum, while E-4 requires 2.5 foot-candles average and 10 foot-candles maximum. This zoning step prevents you from over-lighting rural areas or under-lighting urban pedestrian paths.
Validate Coverage With Horizontal Photometric Studies
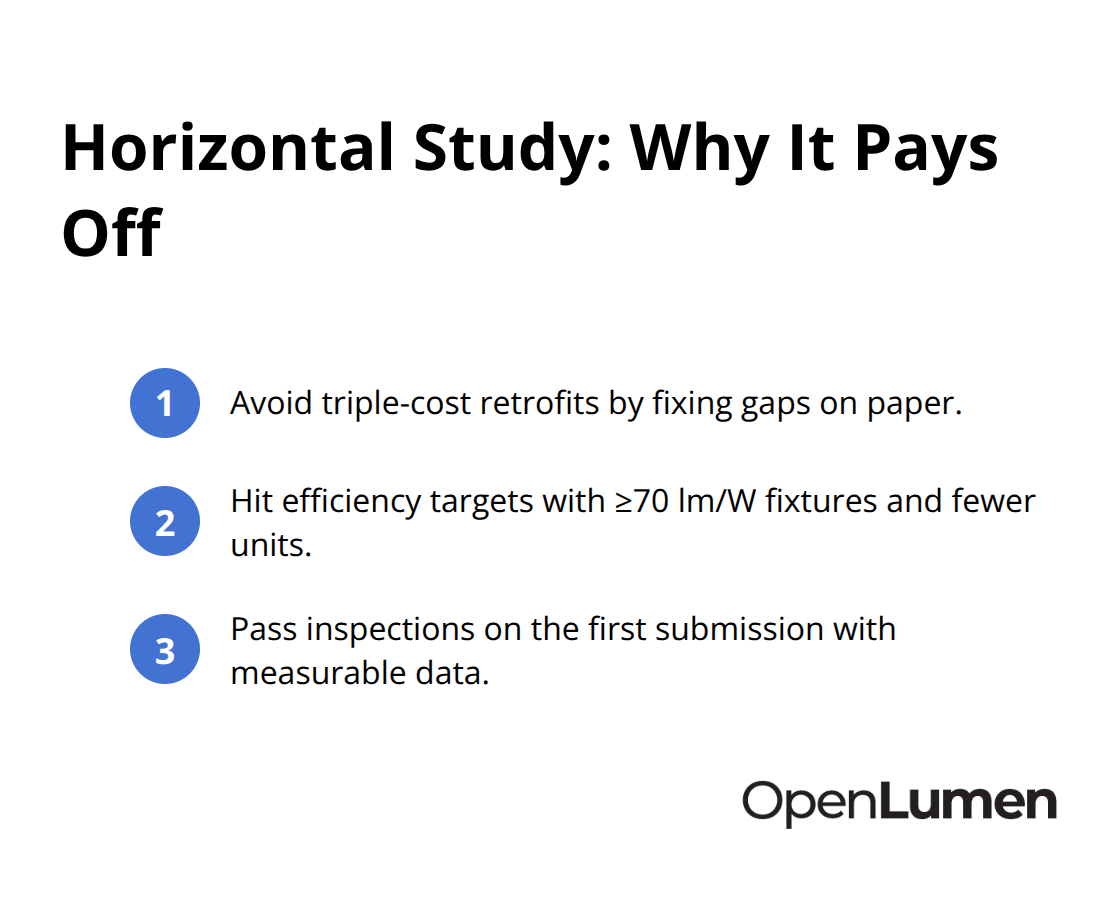
A horizontal photometric study with point-by-point foot-candle readings using a grid spacing no greater than 10 feet verifies your fixture placement meets illuminance targets. This step identifies coverage gaps before installation-if your initial layout leaves dark zones, you adjust fixture count or position now, not after workers trip on unmarked stairs. Most teams skip this and rely on guesswork, then add fixtures later at triple the cost. LED fixtures rated for at least 70 lumens per watt maximize coverage with fewer units, which reduces wiring complexity and energy consumption. The study produces measurable data that satisfies code inspectors on the first submission.
Control Light Trespass and Glare
Measure vertical light trespass along property lines at 6 feet above grade using a 90-degree nadir angle aimed into the site. The IESNA RP-33-99 guideline sets trespass limits: E-1 zones allow 0.1 foot-candles, E-2 allows 0.3, E-3 allows 0.8, and E-4 allows 1.5 foot-candles. Full cut-off fixtures with proper shielding and mounting heights prevent light spill onto neighboring properties and reduce glare that blinds workers. A 0.70 minimum light loss factor in your design accounts for dirt accumulation and fixture degradation over time, so your layout performs consistently for years.
Design Accent Lighting With Precision
Architectural features require spotlighting at multiple angles rather than a single source to avoid flat, harsh shadows. Avoid placing bright fixtures where they shine directly toward worker areas-instead, let light filter through landscaping or bounce off surfaces to create depth. Landscape lighting should be directed away from property lines with extension shields to minimize glare, and accent lights on buildings must illuminate only specific features, not entire wall planes. This precision approach meets codes on the first submission and creates safer, more usable jobsites.
Move From Layout to Measurement
Many codes now require both horizontal and vertical photometric studies before approval, so generating this data during design saves approval cycles. The next section covers the tools and methods that transform your layout into professional documentation that inspectors and clients accept without revision.
Measuring Light Performance Across Your Site
Validate Coverage With Horizontal Photometric Studies
Photometric analysis transforms your layout from an educated guess into verifiable data that passes inspections and performs consistently. A horizontal photometric study uses a grid with spacing no greater than 10 feet to record foot-candle readings at ground level, capturing maximum, minimum, and average illuminance values. This grid-based approach reveals coverage gaps that a fixture count alone cannot-for example, a layout might show adequate average illuminance but a dangerously dark corner where workers congregate. Point-by-point measurement also validates that your fixture placement actually delivers what the specification sheets promise, since real-world factors like terrain, surface reflectance, and nearby structures affect performance.
Many teams skip this step and discover coverage problems after installation, forcing costly retrofits. Running the horizontal study during design costs a fraction of what field corrections cost later. The study produces measurable data that satisfies code inspectors on the first submission without revision cycles.
Measure Vertical Light Trespass at Property Lines
Vertical light trespass measurement happens 6 feet above grade along your property line using a 90-degree nadir angle aimed into the site-this captures light spilling beyond your boundaries. The IESNA RP-33-99 guideline sets strict limits: an E-1 intrinsically dark zone allows only 0.1 foot-candles at the property line, while an E-4 urban zone tolerates up to 1.5 foot-candles. Full cut-off fixtures with proper shielding and mounting heights control trespass effectively. Measuring this data during design ensures your first submission passes the Development Review Board without revision.
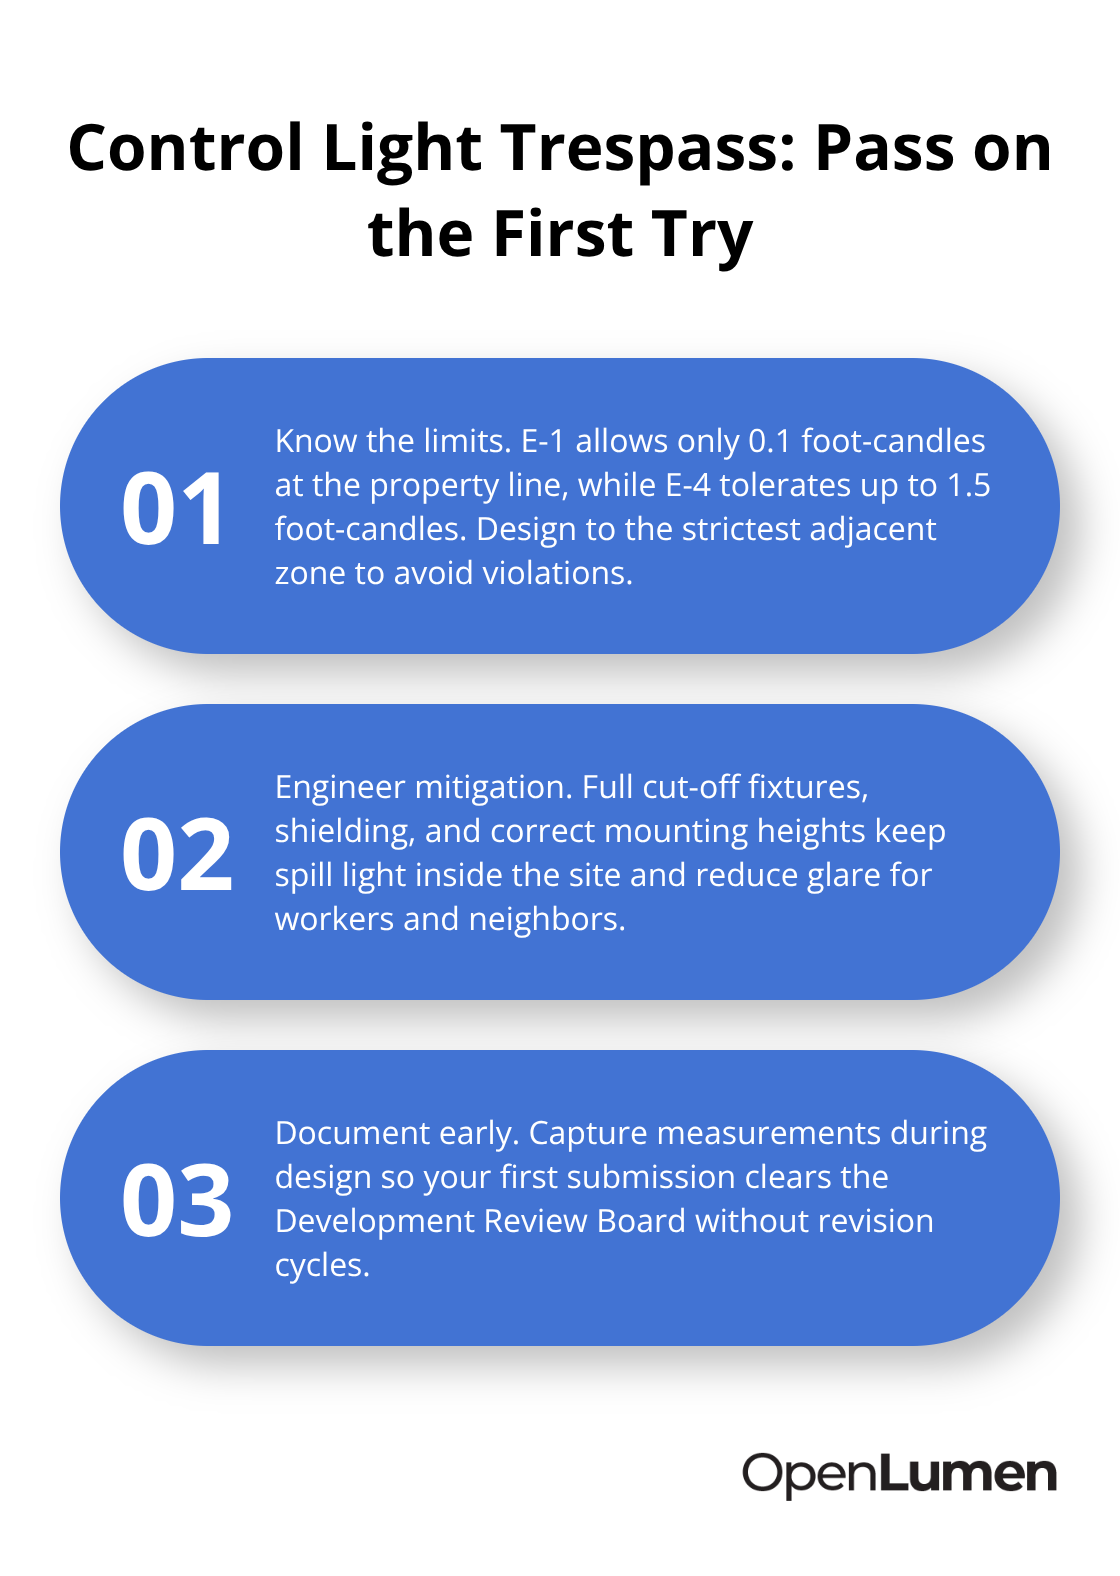
Teams that measure before installing avoid the common mistake of discovering trespass violations after construction begins, when fixing the problem means removing fixtures or redesigning circuits entirely. Professional reports generated from this data satisfy inspectors and document compliance for your records.
Account for Long-Term Performance Degradation
A 0.70 minimum light loss factor accounts for fixture aging and dirt accumulation, so your design performs reliably for years. This factor prevents the scenario where your layout meets code on day one but falls short after months of dust and weathering. LED fixtures rated for at least 70 lumens per watt maximize coverage with fewer units, which reduces wiring complexity and energy consumption while maintaining performance over time.
Final Thoughts
Exterior site lighting analysis transforms your design from assumptions into measurable proof that passes inspections and protects workers. Inspectors demand foot-candle readings, documented compliance with IESNA guidelines, and evidence that your layout meets local codes-not promises or fixture specifications alone. Horizontal photometric studies reveal coverage gaps before installation, vertical trespass measurements confirm you’re not spilling light onto neighboring properties, and a 0.70 minimum light loss factor ensures your layout performs reliably as fixtures age and accumulate dirt.
Professional photometric software eliminates guesswork and produces reports that satisfy code officials without revision cycles. OpenLumen provides a free, browser-based platform where designers and contractors create photometric layouts, run real-time illuminance analysis, and generate professional documentation without expensive software or steep learning curves. Its community-verified luminaires library and instant photometric metrics streamline the design-to-install workflow so teams validate lighting faster and with confidence.
Start your next project with analysis, not assumptions. The time you invest upfront prevents expensive field corrections and keeps projects on schedule, your workers stay safer, and your operating budgets reflect the efficiency you built in from day one.
The information provided is for general educational purposes only and should not be considered professional engineering or lighting design advice. Always verify project requirements, local codes, and specifications with qualified professionals before making final decisions.


