
Poor exterior lighting layouts cost property owners thousands in wasted energy while leaving spaces vulnerable to crime. At OpenLumen, we’ve seen how strategic light placement transforms outdoor areas into safe, functional environments that actually work.
This guide walks you through the real decisions that matter: where to place fixtures, what brightness levels you need, and how to avoid the common pitfalls that drain budgets and create problems down the road.
Why Lighting Placement Directly Impacts Safety and Property Value
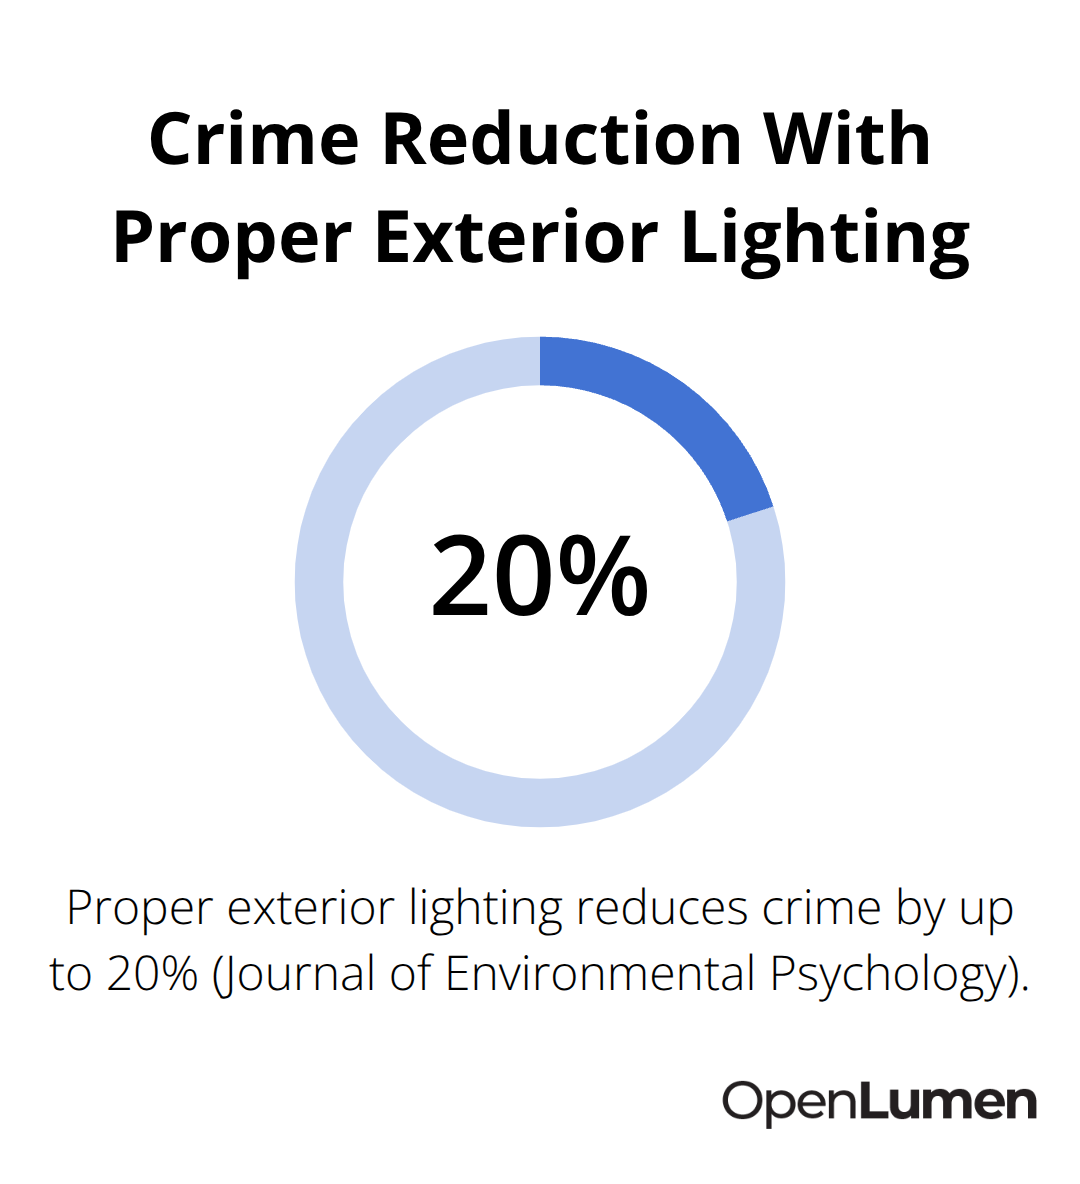
Proper exterior lighting reduces crime by up to 20 percent according to research from the Journal of Environmental Psychology. Dark properties invite trouble-criminals avoid well-lit areas because visibility increases their risk of detection. Pathways, entryways, and driveways need illumination at ground level to eliminate shadows where intruders hide.
The National Institute of Justice found that properties with strategic lighting around entry points experience fewer break-ins than those relying on single overhead fixtures. Beyond crime prevention, pedestrian safety depends on consistent light distribution along walkways. Uneven lighting creates tripping hazards and disorientation; studies show that properly lit stairs and transitions reduce fall injuries by preventing dark spots where feet catch. Color temperature matters here-warm white light between 2700K and 3000K guides pedestrians safely without harsh glare that causes eye strain and reduces visibility. Properties with thoughtful exterior lighting also command higher resale values because buyers perceive them as safer and better maintained.
Welcoming Entrances Set the First Impression
Your front entrance is where lighting makes an emotional statement. Fixtures mounted at eye level (66 to 72 inches high) should be one-quarter to one-third the height of your door for balanced proportions. Wall sconces flanking a doorway create symmetry that signals care and intentionality-asymmetrical lighting feels incomplete and neglected. Task lighting at entries must reach ground level so visitors see steps clearly and feel secure approaching the door. Code requirements vary by location, but most jurisdictions demand minimum illuminance of 10 to 20 foot-candles at entry points. Warm color temperatures at entries feel inviting; cool white above 4000K reads as institutional and cold, which contradicts the welcoming message you’re sending. Driveway and pathway lighting should guide movement without creating dark zones between fixtures. Staggered placement along walkways creates overlapping pools of light rather than isolated bright spots surrounded by darkness. Properties that integrate accent lighting-uplighting trees or highlighting stonework-add visual interest while maintaining safe foot traffic routes.
Code Compliance Prevents Costly Mistakes
Most jurisdictions require Dark Sky-friendly design using downward-facing or shielded fixtures to reduce light pollution. Non-compliance results in fines or forced fixture replacement after installation. Wet-rated fixtures are mandatory for exposed outdoor areas; damp-rated fixtures work for covered spaces like pergolas and patios. UL certification confirms third-party safety testing and code alignment.
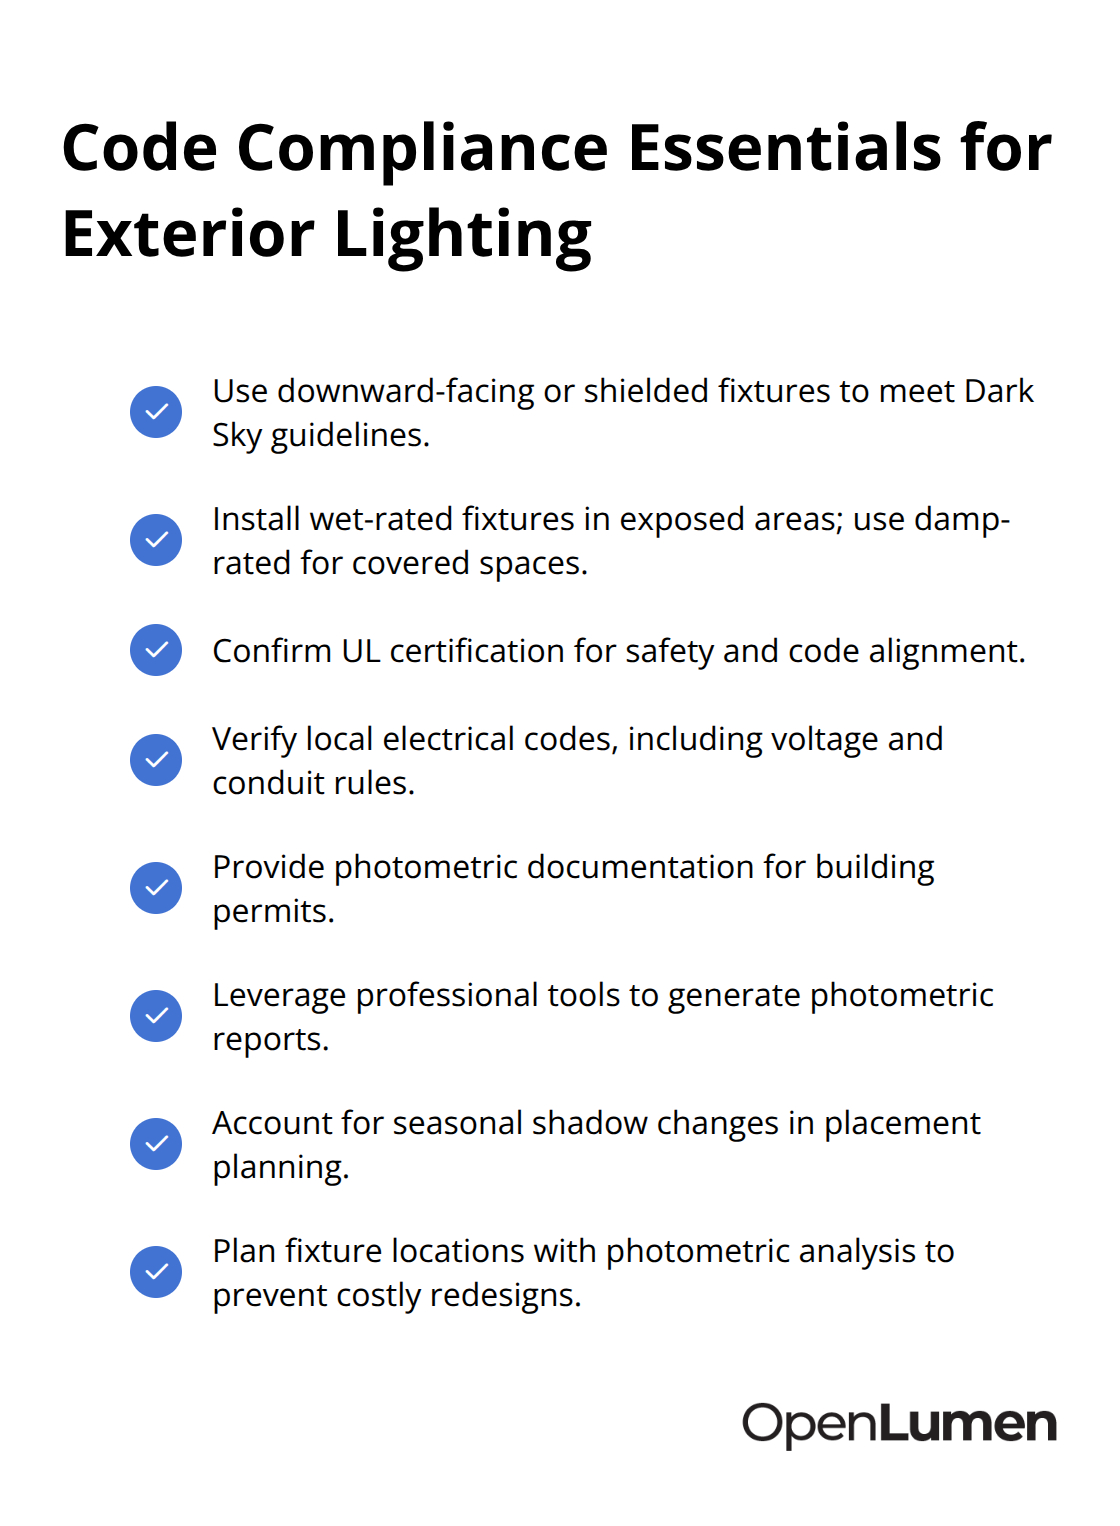
Verify your local electrical codes before you design-some areas restrict voltage systems or require conduit for low-voltage wiring. Building permits often require photometric documentation that proves your layout meets illuminance standards for the space type. Professional design tools that generate photometric reports streamline permit approval because inspectors see data rather than guesses. Outdoor lighting systems must account for seasonal changes; winter shadows differ from summer, affecting fixture placement calculations. Planning fixture locations with photometric analysis upfront eliminates redesigns after installation, saving thousands in labor and materials.
The decisions you make during the planning phase directly shape how your outdoor spaces perform. Next, we’ll examine the common mistakes that undermine even well-intentioned designs and how to avoid them.
Common Mistakes in Exterior Lighting Design
Most outdoor lighting failures stem from oversized fixture selections and improper spacing rather than design complexity. Property owners install 100-watt-equivalent bulbs in fixtures meant for 60-watt equivalents, creating harsh glare that reduces visibility instead of improving it. The American Medical Association warns that excessive outdoor lighting disrupts circadian rhythms and harms sleep quality for nearby residents, which explains why many municipalities now enforce Dark Sky compliance. Overlighting also wastes 30 to 50 percent of energy on light spilling into the sky or across property lines where it serves no purpose.
Spacing and Brightness Create Safety Gaps
Fixtures mounted too high or spaced too far apart create dark zones between pools of light, defeating the safety argument entirely. Well-designed layouts use moderate illuminance levels-10 to 20 foot-candles at entries, 5 to 10 foot-candles along pathways-validated through photometric analysis rather than guesswork. Photometric data reveals exactly where light falls and where gaps exist, preventing costly redesigns after installation. Contractors who skip this analysis often discover dark spots only after property owners complain about tripping hazards or security concerns.
Color Temperature Mismatches Fragment Your Design
Contractors frequently mix 3000K warm white at entries with 5000K cool white along pathways, creating visual discord that makes spaces feel fragmented and poorly planned. Consistency matters: maintain 2700K to 3000K throughout residential exteriors for cohesive ambiance, or use 4000K maximum for commercial applications where task visibility demands cooler tones. Mismatched temperatures signal poor planning to visitors and undermine the intentional design you worked to achieve.
Maintenance Neglect Accelerates Fixture Failure
Dirty lenses reduce light output by 20 to 30 percent within two years, yet many property managers skip quarterly cleaning. Wet-rated fixtures in coastal or humid climates corrode faster without regular inspection; stainless steel hardware and sealed gaskets extend lifespan, but only if monitored. LED bulbs last 25,000 to 50,000 hours, yet fixtures themselves fail when gaskets dry out or connections oxidize, making fixture quality more critical than bulb selection.
Validation Prevents Installation Disasters
Professional lighting designers use photometric data to validate spacing and brightness before installation, catching these mistakes during planning rather than after thousands in materials sit idle on site. Tools that generate photometric reports streamline this process, allowing teams to test layouts in real time and adjust fixture placement with confidence. This approach transforms lighting design from guesswork into a data-driven discipline that protects budgets and delivers results.
Understanding these pitfalls positions you to make smarter decisions when selecting fixtures and planning layouts. The next section reveals the best practices that separate effective designs from mediocre ones.
How to Validate Lighting Layouts Before Installation
Site Analysis Reveals Hidden Problems
Start with a physical site visit that measures distances, identifies obstacles, and documents existing conditions. Walk the property at night to understand current lighting gaps and shadow patterns-what looks safe in daylight often reveals serious problems after dark. Measure the height of entry doors, width of walkways, distance from the house to property lines, and locations of trees or structures that block light. Note seasonal factors: winter sun angles differ dramatically from summer, which affects shadow placement and fixture performance year-round. Document electrical access points and existing infrastructure to avoid costly relocations during installation. This groundwork prevents assumptions that lead to fixture placement errors costing thousands in rework.
Match Fixtures to Spaces, Not Aesthetics
Once you have site data, select fixtures matched to the spaces they serve rather than choosing aesthetically first and hoping they perform. Wall sconces at entries should mount at 66 to 72 inches high and deliver 10 to 20 foot-candles of illuminance-specifications that photometric data confirms before purchase. Pathway fixtures typically require 5 to 10 foot-candles and should space no more than 8 to 12 feet apart to eliminate dark zones between pools of light. Post lights for driveways need proportional sizing: 84-inch-tall posts work for most residential applications, but verify against your site’s landscape scale and architecture. Damp-rated fixtures work for covered patios and pergolas, while wet-rated fixtures are mandatory for exposed areas like open decks and pathways. The fixture type matters less than the photometric output it delivers-a decorative sconce is worthless if it produces insufficient lumens for the space.
Photometric Reports Transform Planning Into Data
Generate photometric reports that show illuminance distribution across your site before ordering anything. These reports display exactly where light falls, reveal dark spots between fixtures, and validate that spacing meets code requirements. Tools that let you test layouts in real time, adjust fixture placement instantly, and generate professional photometric documentation streamline this process without expensive software licenses. This approach transforms guesswork into measurable confidence.
Spacing Errors Surface During Analysis
Photometric validation catches spacing errors during the planning phase, not after installation. A 20-foot driveway lit with fixtures spaced 15 feet apart creates a dark zone in the middle-photometric data shows this immediately, allowing you to add one fixture or adjust placement before materials arrive on site. Color temperature consistency becomes obvious during this process: mixing 2700K and 4000K fixtures reveals the visual discord that undermines intentional design. Most jurisdictions now require photometric documentation for building permits, making this analysis mandatory rather than optional. Contractors who skip this step face delays, redesigns, and client frustration. Property owners who invest 30 minutes in photometric analysis avoid months of problems and hundreds in wasted materials.
Final Thoughts
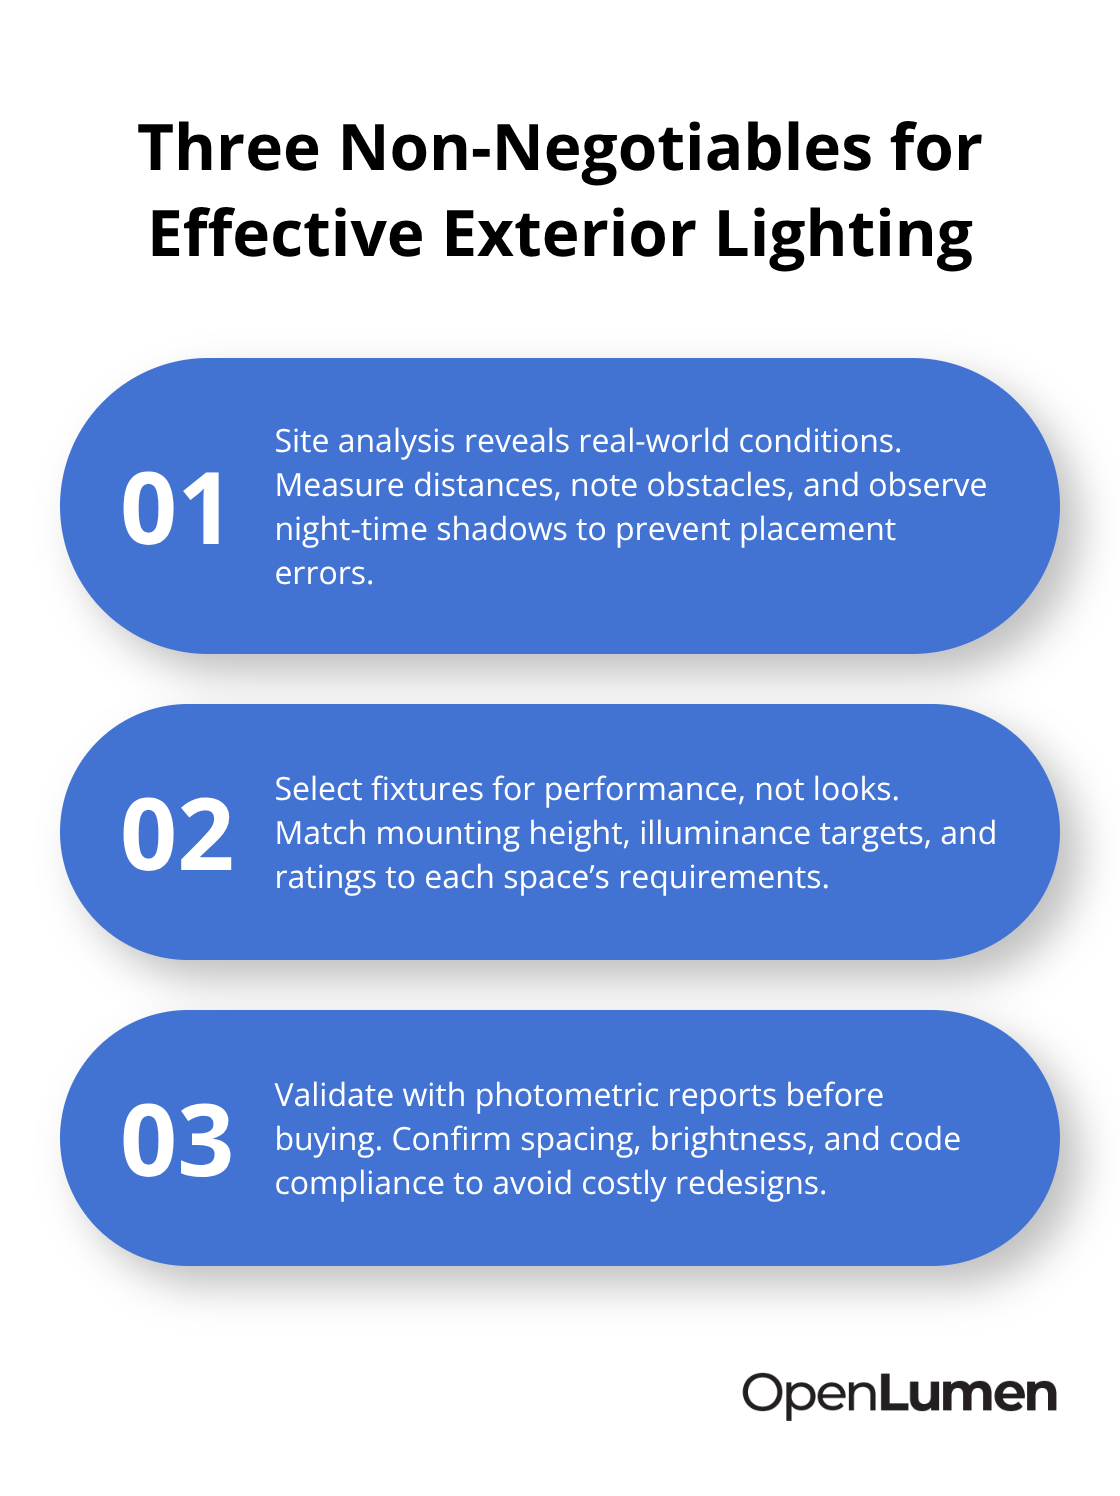
Effective exterior lighting layouts require three non-negotiable elements: site analysis that reveals actual conditions, fixture selection matched to performance requirements rather than aesthetics alone, and photometric validation before installation. Property owners and contractors who skip this process waste thousands on redesigns, energy overages, and client complaints. The data is clear: strategic light placement reduces crime by up to 20 percent, prevents fall injuries on stairs and pathways, and increases property resale value.
Digital tools have transformed how teams approach this work. Rather than installing fixtures and hoping they perform, you can now test layouts in real time, adjust spacing instantly, and generate professional photometric reports that satisfy building permits and client expectations. This shift from assumption-based design to data-driven validation eliminates the common mistakes that drain budgets: overlighting that wastes energy and disrupts circadian rhythms, color temperature mismatches that fragment visual cohesion, and spacing errors that create dark zones between pools of light.
OpenLumen streamlines this entire workflow by combining a community-verified luminaires library with instant photometric analysis in a browser-based platform. Designers, contractors, and facility owners can create layouts, run illuminance analysis, and generate professional reports without expensive software or technical barriers. Treat exterior lighting layouts as a discipline grounded in measurement rather than intuition, and you protect budgets while delivering safer spaces that build client confidence.
The information provided is for general educational purposes only and should not be considered professional engineering or lighting design advice. Always verify project requirements, local codes, and specifications with qualified professionals before making final decisions.


