Poorly planned lighting layouts cost contractors time and money on every job. Missing fixture details, incomplete specifications, and vague installation instructions force field teams to stop work, call back to the office, and waste hours solving problems that should have been caught before anyone stepped on site.
Contractor-ready layouts eliminate these delays. At OpenLumen, we’ve seen how clear specifications, accurate fixture placement, and complete material lists transform installation timelines. This post shows you exactly how to create layouts that field teams can execute without confusion or callbacks.
What Makes a Layout Contractor-Ready
A contractor-ready layout has three non-negotiable elements: explicit installation instructions tied to each fixture, precise placement and height data that field teams can measure and verify, and photometric performance metrics that prove the design meets the owner’s requirements. Without all three, field teams face guesswork, callbacks, and costly delays. Vague fixture schedules, missing mounting heights, or photometric data buried in separate documents force installers to stop work and hunt for answers. The best layouts integrate these details into a single, clear document that field teams can reference without leaving the site or phoning the office.
Installation Instructions That Actually Work in the Field
Fixture specifications must include the exact model number, wattage, color temperature, beam angle, and any special requirements like dimming or control integration. Field teams need to know not just what to install, but how to install it. This means noting whether a fixture mounts flush, semi-recessed, or pendant; whether it requires junction boxes or specific conduit sizes; and whether it connects to a dimming system or standalone power. Generic notes like “install per manufacturer” fail because field crews often lack access to full installation manuals on site. Instead, spell out critical steps: mounting hardware required, clearances needed from walls or other equipment, and any pre-installation checks that prevent rework. When specifications are incomplete, the National Electrical Code still applies, but field teams waste time interpreting code requirements instead of executing the design. Clear, site-specific installation language cuts this waste entirely.
Fixture Placement and Mounting Heights That Match Reality
Accurate placement means more than marking X and Y coordinates on a plan. Field teams need to know the exact mounting height above finished floor, the distance from walls or obstacles, and how the fixture aligns with structural elements like beams or ductwork. Mounting heights matter because a 2-inch difference can shift photometric performance outside acceptable ranges. Include reference dimensions from permanent features like columns or walls so installers can locate fixtures even if the plan gets dirty or torn. Coordinate with architectural and MEP trades early to identify ceiling obstructions, electrical panels, or ductwork that might block fixture placement. A design that ignores real construction sequencing and existing building conditions forces field changes that derail schedules. Robotic layout technology like Dusty FieldPrinter can print exact fixture locations directly onto construction surfaces with 100% accuracy, eliminating measurement errors entirely and speeding installation by 5 to 10 times compared to manual marking.
The number 100% seems to be not appropriate for this chart. Please use a different chart type.
Photometric Performance That Proves the Design Works
Field teams need to see proof that the proposed layout actually delivers the required illuminance, color rendering, and light distribution across the space. Include illuminance maps showing lux or foot-candle values at task surfaces, ceiling, and walls. Provide polar charts and zonal lumen data so installers understand how each fixture contributes to the overall coverage. When photometric data is missing or unclear, field teams cannot verify that the installation matches the design intent, creating disputes about whether the work meets contract requirements. Real-time photometric analysis tools help you validate performance before sending plans to the field and catch coverage gaps or hot spots before installation starts. This feedback eliminates the expensive back-and-forth between design and installation teams.
Coordinate Early to Prevent Field Conflicts
Cross-disciplinary coordination from day one prevents the layout problems that surface later on site. Align fixture placement with structural elements, MEP runs, and architectural finishes before field teams arrive. When design and installation teams communicate early (through shared BIM models, clear specifications, or design-build workflows), conflicts surface during planning rather than during installation. This approach reduces field rework, accelerates schedules, and keeps costs predictable. The next section shows exactly how to build these contractor-ready layouts without slowing down your design process.
How to Create Contractor-Ready Layouts Efficiently
Standardize Your Documentation Process
Efficiency in contractor-ready layouts starts with removing friction from your design process. Standardize how you document fixture placement, specifications, and performance data so every layout follows the same structure. When field teams see consistent formatting across projects, they work faster and make fewer mistakes because they know exactly where to find critical information.
Create a master template that includes sections for fixture schedules with model numbers and mounting heights, illuminance maps with specific lux or foot-candle values at key task areas, and a complete bill of materials tied directly to fixture locations on the plan. This template becomes your baseline for every project, saving hours of repetitive documentation work. Tools like Smartsheet offer construction-ready templates that help teams standardize budgets, schedules, and material lists across projects, and you can adapt these frameworks to lighting layout documentation.
The key is building your template once, then reusing it for every job. This alone cuts design time by 20 to 30 percent because you eliminate the need to rebuild documentation from scratch.

Validate Designs Before Handoff to Installation Teams
Validation before handoff is non-negotiable. Run real-time photometric analysis on your layouts before sending them to the field so you catch coverage gaps, hot spots, or performance shortfalls while changes are still easy and free. Tools that provide instant illuminance maps and zonal lumen data let you test fixture placement, adjust spacing, and verify that your design meets owner requirements without waiting for external analysis.
This validation step typically takes one to two hours per project but prevents costly field modifications that would otherwise add days to your schedule. When you validate designs upfront, you eliminate the expensive back-and-forth between design and installation teams that derails most projects.
Include Complete Bill of Materials and Equipment Lists
Include every material needed for installation in a single bill of materials document that ties directly to fixture locations-mounting hardware, junction boxes, conduit sizes, control wiring, and any special equipment like dimming modules. When installers have a complete material list before arriving on site, they order everything upfront, show up with the right components, and avoid the supply chain delays that plague most projects.
Field teams that work with clear specifications, validated photometric performance, and complete material lists install 5 to 10 times faster than crews working from generic plans and fragmented documents. This efficiency compounds across your pipeline. When you standardize your layout process and validate designs before handoff, you reduce RFIs and callbacks to near zero, your field teams complete installations on schedule, and your reputation for delivering on time becomes a competitive advantage.
Contractors and distributors who adopt this approach report faster project cycles, fewer client disputes, and lower installation costs because rework disappears. The discipline of creating contractor-ready layouts from the start costs less than managing the chaos that results from poor planning. Yet even the most carefully planned layouts fail when field teams encounter incomplete fixture information or vague specifications that leave room for interpretation.
Common Mistakes That Delay Field Installation
Fixture schedules that omit critical installation details force field crews to stop work and call the office for answers that should have been on the plan. A fixture model number without mounting height, conduit size, or control wiring specification leaves installers guessing about how to connect equipment safely and correctly. When specifications say “install per manufacturer” but the crew lacks access to full manuals on site, they either delay installation to hunt down documentation or make assumptions that violate code or design intent. Missing beam angle data means installers cannot verify that spacing matches the photometric design, so coverage gaps appear only after fixtures are mounted and powered. The National Electrical Code still applies regardless of plan clarity, but vague specifications force field teams to interpret code requirements instead of executing your design. This interpretation gap creates inconsistency across the project, rework, and disputes about whether the installation actually meets contract requirements.
Incomplete Fixture Information Stops Work Cold
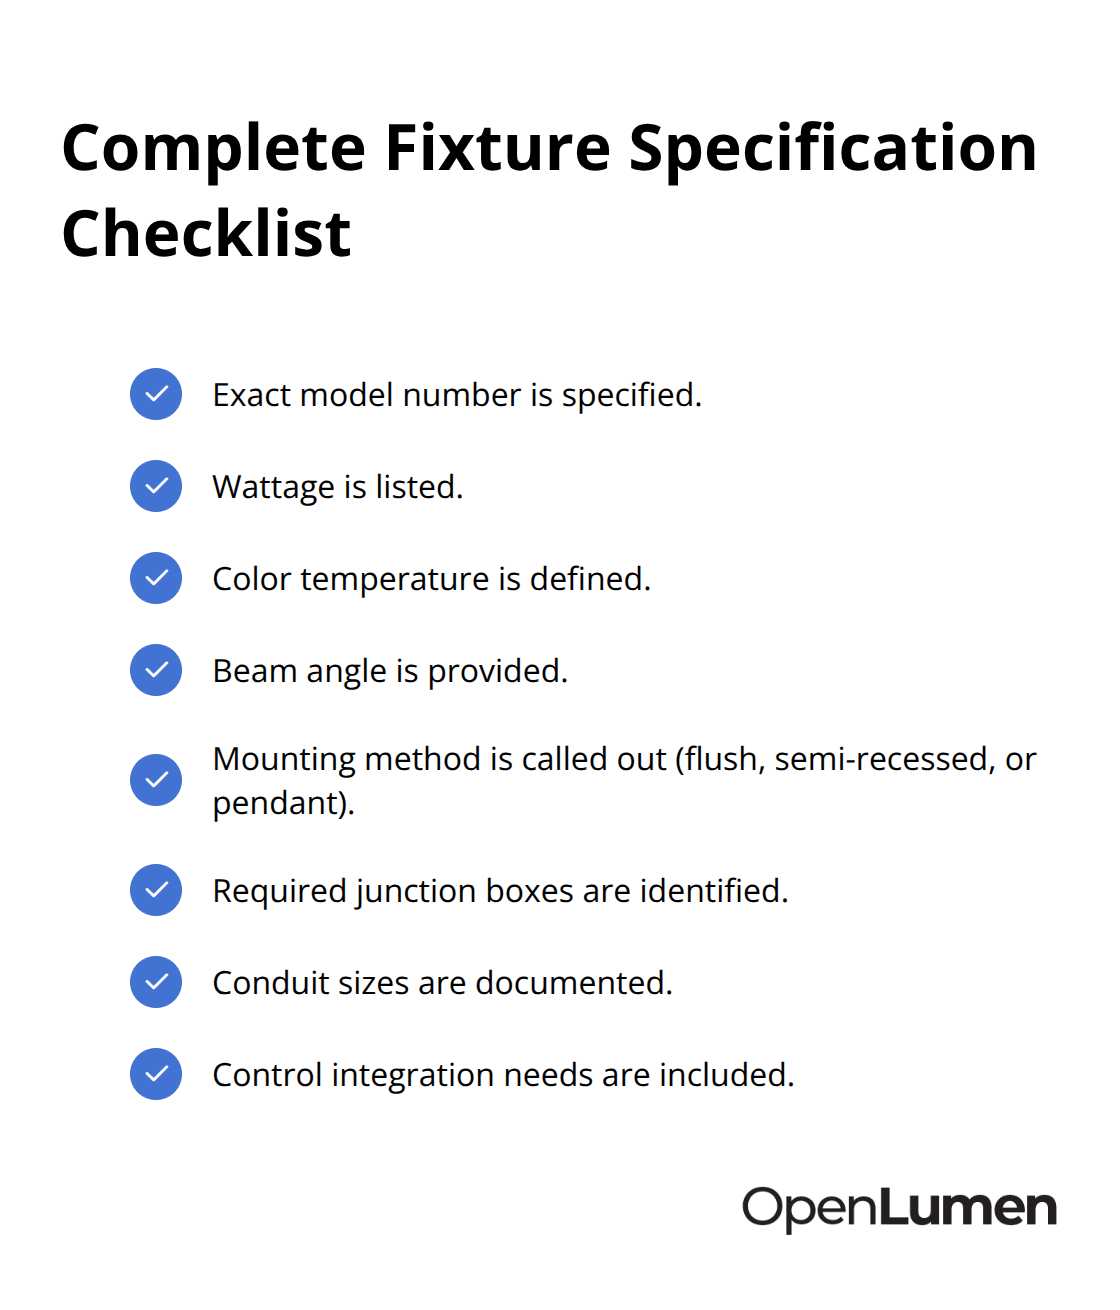
Fixture schedules that lack critical installation details create the single largest driver of RFIs and callbacks on lighting projects. Field teams cannot move forward without clarity on what to install and how to install it. A complete fixture specification includes the exact model number, wattage, color temperature, beam angle, mounting method (flush, semi-recessed, or pendant), required junction boxes, conduit sizes, and any control integration needs.
When this information scatters across multiple documents or gets buried in generic notes, field crews waste hours hunting for answers that should have been on the plan from the start. Vague specifications force installers to interpret code requirements instead of executing your design, which creates inconsistency and rework. Field teams that work with complete, site-specific installation instructions complete fixtures 5 to 10 times faster than crews working from fragmented plans.
Photometric Data Locked Away From Field Teams
Illuminance maps and zonal lumen data scattered across multiple files or locked in analysis software that field teams cannot access on site create a disconnect between design intent and field execution. Field crews need to see proof that the proposed layout delivers the required light levels at task surfaces, and they need that proof in a format they can reference without leaving the site or calling back to the office. When photometric performance is missing entirely, installers cannot verify coverage or identify hot spots until after installation is complete, which forces costly adjustments or owner disputes. Coverage maps that show lux or foot-candle values at specific task areas give field teams a clear target for installation quality and let them catch performance shortfalls before the final walkthrough. Polar charts and zonal lumen data help installers understand how each fixture contributes to overall coverage, so they can adjust spacing or aim angles if site conditions differ slightly from the original plan. Real-time illuminance analysis tools catch coverage gaps and performance issues while changes are still free and easy, eliminating this problem entirely.
Structural and MEP Conflicts That Plans Ignore
Structural elements, MEP runs, and architectural finishes that appear on the construction documents but not on lighting layouts create conflicts that surface only when field teams arrive on site. A fixture placement that ignores an existing beam or ductwork forces installers to relocate the fixture, adjust mounting height, or modify the layout on the fly, all of which cost time and money. Early coordination between architectural, structural, and MEP teams reduces field clashes and rework by surfacing conflicts during planning rather than during installation. When design and installation teams communicate through shared BIM models or clear design-build workflows, fixture placement aligns with real building conditions from the start. Plans that reflect actual construction sequencing and existing site constraints prevent the last-minute modifications that derail most projects. Field teams working from layouts that account for ceiling conditions, structural penetrations, and contractor install realities complete installations 5 to 10 times faster than crews working from generic plans that ignore site-specific details.
Validation Before Handoff Prevents Field Chaos
Plans that lack photometric validation force field teams to discover performance shortfalls after installation is complete. Instant illuminance analysis before you send plans to the field catches coverage gaps, hot spots, and performance issues while changes are still free and easy. This validation step typically takes one to two hours per project but prevents costly field modifications that would otherwise add days to your schedule. When you validate designs upfront, you eliminate the expensive back-and-forth between design and installation teams that derails most projects. The discipline of validating designs against actual site conditions before sending plans to the field costs nothing upfront but prevents the expensive rework that consumes schedules and budgets.
Final Thoughts
Contractor-ready layouts eliminate the delays and rework that drain budgets and damage schedules. When you combine clear installation instructions, validated photometric performance, and complete material lists into a single, field-accessible document, your teams move faster and costs stay predictable. The discipline of creating layouts that field crews can execute without callbacks costs nothing upfront but prevents the expensive back-and-forth that consumes most projects.
Proper layout planning reduces installation time by 5 to 10 times compared to generic plans because field teams spend hours installing instead of hunting for missing specifications or calling the office for answers. When photometric data is validated before handoff, coverage gaps and performance shortfalls disappear before installation starts. When fixture placement accounts for structural elements and MEP runs, field conflicts vanish. When material lists are complete and specifications are site-specific, supply chain delays evaporate.
Projects that start with contractor-ready layouts finish on schedule, stay within budget, and generate fewer disputes because the work matches the design intent from day one. Standardize your documentation process so every layout follows the same structure, validate designs against actual site conditions before you send plans to the field, and include every material and specification detail that field teams need to execute without callbacks. Tools like OpenLumen streamline this workflow by letting you run real-time illuminance analysis, access community-verified luminaires data, and generate professional reports without expensive software or steep learning curves.
The information provided is for general educational purposes only and should not be considered professional engineering or lighting design advice. Always verify project requirements, local codes, and specifications with qualified professionals before making final decisions.


