
Getting illuminance right on real projects separates successful installations from costly rework. Most contractors and designers either over-specify lighting-wasting budget-or under-specify it, leaving clients unhappy with dim spaces.
At OpenLumen, we’ve seen how small mistakes in reading standards or measuring light on site create expensive problems. This guide walks you through the practical steps to nail site illuminance considerations, from understanding lux requirements to validating your work in the field.
What Lux Levels Actually Mean for Your Project
Standards Provide a Baseline, Not a Guarantee
Illuminance standards exist for a reason, but most contractors misuse them. The IES Lighting Handbook and ISO standards define lux requirements by space type and task, yet many teams either treat these numbers as gospel or ignore them entirely. The truth sits in the middle: standards provide a baseline, not a guarantee. A warehouse needs 300 lux on the floor according to the IES, but whether that’s correct for your specific client depends on worker age, task complexity, and existing ambient light. Older workers need 20 to 50 percent more light than younger workers to perform the same tasks, according to research in illumination science. The IES recognizes this and publishes ranges rather than fixed values.
Office spaces typically fall between 300 and 500 lux depending on whether workers spend time reading paper documents or working on screens. Screen work can generate glare at 500 lux if fixtures sit directly above monitors, while paper reading tasks often feel dim below 400 lux. Most teams select a single number from the range and call it done. Instead, measure the actual tasks in your space, check the age demographics of occupants, and validate your choice against site conditions before finalizing the design.
Illuminance Alone Doesn’t Solve Visual Comfort
Reading IES and ISO guidance correctly means understanding that illuminance alone doesn’t solve visual comfort. A parking lot at 10 lux meets NFPA standards for emergency egress, but drivers need 15 to 20 lux to safely navigate. A retail space at 300 lux might feel dim if accent lighting is poor or surface reflectance is dark. The ISO standards assume average surface reflectance around 50 percent on walls and 20 percent on floors. If your client installs dark finishes, that 300 lux office suddenly feels gloomy.
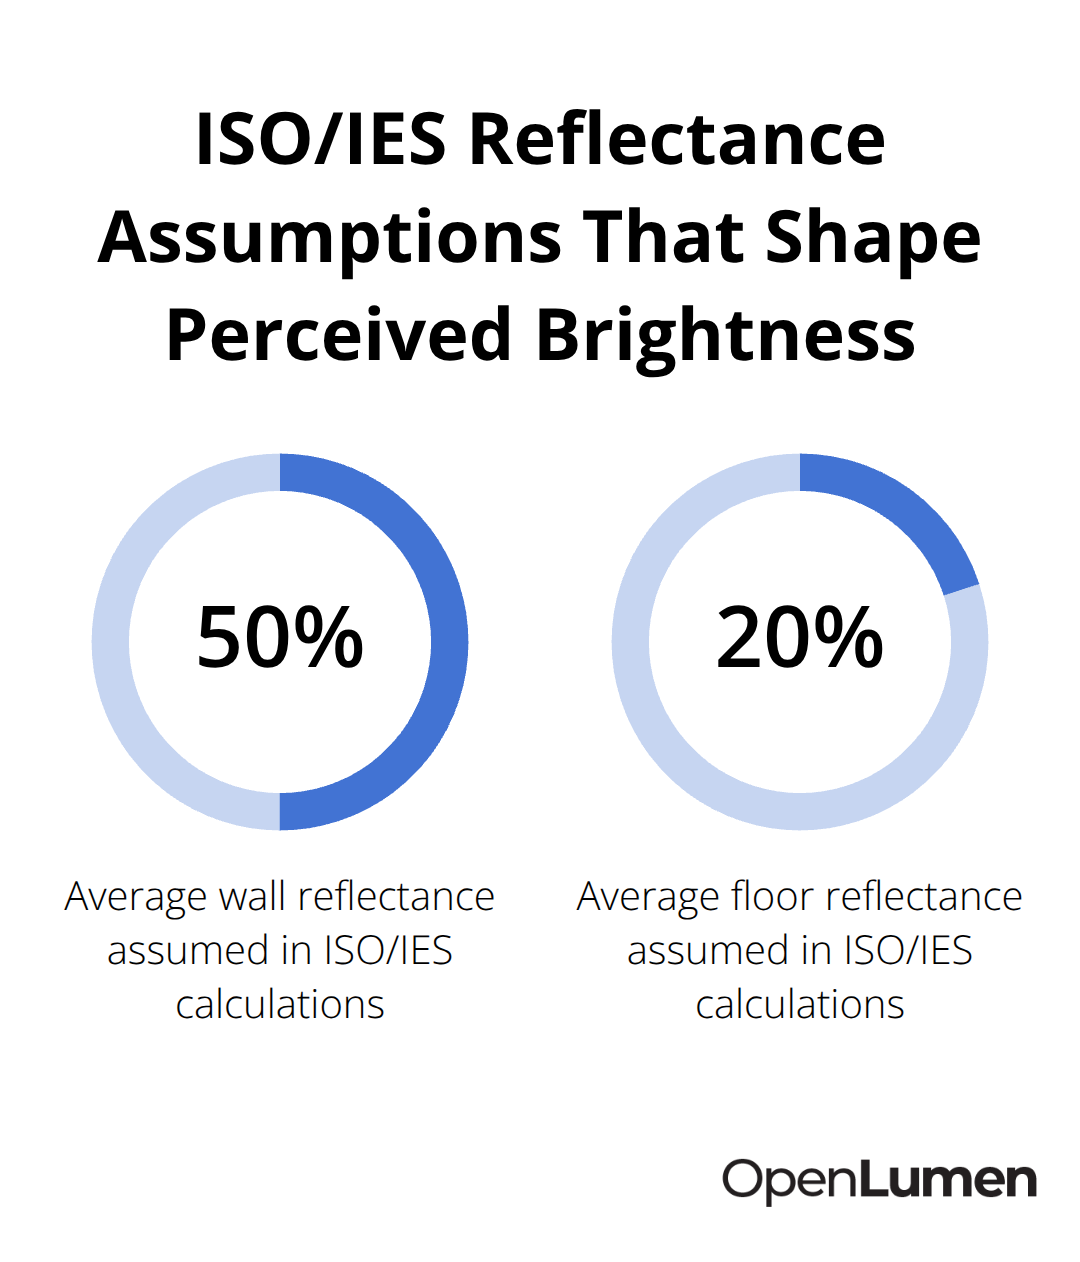
Conversely, light paint and ceiling treatments amplify perceived brightness without adding fixtures.
Common Errors That Derail Projects
Most teams make predictable mistakes when interpreting standards. They ignore the measurement plane specified in standards (most office tasks require measurement at the desk surface, not 30 inches above the floor), fail to account for non-uniformity ratios (the IES recommends maximum-to-minimum ratios of 3:1 for general office lighting), and confuse vertical illuminance at the eye with horizontal illuminance at the work plane. Vertical eye-level illuminance matters for circadian health and facial visibility; horizontal floor illuminance drives safety and task visibility.
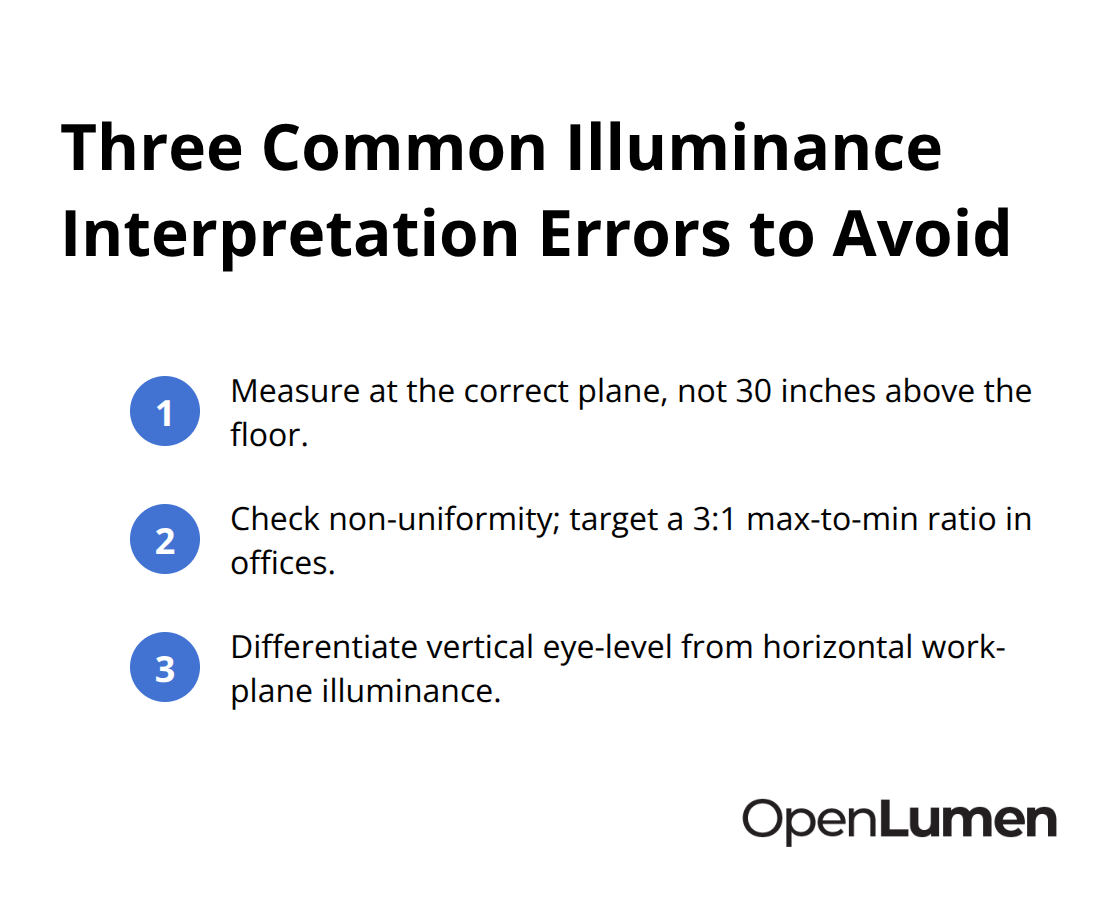
Many teams measure only one and miss critical performance issues.
Standards also distinguish between average and minimum illuminance. A space might average 400 lux but dip to 150 lux in corners, violating uniformity requirements and creating dark zones where accidents happen. Field validation catches these problems before handoff and prevents the costly rework that follows when clients reject dim or uneven spaces.
Validating Your Choices in the Field
The gap between design intent and field reality widens when teams skip on-site measurement. Standards tell you what to target, but your actual space-with its specific geometry, surface colors, and fixture placement-determines whether you hit that target. Measuring light on site reveals whether your calculations match reality and where adjustments are needed before final installation.
Measuring Light on Site
Calculating illuminance on paper and validating it in the field are two completely different tasks. Your design software shows what should happen; your light meter shows what actually happens. Most teams skip field measurement because it feels time-consuming or they assume calculations are close enough. That assumption costs money. A 2024 survey of commercial lighting projects found that 34 percent required rework after installation because measured illuminance fell short of design intent, often by 15 to 25 percent. Measurement on site catches these gaps before handoff and prevents the expensive redesigns that follow.
Selecting and Using the Right Meter
Start with a basic illuminance meter-nothing fancy required. A standard light meter measuring in lux costs between 40 and 150 dollars and delivers reliable readings for most applications. Specialized LED meters exist because some LED fixtures produce spectral distributions that confuse older analog meters, but for straightforward illuminance work, a basic digital meter works fine.
Measure at the correct plane specified in your standards: horizontal illuminance at desk height for office tasks, vertical illuminance at eye level for circulation areas, and horizontal illuminance at floor level for parking and warehouses. Block daylight with curtains or measure during overcast conditions to isolate artificial light performance. Place the meter directly on the measurement surface-not held above it-and wait three to five seconds for the reading to stabilize.
Capturing a Complete Picture Across the Space
Take at least nine measurements across the space in a grid pattern, recording both average and minimum values. This reveals whether your design meets uniformity ratios. If your average is 400 lux but the minimum is 120 lux, you have a 3.3:1 ratio, which exceeds the IES recommendation of 3:1 for office spaces and signals uneven distribution that needs correction.
Compare your field measurements against your design calculations immediately. If the field average sits 10 to 15 percent below calculations, that’s normal and acceptable-real-world conditions always vary slightly from models. If the gap exceeds 20 percent, something went wrong: fixtures may be installed at the wrong height, spacing is incorrect, surface reflectance differs from assumptions, or dirt on lenses is already reducing output.
Fixing Uneven Distribution and Performance Gaps
Uneven distribution often stems from fixture placement too close to walls or inadequate spacing between units. Move fixtures away from walls to spread light more evenly, or add supplemental fixtures in dark zones. If accent lighting overwhelms general ambient light in retail spaces, dial back accent levels or increase general illumination to maintain visibility.
Older workers need measurably more light than younger ones-research shows workers over 55 typically need 20 to 50 percent additional illuminance to match the performance of workers in their twenties. If your space houses a mixed-age workforce, measure carefully and consider adding task lighting for older staff rather than raising general illumination across the entire area.
Protecting Your Work with Documentation
Document your field measurements with photos and notes before signing off. This record protects you if clients later claim the space is too dim or too bright, and it provides baseline data for future maintenance and upgrades. Once you’ve validated illuminance performance on site, the next step focuses on how to optimize fixture placement and surface materials to hit your targets without inflating costs.
How Fixture Placement and Materials Cut Costs Without Cutting Light
Fixture placement determines whether you hit illuminance targets efficiently or waste money chasing performance with extra luminaires. Most teams space fixtures evenly across a ceiling without considering how distance from walls, floor reflectance, and surface finishes affect light delivery. This approach often overshoots illuminance in some zones while undershooting in others, requiring costly adjustments after installation.
Position Fixtures Away From Walls
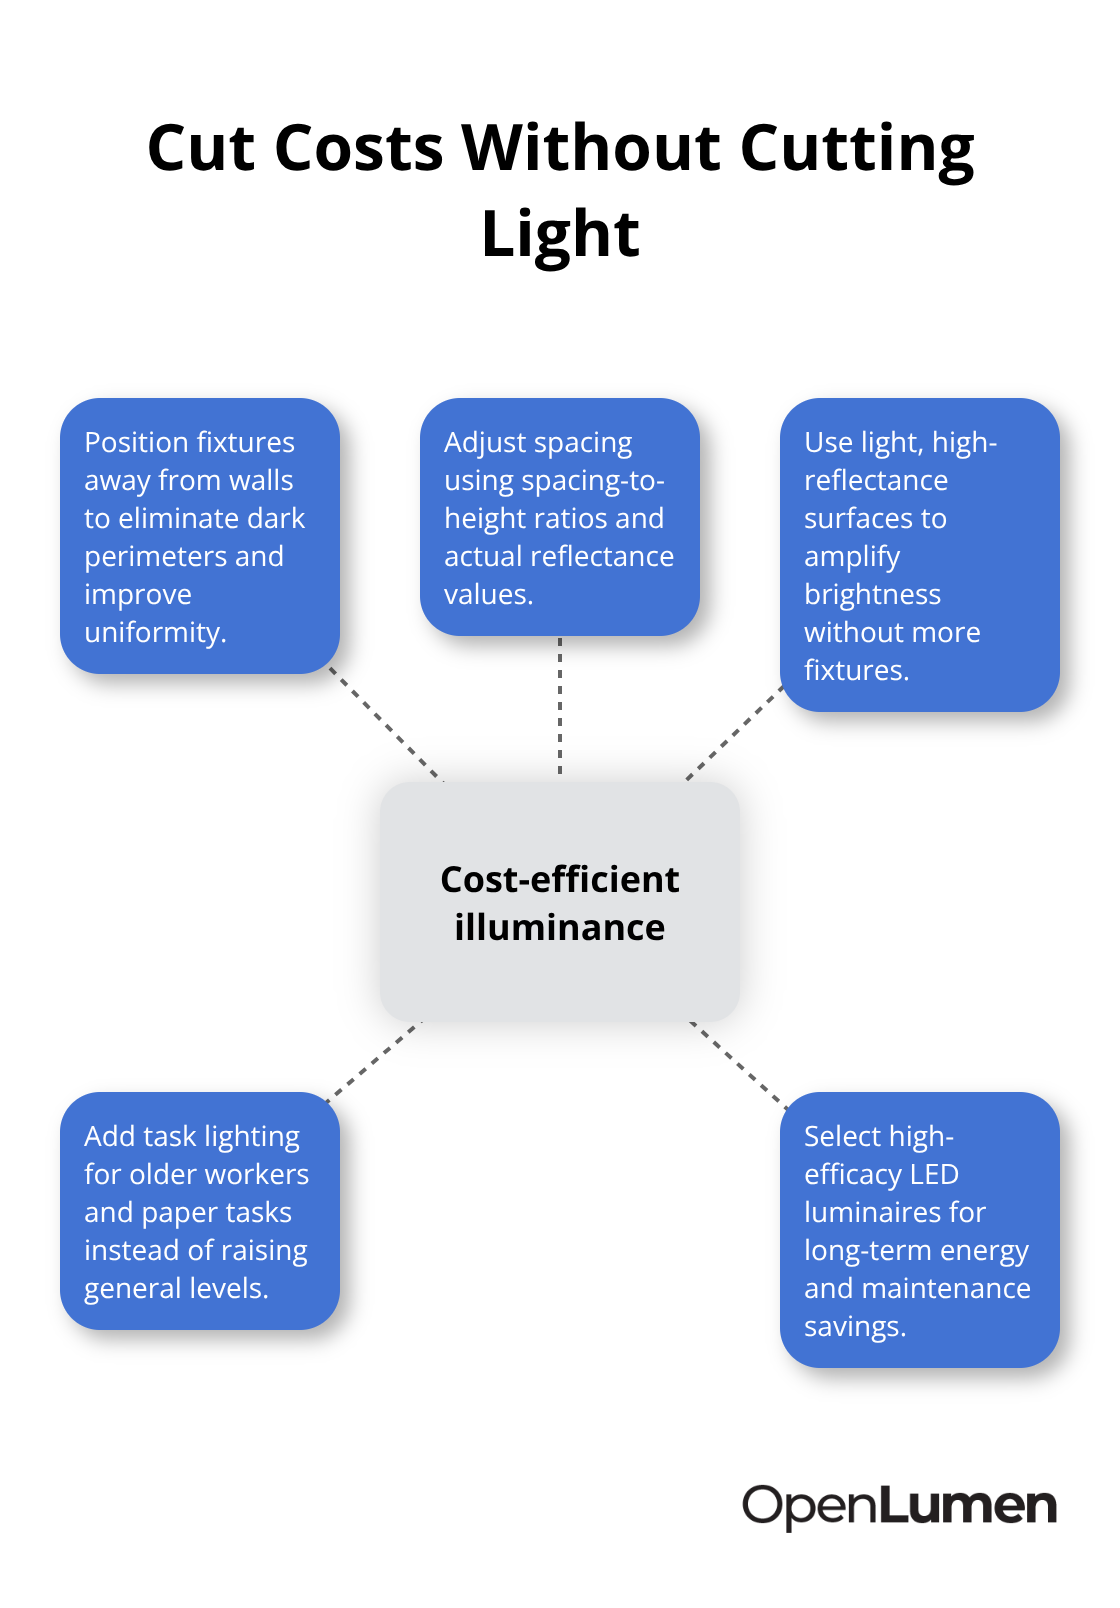
Move fixtures away from walls, increase spacing slightly where reflectance is high, and you reduce the total fixture count while maintaining or improving uniformity. A warehouse with white concrete walls at 60 percent reflectance needs fewer fixtures than one with dark brick at 20 percent reflectance, yet most designs ignore this entirely. Position your first row of fixtures 1.5 times the fixture height away from walls rather than centered on the wall line, and you eliminate the dark perimeter zones that plague poorly designed spaces. For a 15-foot-high warehouse, this means starting fixtures 22.5 feet from the wall instead of at the wall edge. That single adjustment reduces dark corners without adding luminaires.
Adjust Spacing Based on Reflectance Values
Spacing between fixtures matters equally. The IES publishes spacing-to-height ratios that guide fixture selection, but these ratios assume average reflectance. A space with light-colored ceilings at 80 percent reflectance can handle 20 to 30 percent wider spacing than the standard ratio recommends, while a dark ceiling at 30 percent reflectance demands tighter spacing. Calculate your actual reflectance values during design, not after installation, and you’ll avoid the expensive fixture additions that follow when spaces feel dim.
Leverage Surface Materials to Amplify Light
Surface materials amplify or diminish light without adding cost. Paint your office walls a light gray instead of dark blue, and you increase perceived brightness by 30 to 40 percent without touching fixtures. The IES assumes 50 percent reflectance on walls and 20 percent on floors in standard calculations, but most real projects deviate sharply from these assumptions. A retail space with dark wood ceilings at 15 percent reflectance needs 20 to 30 percent more fixtures than one with white acoustic tiles at 80 percent reflectance to achieve the same illuminance. Specify light finishes early in the design process, not as an afterthought, and you’ll reduce fixture counts and total project cost.
For existing spaces where paint changes aren’t feasible, task lighting becomes your cost-effective alternative. Add a 30-watt LED desk lamp in an office instead of raising general illumination from 400 to 500 lux across the entire floor, and you serve older workers and paper-reading tasks without wasting energy in circulation areas where lower light is acceptable. This targeted approach costs 200 to 400 dollars per workstation versus thousands for rewiring and adding ceiling fixtures.
Select Fixtures for Long-Term Value
Luminaire selection drives long-term costs far more than initial purchase price. LED fixtures with integrated drivers and sealed optics cost 15 to 25 percent more upfront than older fluorescent or metal-halide equivalents but deliver 40 to 50 percent lower energy consumption and require maintenance roughly every 10 years instead of every 3 to 4 years. Over a 20-year building lifecycle, the LED choice saves 30 to 50 percent on total operating and maintenance costs. Many teams still default to the cheapest fixture option, not realizing they’re locking in higher energy and labor costs for two decades. Choose fixtures with efficiency ratings above 90 lumens per watt and thermal management designed for your specific environment, and you’ll hit illuminance targets without over-specifying wattage. Unified lighting design tools let you test fixture options and see real-time illuminance results before ordering, so you avoid purchasing mistakes and the rework that follows.
Final Thoughts
Site illuminance considerations determine whether your projects succeed or fail in the field. Standards provide guidance, not gospel-your specific client’s age, task complexity, and surface finishes shape what actually works. Measure on site with a basic light meter, capture at least nine readings across the space, and verify uniformity before handoff. This discipline catches problems early and prevents the expensive redesigns that plague teams who skip validation.
Fixture placement and surface reflectance deliver results without inflating costs. Move fixtures away from walls, adjust spacing based on actual reflectance values, and specify light finishes to reduce fixture counts by 15 to 30 percent while maintaining performance. Document your field measurements, record surface values, and photograph your work before signing off-this record protects you if disputes arise and provides baseline data for future maintenance.
OpenLumen streamlines this workflow by letting you create photometric layouts, run real-time illuminance analysis, and generate professional reports without expensive software or steep learning curves. Treat site illuminance as a measurable outcome, not an assumption, and your projects will stay on budget and on schedule.
The information provided is for general educational purposes only and should not be considered professional engineering or lighting design advice. Always verify project requirements, local codes, and specifications with qualified professionals before making final decisions.


