
Lighting projects fail more often than they succeed, and most failures trace back to the same preventable mistakes. At OpenLumen, we’ve seen contractors waste thousands on fixtures that don’t meet code, installers skip photometric analysis, and property owners end up with spaces that feel wrong.
This guide walks you through the critical errors that derail projects and how to prevent common lighting mistakes before they cost you time and money.
Getting Lumens and Illuminance Right
Lumens and Illuminance Are Not the Same Thing
Most lighting projects fail at the calculation stage, and contractors know it. You specify a fixture, install it, and discover the space is either too bright or too dim. The root cause is simple: you skipped the math. Lumens measure total light output from a fixture, but illuminance measures how much light actually lands on a surface where people work or live. These are not interchangeable. A 3000-lumen fixture in a small office creates glare and wastes energy, while the same fixture in a warehouse leaves dark corners.
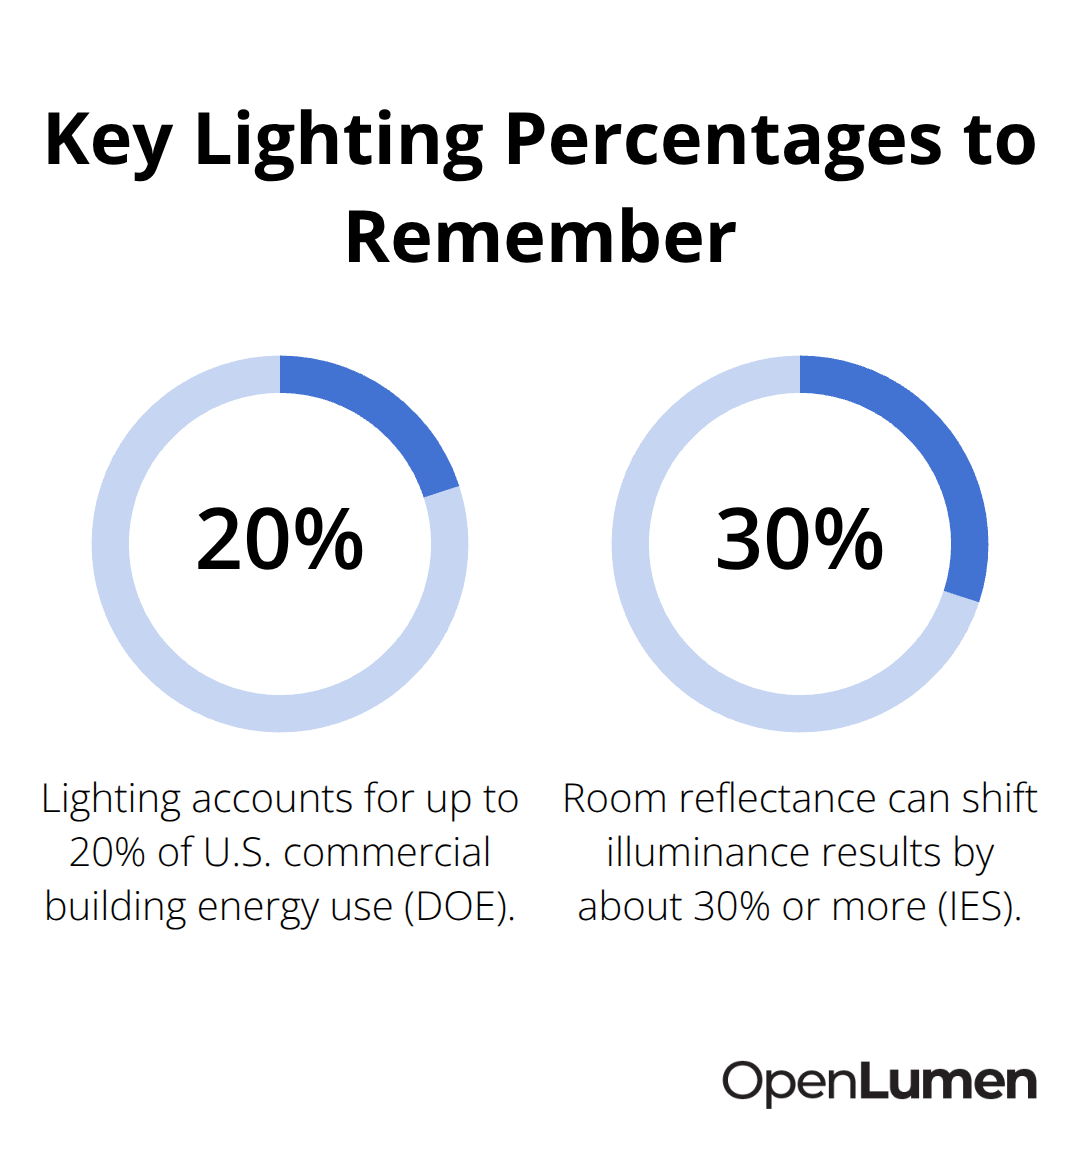
The U.S. Department of Energy reports that lighting accounts for up to 20 percent of commercial building energy use, and most of that waste stems from over-specification-fixtures chosen without understanding what the space actually needs.
Industry Standards Exist for a Reason
Building codes reference specific illuminance targets, and ignoring them exposes you to compliance failures and liability. The Illuminating Engineering Society publishes these targets: 300 lux for general office areas, 500 lux for detailed drafting work, 750 lux for retail displays, and 200 lux for corridors. These numbers are not suggestions.
Start every project by measuring the space dimensions and identifying its primary activities. A conference room demands different light than a storage area, and a kitchen workspace requires more illuminance than a dining table. Calculate the required lux level based on task type, then work backward to determine how many fixtures you need and where to position them.
Photometric Data Eliminates Guesswork
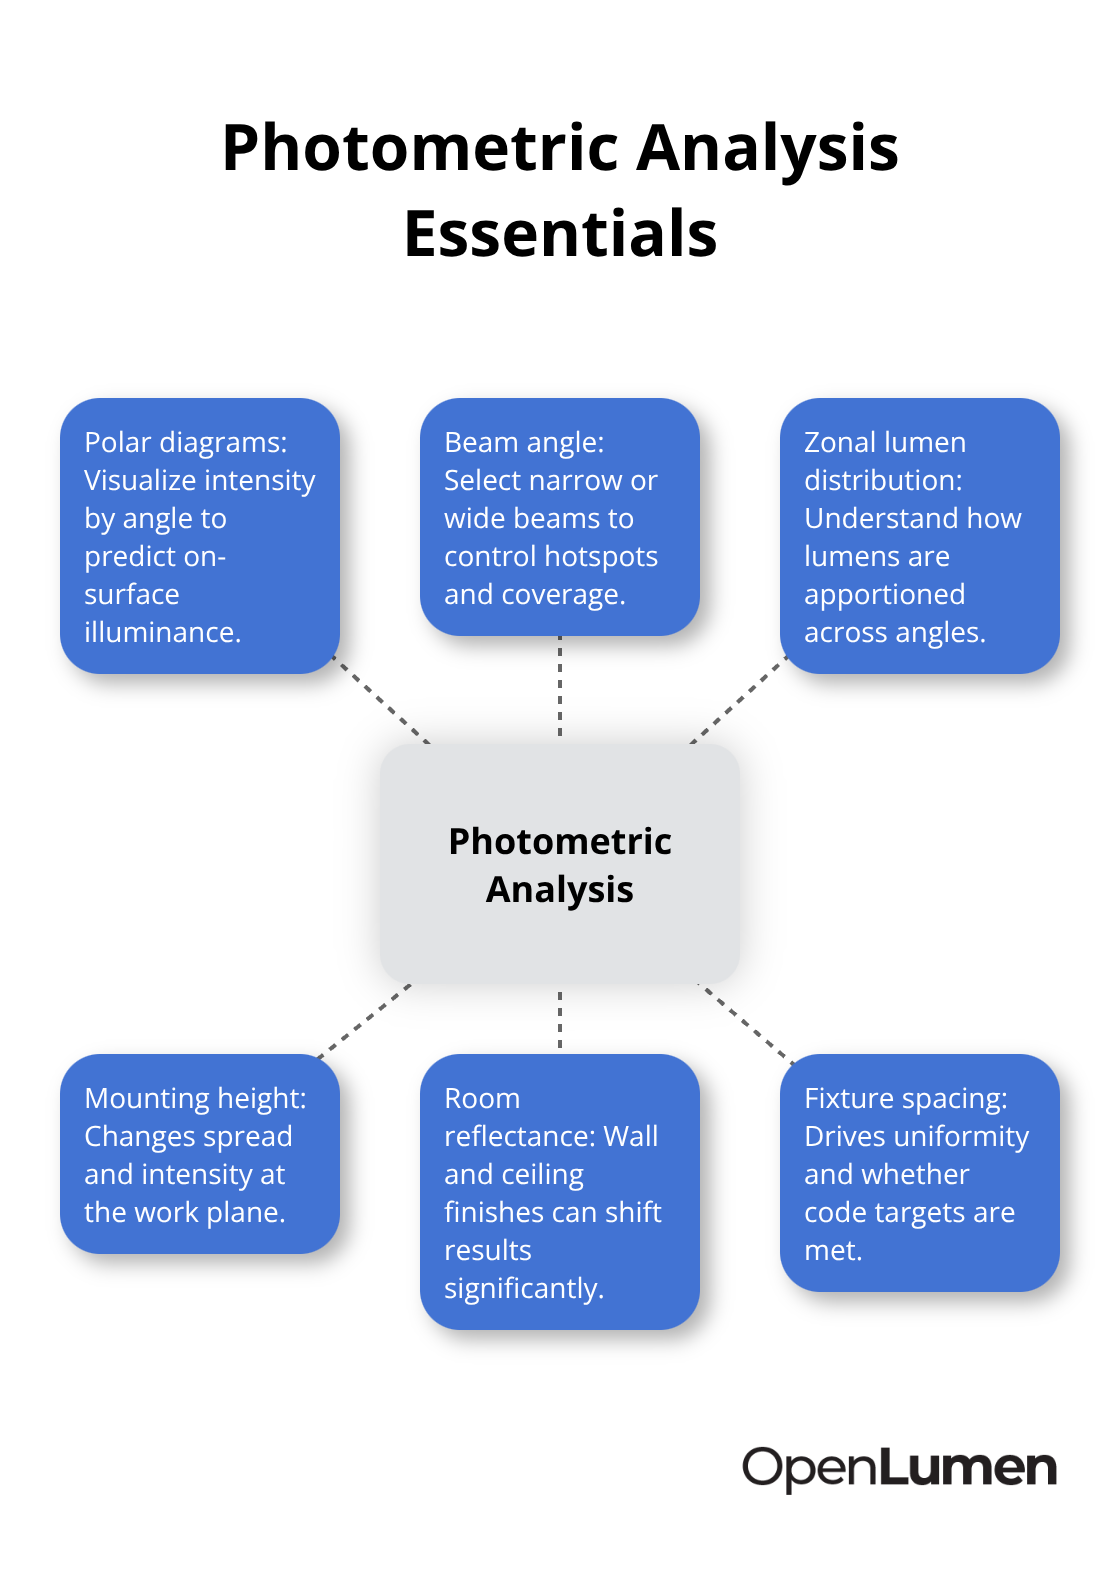
Photometric analysis removes assumptions from your design. Real photometric data from manufacturers shows polar diagrams, beam angles, and zonal lumen distribution-information that tells you exactly how a fixture behaves in your specific space. Without this data, you install blindly. Many contractors still rely on rules of thumb or manufacturer marketing claims, which often overestimate real-world performance. The difference between assumed brightness and actual brightness creates unhappy clients and costly reinstalls.
Test your layout with actual fixture placement, room reflectance, and mounting height. A fixture mounted 9 feet high distributes light differently than one at 12 feet. Beam angles matter too. A narrow 15-degree beam concentrates light in a small area, while a 40-degree beam spreads it across a wider zone. Choose the wrong beam angle and you either create hot spots or underlight the perimeter.
Validation Before Installation Saves Time and Money
Start the calculation phase before you touch a pencil to paper. Involve a lighting designer or use tools that automate photometric analysis. This upfront work costs less than rework and keeps your projects on schedule and within budget. Once you validate your layout, you move forward with confidence-knowing that your fixture selections match the space requirements and that your installation will perform as specified.
Fixture Selection and Color Temperature Matter More Than You Think
Pick Fixtures Based on Performance, Not Price
The fixture you choose determines whether your project succeeds or fails, yet most contractors pick fixtures based on price or availability rather than performance data. A cheap downlight might have poor beam distribution, creating dark patches near walls while over-lighting the center of the room. An expensive chandelier might emit light at 4000K in a space where 2700K is required, making the room feel cold and unwelcoming. These mistakes compound because once fixtures are installed, changing them costs time and money.
Start by defining what the space actually does. A kitchen workspace needs 500 to 750 lux with a narrow beam angle to light the countertop where food is prepared. A hallway needs 200 lux spread across the entire width to guide movement safely. A retail display needs high Color Rendering Index above 90 so products look accurate under light, not washed out or distorted. Specifications that work for one space fail completely in another, so skip the one-size-fits-all approach.
Match Color Temperature to Space Function
Color temperature mismatches are equally destructive. Warm light at 2700K to 3000K belongs in living areas, bedrooms, and hospitality spaces where comfort and relaxation matter. Cool light at 4000K to 5000K works in task-heavy environments like offices, kitchens, and retail floors where clarity and alertness improve performance. Mix 2700K and 4000K in the same open-plan space and occupants report discomfort, eye strain, and a fragmented atmosphere.
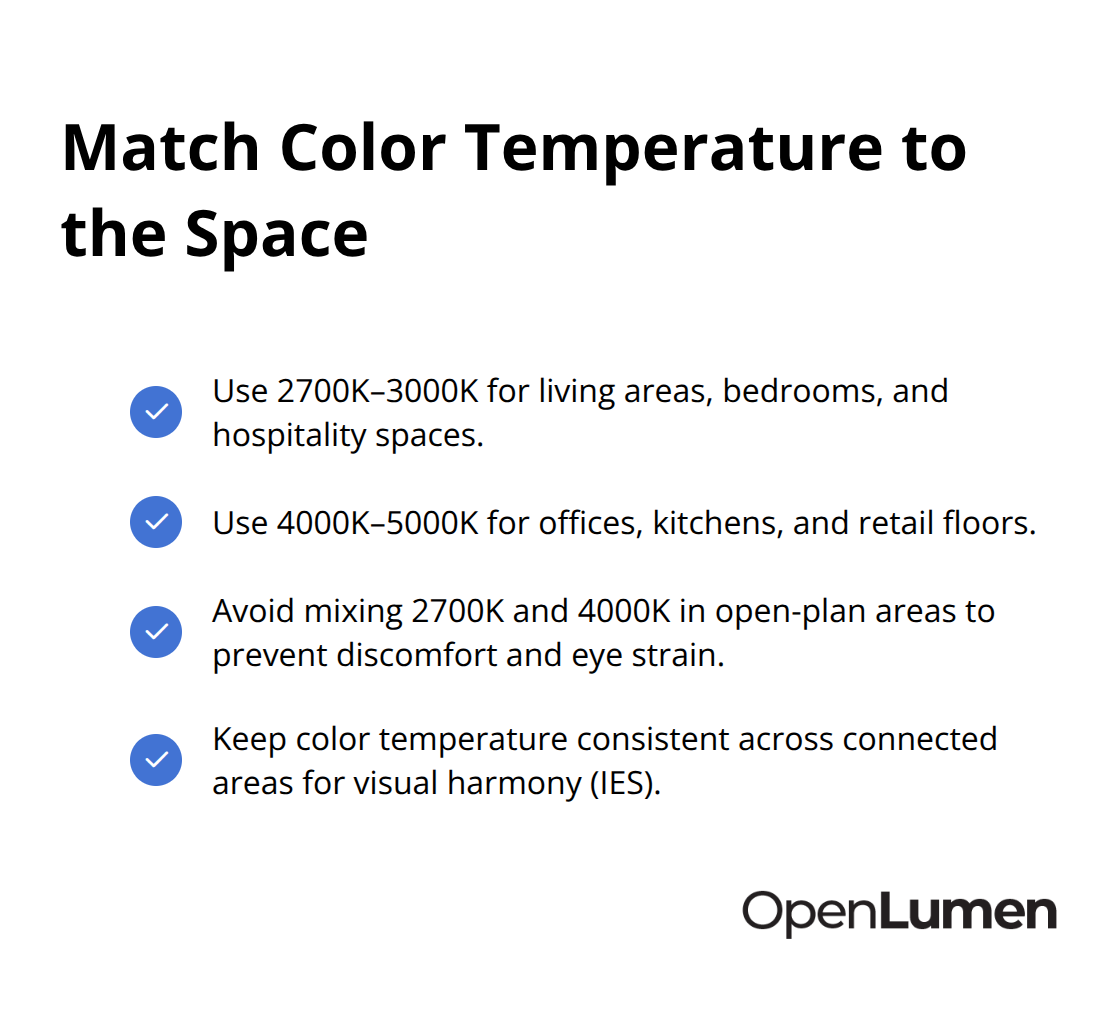
The Illuminating Engineering Society recommends consistency across connected areas to maintain visual harmony.
Control Light Distribution With Beam Angles
Beam angle and distribution pattern directly control how light lands in your space, yet many installers ignore this entirely. A fixture with a 15-degree narrow beam concentrates output in a tight circle, creating bright hotspots surrounded by shadow. A 40-degree medium beam spreads light more evenly across a larger area. A 60-degree wide beam covers the widest territory but at lower intensity per square foot. Your mounting height, room dimensions, and task location determine which beam angle works.
A 9-foot ceiling with a 60-degree beam creates even ambient light across a small office. The same fixture and beam angle in a 20-foot warehouse with high ceilings leaves the perimeter dark. Photometric data reveals these patterns before installation. Polar diagrams show exactly how a fixture distributes light in all directions. Zonal lumen data tells you how many lumens fall within specific angles.
Validate Your Layout With Real Photometric Data
Without photometric information, you guess and often lose. Test your layout using real photometric files from manufacturers, accounting for room reflectance, mounting height, and fixture spacing. A lighting design tool that imports actual photometric data removes assumptions and prevents costly mistakes. This validation phase takes hours upfront but saves weeks of rework and keeps clients satisfied from project start to completion.
The next critical step involves planning your installation strategy and testing your design before crews arrive on site.
Planning and Testing Beat Rushing Every Time
Site Assessment Reveals What Your Eyes Miss
Site assessment before design is where most projects derail, yet contractors skip it constantly. You arrive at a property, eyeball the space, snap a few photos, and start specifying fixtures based on incomplete information. Real site assessment means measuring room dimensions precisely, identifying ceiling height and construction type, documenting existing reflectance values for walls and floors, noting window placement and daylight patterns, and understanding how occupants actually use the space.
A conference room with south-facing windows floods with daylight at noon, requiring different fixture placement and dimming controls than one with no windows. A warehouse with white reflective walls distributes light differently than one with dark concrete. Skip this phase and your photometric calculations become fiction. Spend two hours on detailed site assessment and your calculations become reliable.
The Illuminating Engineering Society emphasizes that room reflectance dramatically affects illuminance results, sometimes by 30 percent or more. A 300-lux calculation in a high-reflectance space (80 percent white walls) produces different results than the same calculation in a low-reflectance space (20 percent dark walls). Document ceiling construction too. A suspended ceiling absorbs light differently than a hard concrete ceiling. Recessed fixtures perform differently depending on whether the plenum above is open or enclosed.
Photometric Analysis Validates Your Design Before Installation
Photometric analysis and layout validation separate professionals from amateurs, and skipping this step guarantees failure on complex projects. Use photometric files directly from manufacturers, not marketing specs or rough estimates. Import those files into a lighting design tool that calculates actual illuminance at work surfaces, accounting for your specific room dimensions, fixture spacing, mounting height, and reflectance values.
This validation phase identifies problems before installation crews arrive. You discover that your 3000-lumen fixtures create hotspots near walls while leaving the center dim, so you adjust spacing or beam angle. You find that your color temperature choice creates visible mismatches in an open-plan space, so you standardize before ordering. You confirm that your fixture distribution actually meets code requirements instead of assuming it does.
A free, browser-based platform like OpenLumen lets you import photometric data, run real-time illuminance analysis, and generate professional reports without expensive software or steep learning curves. This approach streamlines your design-to-install workflow and lets you validate layouts with confidence before crews arrive on site.
Testing During Installation Prevents Costly Rework
Testing and adjustment during installation separates successful projects from expensive mistakes. Install a few fixtures first, measure illuminance at actual work surfaces using a light meter, and compare results to your calculations. If measurements fall short, adjust spacing or add fixtures before completing the full installation. If measurements exceed requirements, you might remove fixtures and reduce costs.
A one-hour testing session at the start prevents weeks of rework later. Many contractors resist this because it feels like extra work, but it costs far less than removing and reinstalling fixtures after the client complains about dark corners or glare. Document your measurements and keep records for future reference and warranty purposes.
Conclusion
The mistakes covered in this guide repeat across projects because contractors skip the planning phase to save time upfront. Overlooking lumen calculations, mismatching color temperature, and rushing installation without validation create problems that cost far more to fix than they would have cost to prevent. Preventing common lighting mistakes requires three commitments: calculate illuminance requirements based on actual space function and industry standards, select fixtures using real photometric data and validate your layout before installation begins, and test your design during the early stages of installation to adjust spacing or beam angles if measurements fall short of requirements.
Projects finish on schedule because you eliminate rework, clients stay satisfied because spaces perform as promised, and your reputation grows because you deliver consistent results. Energy costs drop because you specify only the light your space actually needs, not excess fixtures that waste power and create glare. Measure your space carefully, document reflectance values, and identify how occupants use the area, then use OpenLumen to import photometric data, run illuminance analysis, and validate your layout before crews arrive.
Lighting design is not complicated when you follow the process. Calculate, validate, test, and adjust-skip any step and you invite failure. Commit to all four and your projects succeed consistently.
The information provided is for general educational purposes only and should not be considered professional engineering or lighting design advice. Always verify project requirements, local codes, and specifications with qualified professionals before making final decisions.


