
Lighting design projects move faster when you have a clear process. Most contractors and designers waste time on repetitive tasks, unclear specifications, and costly mistakes that could have been caught earlier.
At OpenLumen, we’ve seen how the right workflow cuts project timelines in half. These lighting design workflow tips focus on practical steps that eliminate guesswork and keep your projects on track from planning through installation.
How to Start Your Lighting Design Project Right
The biggest mistake contractors make is jumping straight to fixture selection before understanding what the space actually needs. You need three foundational pieces in place before you touch any design software: clear project goals tied to a realistic budget, a detailed picture of how the space functions, and accurate site data that reflects real-world conditions.
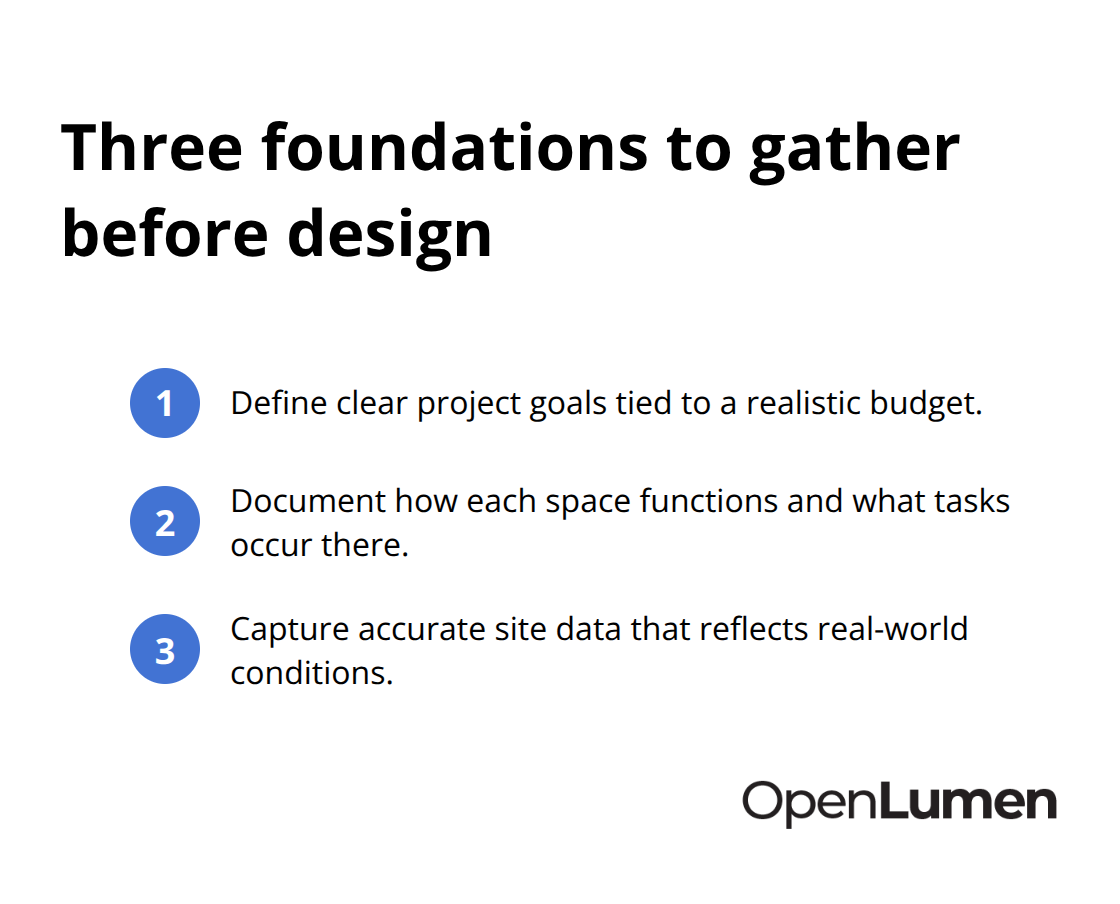
Skip this groundwork and you’ll face scope creep, budget overruns, and fixtures that don’t perform as expected on installation day. Start with a written lighting brief that documents the client’s priorities, the activities in each zone, and the constraints you’re working within-this single document prevents miscommunication and keeps the project focused.
Define what success looks like before you design anything
Your project goals should answer specific questions: Is energy efficiency the priority, or is visual quality non-negotiable? Does the client care more about upfront cost or long-term operating expenses? What’s the actual budget-not the aspirational budget? A kitchen redesign has completely different lighting demands than a warehouse, and a boutique retail space needs different performance than a corporate office. Write these priorities down and assign them a hierarchy. If a client says everything is equally important, that’s a red flag-push back and make them choose. Budget constraints aren’t just about total cost; they also determine whether you can install smart controls, use premium color-rendering fixtures, or specify durable exterior-grade products. Be explicit about what the budget covers: design time, fixtures only, installation labor, controls, or the full project lifecycle including maintenance planning.
Measure the space and understand how people actually use it
Walk the site yourself and measure dimensions, ceiling heights, window locations, and existing electrical infrastructure. Photographs from multiple angles help you understand how natural light enters the space and where glare risks exist. Talk to the people who use the space-not just the decision-maker, but the facility manager, the workers, or the residents who experience the lighting daily. They’ll tell you about pain points that a floor plan never reveals. Document the color of walls, finishes, and furniture because reflectance values affect how much light you actually need; a room with dark paint and carpet demands more lumens than the same room painted white. If the project involves retrofitting existing fixtures, photograph the current installation and note what’s working and what’s failing.
Capture environmental conditions that affect performance
For exterior projects, record seasonal sun angles and prevailing weather conditions that affect fixture durability and performance. Note how the space functions at different times of day-a conference room used for morning presentations has different lighting needs than one used for evening video calls. Identify where task work happens and where people need visual comfort. This data becomes the foundation for your illuminance calculations and ensures your design matches real conditions, not assumptions. With site measurements, user input, and environmental factors documented, you’re ready to design your layout where tools like photometric analysis software validate your layout choices and catch problems before installation.
Speed Up Design With the Right Tools
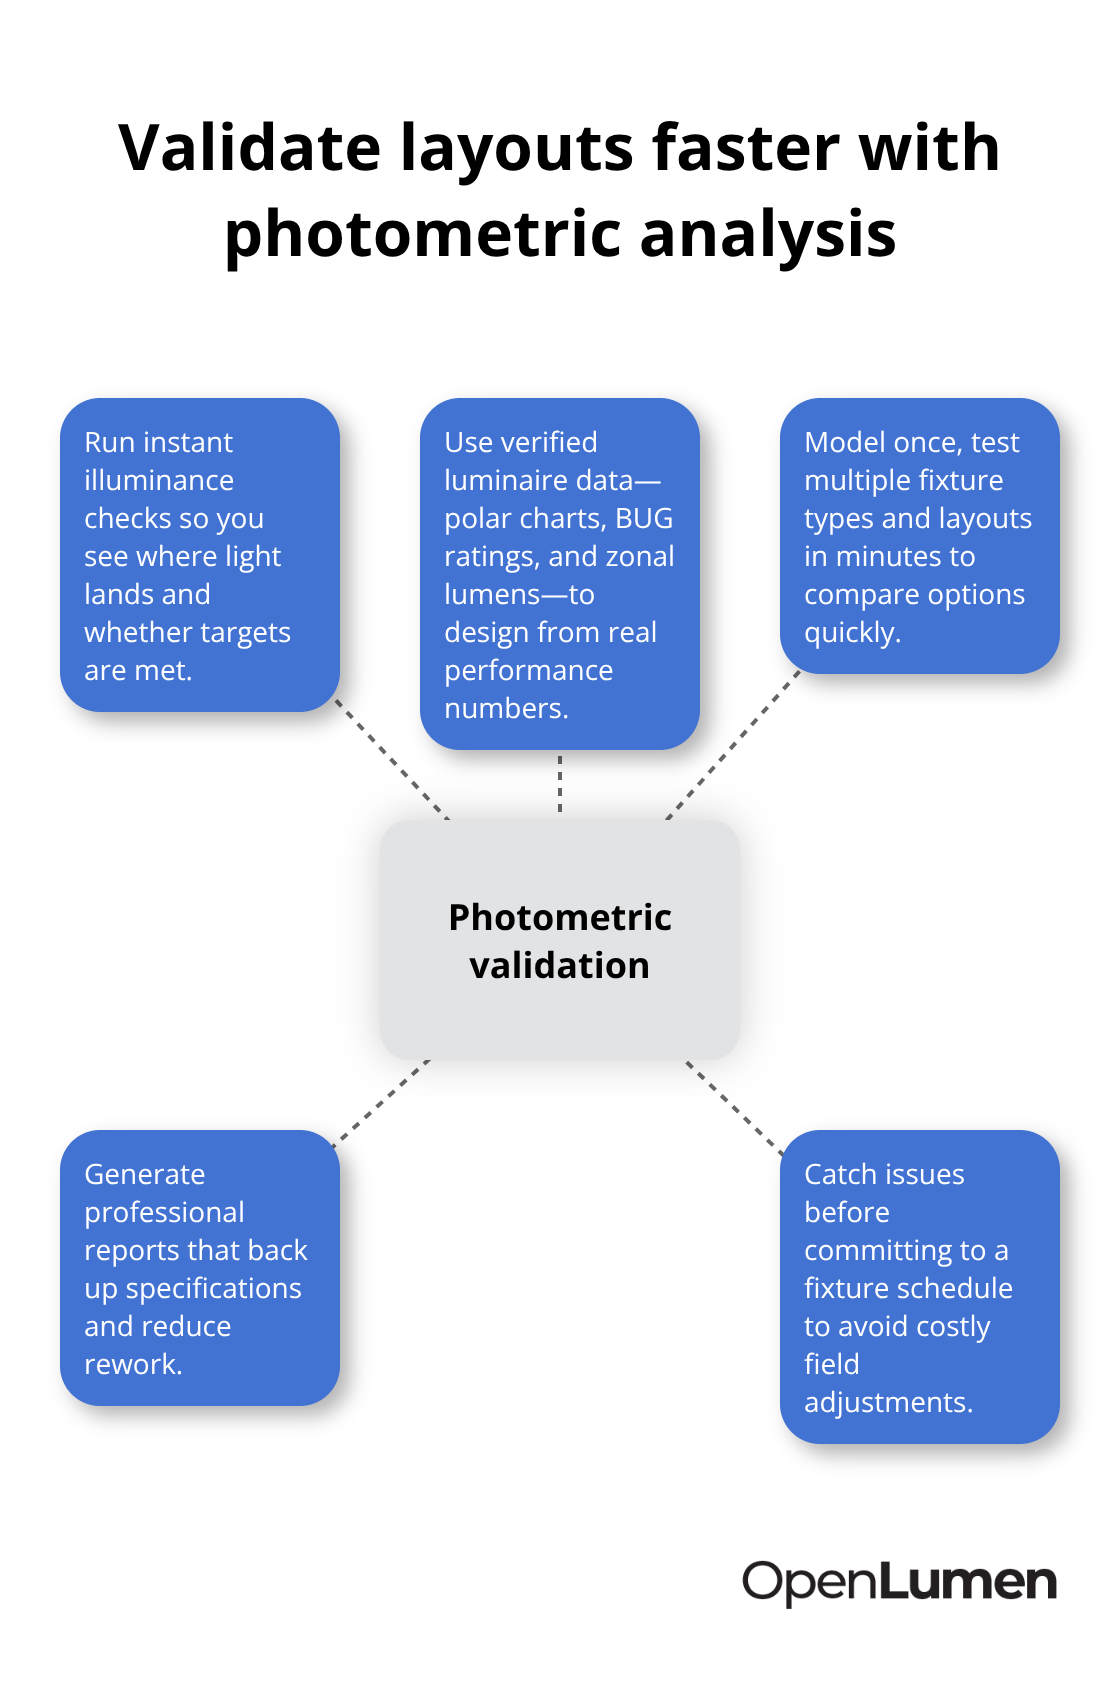
Once you have your site data and project brief locked down, photometric analysis software validates your layout in real time without waiting for external calculations or guesswork. Most designers still rely on spreadsheets or manual lumen calculations, which wastes hours and introduces errors that surface on installation day. Photometric analysis software lets you place fixtures in your actual space, run illuminance checks instantly, and catch problems before you commit to a fixture schedule.
Validate layouts before you present to clients
The software shows you exactly where light lands, how bright each zone becomes, and whether you meet the client’s illuminance targets. This validation step alone eliminates costly field adjustments and rework. A browser-based platform like OpenLumen gives you access to community-verified luminaires with instant photometric data-polar charts, BUG ratings, and zonal lumens-so you work from real performance numbers instead of guesses. You model your space once, test multiple fixture types and layouts in minutes, and produce professional reports that back up your specifications with concrete data. This approach cuts design iteration time from days to hours because you validate performance before presenting to the client, not after.
Select fixtures faster with verified luminaire libraries
Luminaire libraries matter more than most designers realize because selecting the right fixture starts with knowing what’s actually available and how it performs in your specific application. Pre-built libraries with verified photometric data save you from manually entering specs or trusting incomplete manufacturer data sheets. When you can browse fixtures filtered by beam angle, color temperature, lumen output, and cost in one place, you make faster decisions and avoid specifying incompatible products. The best libraries include real-world performance metrics so you know a fixture’s actual BUG rating and zonal lumens before you place it in your layout.
Generate reports that contractors can actually use
Once your layout is validated and your fixture list is locked, professional reports should take minutes to produce, not days. A solid platform produces illuminance maps, fixture schedules, control intent diagrams, and specification summaries automatically from your model, which eliminates manual documentation work. These reports become your installation guide and your proof that the design meets performance targets. When contractors and electricians have clear, detailed reports with fixture locations, control assignments, and expected illuminance values (backed by photometric data), they install faster and with fewer questions. With validated layouts and professional documentation in hand, you’re ready to address the mistakes that still slip through even well-planned projects.
Three Mistakes That Cost Money on Every Project
Most lighting projects fail not because the design is wrong, but because someone skipped a step that felt optional at the time. The three most expensive mistakes happen after your layout is locked: specifying fixtures without understanding their real maintenance burden, designing for brightness alone while ignoring color rendering and task-specific needs, and trusting calculations without validating them in the actual space before installation. These aren’t small oversights-they compound into budget overruns, callbacks, and spaces that don’t perform as promised.
Maintenance costs destroy budgets when you ignore them upfront
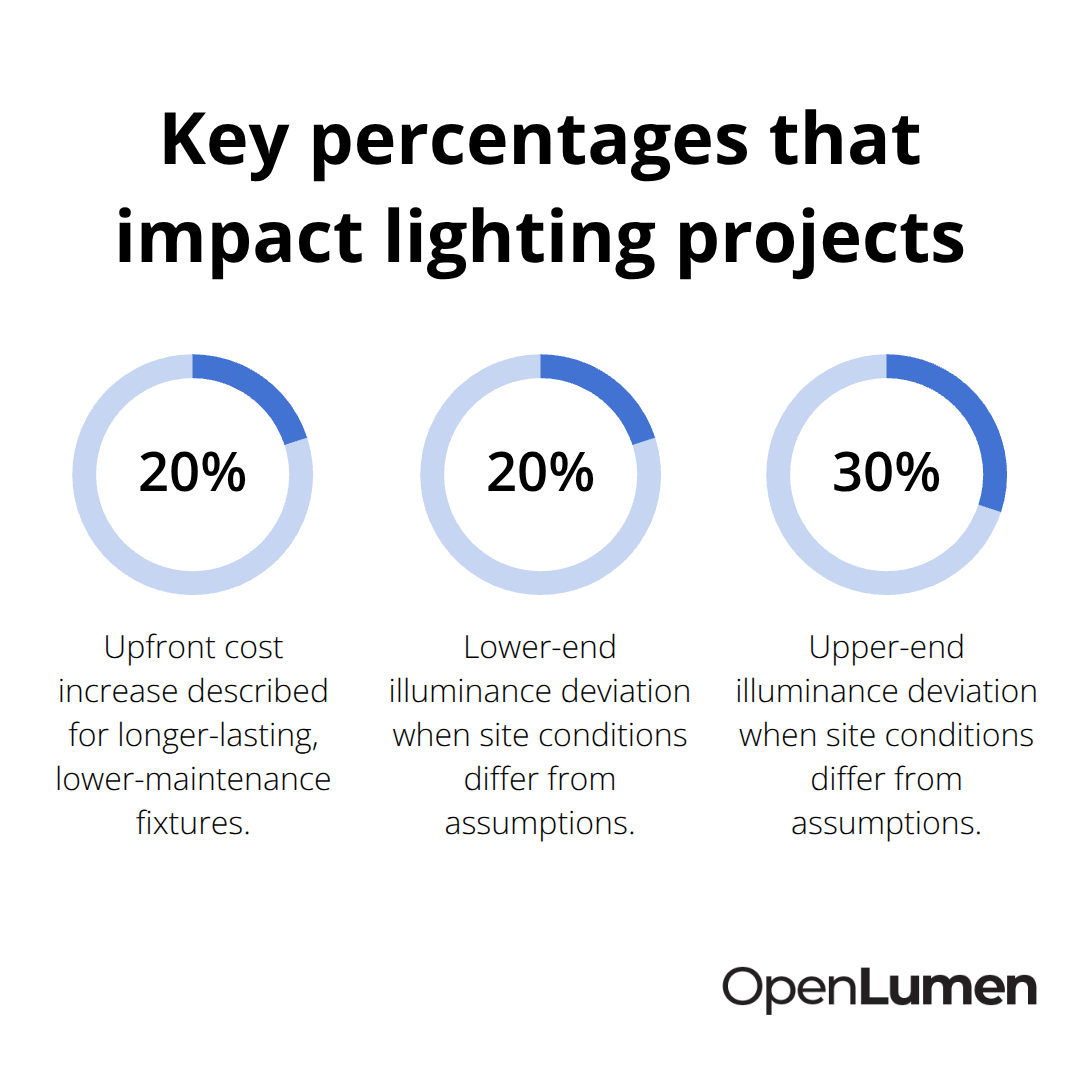
The first mistake is treating maintenance as an afterthought. Contractors often specify the cheapest fixture that meets lumen requirements, then discover on year three that replacement costs, cleaning schedules, or access issues make the installation unsustainable. A fixture that costs 20 percent more upfront but lasts twice as long and requires half the maintenance actually saves money over the project lifecycle. For exterior installations, this matters even more-a fixture that corrodes in salt air or fails in extreme weather creates emergency replacement costs that dwarf the original savings.
Document maintenance requirements during the design phase: how often does the fixture need cleaning, what’s the replacement interval, can facility staff access it safely, and what’s the true cost per year including labor? Energy-efficient lighting reduces energy bills (typical household savings average around $225 per year when retrofitting older incandescent fixtures with LED technology), but that’s only the energy story. Factor in maintenance labor, replacement parts, and downtime to see the real financial picture.
Color rendering and task requirements matter more than raw brightness
The second mistake is designing for lumens without considering color rendering and task requirements. A conference room lit to 300 lux with poor color rendering (CRI below 80) looks dim and washed out even though the brightness numbers say it’s adequate. Video calls look terrible, people appear fatigued, and the client blames the design.
Task-specific lighting demands are real: retail needs CRI 90 or higher to show product colors accurately, offices need color temperatures between 3500K and 5000K to support focus and alertness, and hospitality spaces need 2700K to 3000K to feel warm and welcoming. Specify the color rendering index and correlated color temperature for every zone, then validate that your fixture selection actually delivers those metrics in the space. Don’t assume a manufacturer’s data sheet reflects real-world performance-photometric analysis software lets you model fixtures with their actual polar charts and BUG ratings so you catch color and brightness mismatches before installation.
Validate illuminance in the actual space before installation begins
The third mistake is skipping real-time illuminance verification before the electrician shows up. Spreadsheet calculations and manual lumen math introduce errors that only surface when fixtures are hung and switched on. A fixture placed six inches higher than planned, a wall painted darker than expected, or a reflectance value that was estimated instead of measured can throw off illuminance by 20 to 30 percent.
Validate your layout in the actual space using photometric analysis before you finalize the fixture schedule and control assignments. This validation step takes hours, not days, and it catches problems when they’re cheap to fix-a fixture repositioned on paper costs nothing; repositioning it after installation costs labor and delays. When you validate illuminance in real time against your performance targets, contractors install with confidence and clients see exactly what they paid for.
Final Thoughts
Streamlined lighting design workflows rest on three core practices: clear planning before you touch any software, validated layouts that catch problems early, and professional documentation that guides installation. These lighting design workflow tips eliminate the guesswork that costs contractors time and money. When you define project goals upfront, gather accurate site data, and validate your illuminance calculations in the actual space, you remove the conditions that create callbacks and budget overruns.
Better tools accelerate this process without adding complexity. Photometric analysis software validates your fixture placement in real time, pre-built luminaire libraries let you select fixtures based on verified performance data instead of incomplete spec sheets, and automated reporting turns hours of manual documentation into minutes of work. These aren’t conveniences-they’re the difference between designing once and designing three times because you caught problems too late. Start with your next project by documenting site conditions thoroughly, locking down your project goals and budget constraints, then validating your layout before presenting to the client.
OpenLumen lets you model your space with real photometric data, test multiple fixture options in minutes, and generate professional reports that back up your specifications. When your team works from validated layouts and clear documentation, installation moves faster, clients see exactly what they paid for, and you build a reputation for projects that perform as promised.
The information provided is for general educational purposes only and should not be considered professional engineering or lighting design advice. Always verify project requirements, local codes, and specifications with qualified professionals before making final decisions.


