
Photometric design deadlines are getting tighter. Construction projects demand faster turnarounds, and delays cost money-both yours and your clients’.
At OpenLumen, we’ve seen how the right approach cuts design time in half while keeping everything compliant. This fast photometric layouts guide shows you exactly how to work smarter, not longer.
Why Speed Actually Matters
Photometric design delays cost real money. When a contractor waits three to five business days for a photometric plan, the entire project timeline slips. A 2023 construction industry report found that design delays add an average of 2.3% to total project costs, translating to thousands of dollars on mid-sized commercial builds. Property owners expect photometric layouts within 48 hours of request-not because they’re impatient, but because permitting agencies and inspectors demand them before work begins. Cities increasingly require photometric data upfront; without it, your project sits in queue while competitors move forward. The financial pressure is real: every day a site sits dark waiting for lighting approval is a day your crew can’t mobilize, your client can’t occupy the space, and your margins shrink.
Permitting Agencies Now Demand Photometric Data Earlier
Building departments across the US have tightened lighting code enforcement over the past three years. Many municipalities now require photometric plans before issuing construction permits, not after. This shift means you can’t start layout work on-site and submit calculations later-the plan must be submission-ready before the first fixture goes in the ground. Jurisdictions like California, New York, and Texas have made this standard practice. Contractors who still operate on the old timeline (design first, submit later) lose competitive bids to teams that deliver compliant plans upfront. The 2022 California Energy Code bundled new lighting requirements that demand precise photometric validation from the start. Missing this shift costs you projects. Clients now ask during the bid phase whether you can provide a photometric plan in 24 to 48 hours-and if you can’t, they call someone who can.
Your Reputation Depends on Fast, Accurate Delivery
Property managers and general contractors remember who delivers on time and who doesn’t. A lighting plan that arrives late or contains errors gets flagged by the AHJ, which sends it back for revision. That revision cycle eats up another three to five days while your credibility takes a hit. Conversely, contractors and distributors who consistently deliver compliant, permit-ready layouts in one to two business days build strong relationships with developers and facilities teams. Those relationships lead to repeat work and referrals. Speed paired with accuracy isn’t a nice-to-have-it’s a market expectation. Teams that master fast photometric layout generation don’t just survive project deadlines; they win more bids and build customer loyalty that sustains long-term revenue.
What Slows Down Most Teams
Most contractors and designers lose time in three places: selecting fixtures without photometric data readily available, running calculations multiple times because initial assumptions were wrong, and manually adjusting layouts when code requirements shift. These bottlenecks add days to what should take hours. The next section shows you how to eliminate each one.
How to Build Photometric Layouts Without Wasting Time
Gather Your Inputs Before Opening Software
The difference between a fast photometric layout and a slow one isn’t talent-it’s method. Teams that deliver compliant plans in 24 hours don’t work harder; they eliminate the manual steps that eat up days. Collect your site plan, fixture models with IES files, mounting heights, target illuminance levels, and local code requirements before you open any software. Missing even one of these forces you to stop mid-calculation and hunt for data, which breaks momentum and costs hours.
Pull your IES files into a free viewer like Viso’s photometric editor to check distribution type, beam width, and output mode before you begin layout work. This 10-minute step prevents the common mistake of selecting a fixture with the wrong distribution-say, a Type II when you need a Type IV for forward throw.
Use Spacing-to-Height Ratios to Start Strong
Know your mounting height and spacing relationship before you run calculations. At 15 feet, start with 18 to 22 feet of spacing and adjust from there; at 20 feet, begin around 26 to 32 feet. This spacing-to-height ratio of 1.2 to 1.6 gets you close on the first pass, which means fewer calculation cycles.
Use pre-built fixture libraries within your software if available-they save you from manually entering specifications and reduce entry errors. When you run your first photometric analysis, check three metrics: average illuminance, uniformity ratio (average to minimum), and whether dark zones exist at edges or corners. Try for a uniformity ratio of 1.5 or lower on walkways and 2.0 or lower on general areas; anything tighter wastes fixture output and costs more money.
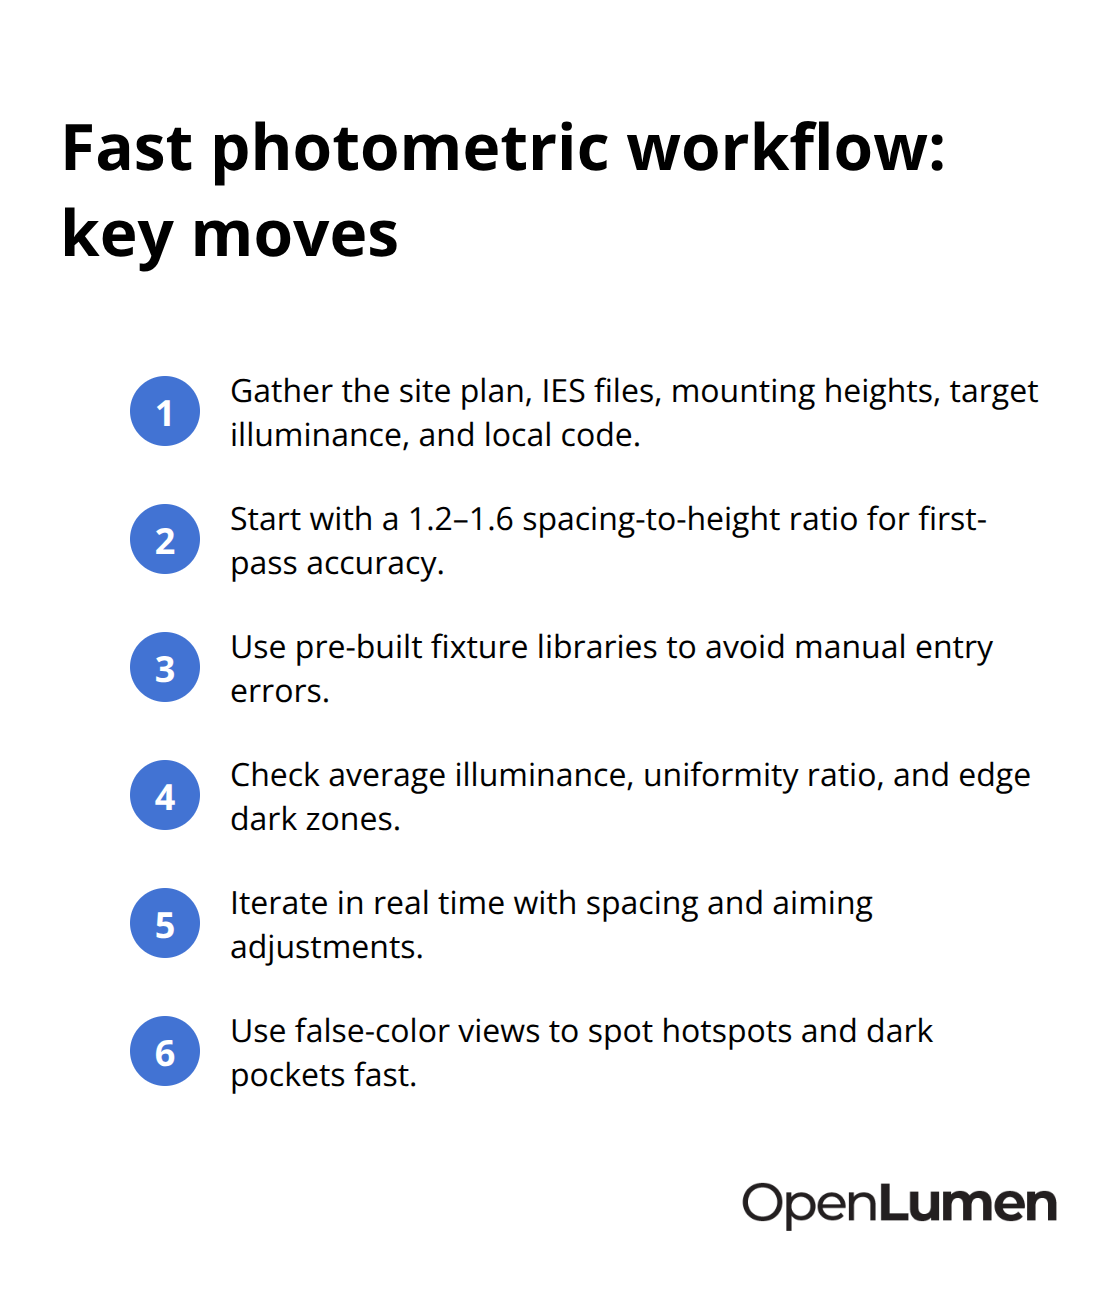
Run analysis in real time as you adjust spacing and aiming rather than waiting until the end; this iterative approach catches problems before you invest hours in a flawed layout. If your software supports it, use false-color visualization to spot hotspots and dark pockets instantly-you see them as red and blue zones on the site plan, which beats squinting at raw foot-candle numbers. Tools that let you place luminaires and see real-time illuminance calculations with 2D heatmaps accelerate this process significantly.
Know Your Local Code Requirements Upfront
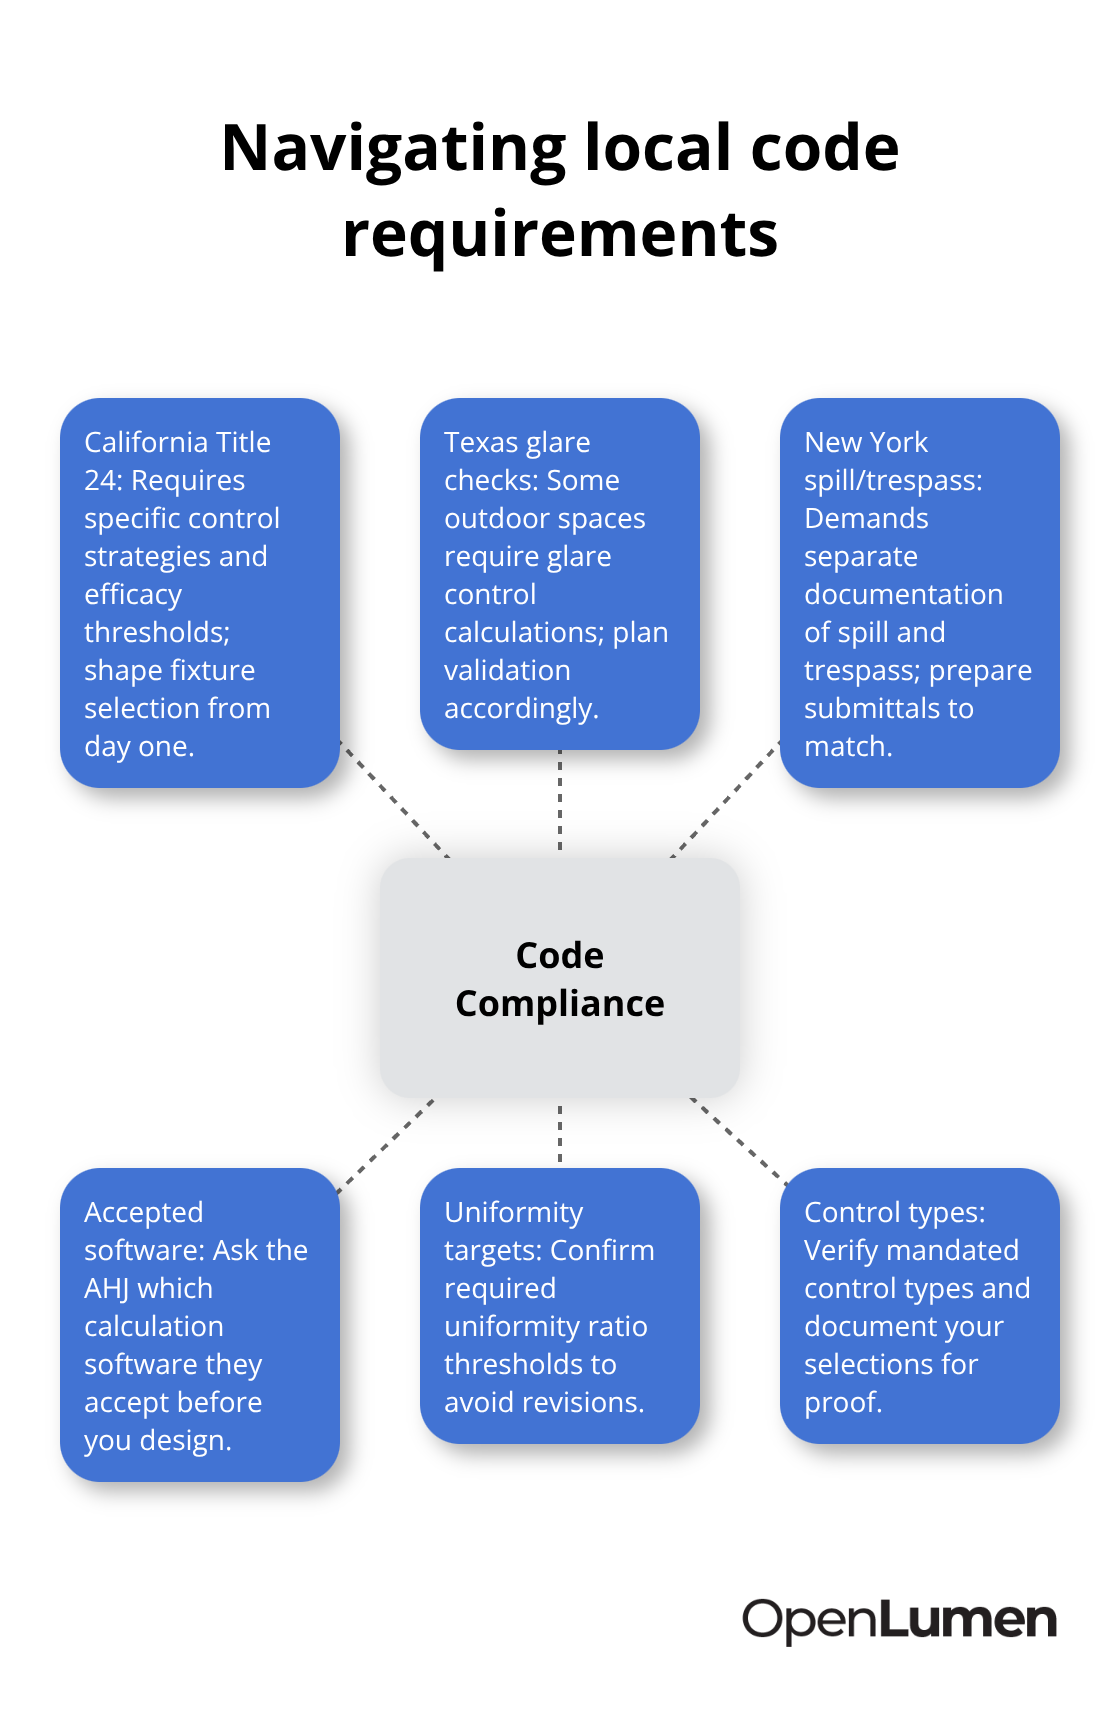
Code compliance accelerates when you know what your jurisdiction actually requires before you design. The 2022 California Energy Code, for example, mandates specific lighting controls and efficacy standards that shape fixture selection and layout from day one. Don’t assume; pull the local code or call your AHJ and ask whether they require a specific software output (many still prefer AGi32 calculations for formal acceptance).
Document your design assumptions in writing: target light levels, uniformity ratios, control strategies, and fixture models. This documentation takes 15 minutes and eliminates back-and-forth questions from inspectors or clients later.
Verify Your Layout Against Real-World Conditions
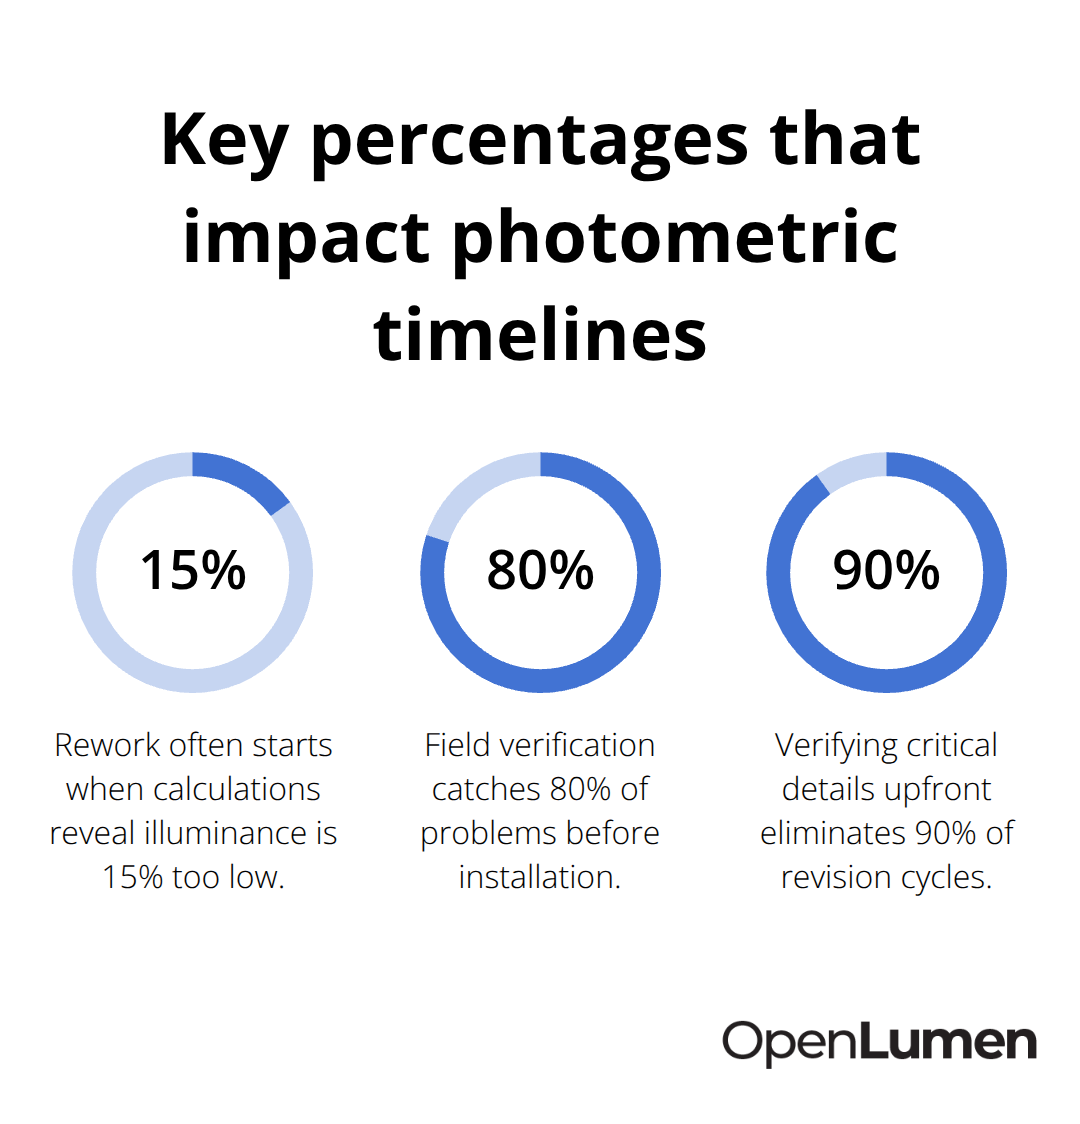
When you finalize your layout, verify it matches real-world conditions: check that conduit entry points align with your plan, confirm mounting heights are achievable, and walk the site after dark to spot glare or unexpected shadows. Field verification catches 80% of problems before installation, which costs far less than post-install rework.
Teams that execute this workflow-clear inputs, real-time analysis, documented assumptions, and field verification-deliver compliant plans in one to three business days instead of five to seven. The next section shows you which mistakes derail even experienced teams and how to sidestep them entirely.
What Really Kills Photometric Timelines
Iteration Beats Linear Design Every Time
The biggest mistake teams make is treating photometric layout as a one-pass process when it actually requires iteration. You select a fixture, run calculations, discover the illuminance is 15% too low, then restart from scratch instead of adjusting spacing or adding a second row of luminaires. This rework cycle wastes days. The faster approach adjusts spacing first, then mounting height, then fixture output-each tweak takes minutes in modern software rather than hours of manual recalculation.
Uniformity Failures Cost Revisions
Uniformity failures happen because designers chase average illuminance without checking the minimum values at edges and corners. A site might show 50 foot-candles average but only 20 foot-candles in the dark zone near a property line, which fails code and sends the plan back for revision. The uniformity ratio tells the real story: divide average illuminance by minimum illuminance, and if that number exceeds 2.0 on a general outdoor area or 1.5 on a critical walkway, your layout is unbalanced. AGi32 and DIALux Evo both display this metric instantly, so check it before you finalize anything.
Mounting Height and Spacing Lock Together
Another costly error occurs when mounting height and spacing don’t align. If your site plan shows 12-foot poles but you design for 15-foot spacing, the actual coverage will be darker and less uniform than your calculations predicted. Real-world conduit entry points, roof penetrations, and existing structures also shift fixture locations by 2 to 4 feet, which changes illuminance values enough to fail a photometric check. Pull your site plan at actual scale and overlay pole locations before you open calculation software; this 15-minute step prevents redesigns after the plan goes to the AHJ.
Local Code Requirements Vary Sharply
Local code requirements differ sharply by jurisdiction, and missing one detail sends your submission back for revision. California Title 24 mandates specific control strategies and efficacy thresholds that reshape fixture selection; Texas requires glare control calculations for certain outdoor spaces; and New York demands separate documentation of spill and trespass. Call your local building department before you design and ask three questions: What software do they accept for photometric validation, what uniformity ratio do they require, and do they mandate specific control types. Document their answers in writing so you have proof of compliance later.
IES Data Determines Everything
Fixture placement errors stem from not reading IES photometric files carefully enough. A Type II distribution reaches 100 feet at certain mounting heights but a Type III reaches only 60 feet, so selecting the wrong one means your spacing assumptions collapse. Spend 10 minutes with a free IES viewer to check beam angle, output mode, and distribution type before you commit to a fixture. Teams that verify these three details upfront-uniformity ratios at real edges, local code specifics, and IES distribution data-eliminate 90% of revision cycles and compress design time from five days to one.
Final Thoughts
Fast photometric layouts demand a clear method, not longer hours or expensive tools. Teams that submit compliant plans within 24 to 48 hours follow the same pattern: they collect inputs before opening software, run real-time analysis to catch problems early, verify code requirements upfront, and walk the site after dark to confirm calculations match reality. Skip any of these steps and revision cycles consume the days you saved.
Start with a checklist of essential inputs-site plan, IES files, mounting heights, target illuminance levels, and local code requirements-before you touch any software. Spend 15 minutes reading your jurisdiction’s specific demands so you understand uniformity ratios and control strategies rather than guessing. When you run calculations, check uniformity ratios and edge illuminance values in real time instead of waiting until the end; this iterative approach catches dark zones and hotspots before they become expensive problems.
OpenLumen is a free, browser-based platform that lets you create photometric layouts and run real-time illuminance analysis without expensive software or a steep learning curve. Its community-verified luminaires library and instant photometric metrics streamline the entire design-to-install workflow, so you validate layouts faster and move from design to approval without the delays that plague traditional methods. Apply this fast photometric layouts guide to your next project and measure the difference in your timeline and your client satisfaction.
The information provided is for general educational purposes only and should not be considered professional engineering or lighting design advice. Always verify project requirements, local codes, and specifications with qualified professionals before making final decisions.


