
Most lighting projects fail because designers skip the basics. At OpenLumen, we’ve seen how common lighting mistakes-wrong beam angles, unchecked glare, and skipped calculations-turn good intentions into poor results.
The good news is that these errors are preventable. This guide shows you exactly what goes wrong and how to fix it before installation.
Why Beam Angles Matter More Than You Think
Most contractors select a fixture based on wattage or appearance, then wonder why the space feels dark or washed out. Beam angle is the silent killer of lighting projects, and ignoring it costs you time, money, and client satisfaction. A 36-degree beam and a 120-degree beam deliver the same lumens, but they spread light completely differently. In a 12-foot ceiling retail space, a narrow beam creates a spotlight effect with dark gaps between fixtures. A wide beam floods the area evenly but may waste light on walls. The difference between success and failure lives in photometric data-the technical specs that show exactly how light behaves in your specific space. Without this information, you design blind.
Photometric Data Reveals How Light Actually Performs
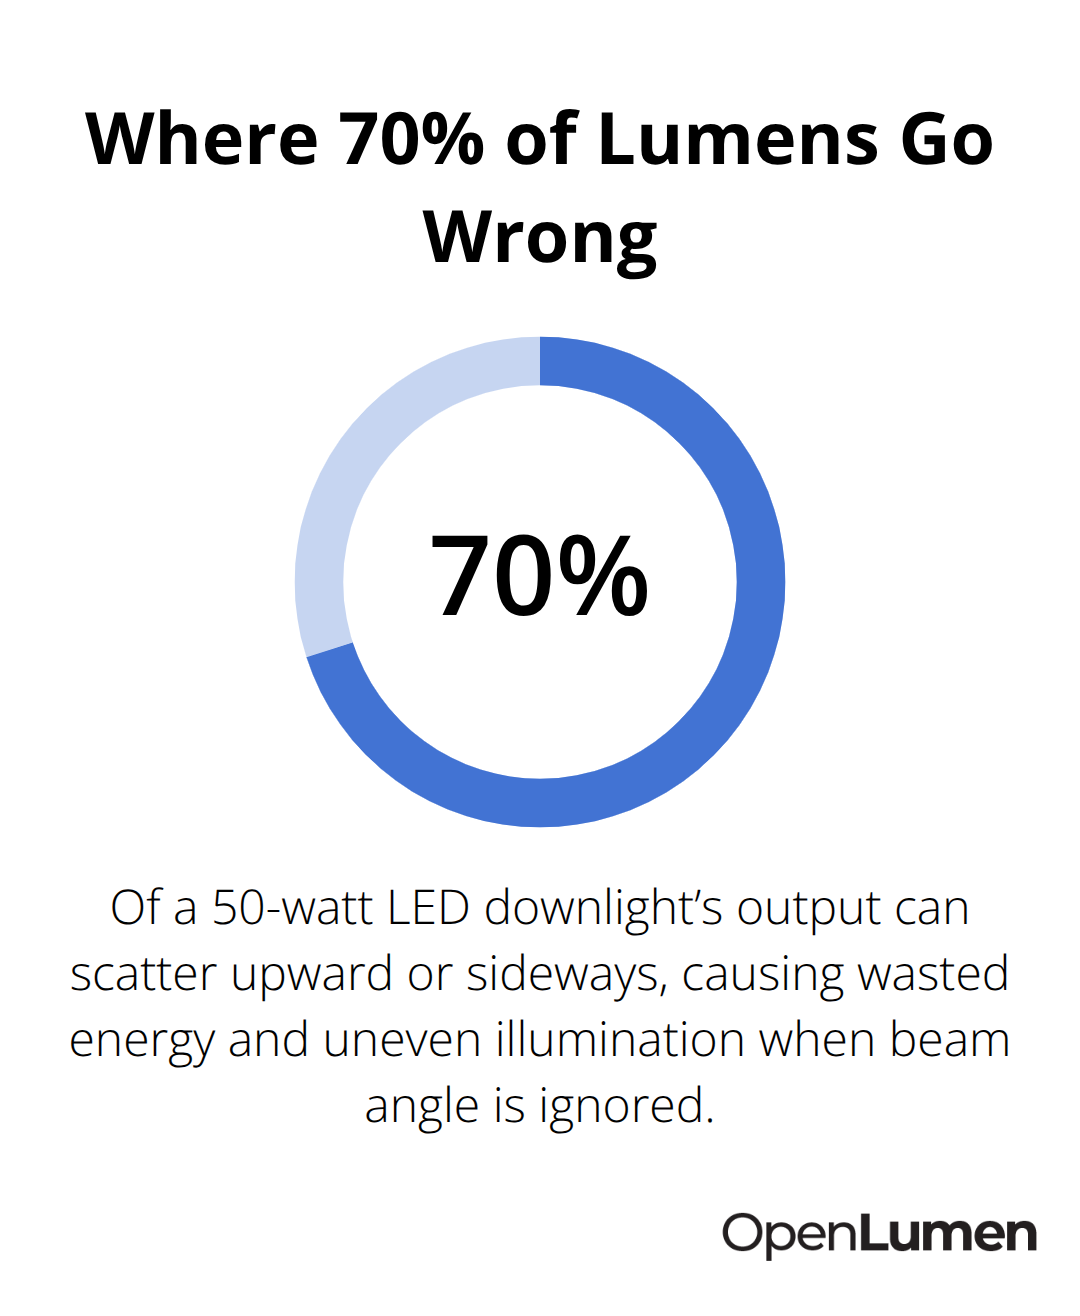
Photometric data includes polar charts, beam spread angles, and zonal lumens-numbers that reveal how a fixture performs at different distances and angles. A polar chart shows light intensity in candelas across 360 degrees, letting you see if a fixture throws light forward, to the sides, or upward. Zonal lumens break down how many lumens land in specific zones, which matters when you need to light a painting or a work surface. Most manufacturers provide this data on spec sheets, but many designers skip it entirely. The reality is simple: if you can’t see the polar chart, you can’t predict the light pattern. A 50-watt LED downlight might deliver 2,500 lumens, but if 70 percent of that light scatters upward or to the sides, you’ve wasted energy and created uneven illumination. Measure beam angle, not just brightness.
Beam Spread Changes Everything in Real Spaces
A 40-degree beam works perfectly in a 9-foot residential ceiling but fails in a 14-foot commercial warehouse. Tight beams create pools of light with harsh shadows between fixtures, forcing you to space them closer and multiply your fixture count. Wide beams spread light evenly but lose intensity at distance, requiring more power to hit illuminance targets. The fix is photometric analysis before you order anything. Calculate the distance from fixture to work plane, then match beam angle to that distance. For a kitchen island 3 feet below a pendant, a 60-degree beam delivers even light across the countertop. For accent lighting on a gallery wall 8 feet away, a 24-degree beam concentrates light on the artwork without spilling onto adjacent walls. This single step prevents the most expensive mistake: installing fixtures, discovering they don’t work, then ripping them out and starting over.
Application Determines Fixture Selection
Task lighting over a desk demands a different fixture than ambient lighting in a living room or accent lighting on a building facade. A task fixture for a workspace needs a 40- to 60-degree beam with color temperature around 4000K to support focus and reduce eye strain. Accent lighting on artwork often uses 24- to 36-degree beams to concentrate light and prevent glare on the surface. Ambient lighting in open spaces uses 100-plus degree beams to distribute light evenly without creating shadows. The mistake happens when one fixture type tries to do everything. A wide-beam downlight cannot serve as task lighting, and a narrow spotlight cannot light an entire room. Before selecting any fixture, define what the light must accomplish. Does it illuminate a work surface, create mood, highlight architecture, or provide general visibility? Each answer points to different beam angles and fixture types. MR and PAR bulbs excel at focused accent work, while A-shape bulbs work better for general ambient light. Matching application to beam angle eliminates most lighting failures before installation even begins.
The next critical step involves understanding how glare and visual comfort affect your design-factors that can make or break the user experience in any space.
Underestimating Glare and Visual Comfort
Direct Glare Reduces Visibility and Productivity
Unshielded high-intensity fixtures create two distinct problems that most designers underestimate. Direct glare happens when light from a fixture enters the eye without obstruction, causing discomfort or vision loss. This isn’t just annoying-it reduces visibility and forces occupants to squint, which increases eye strain and fatigue. A 4000-lumen downlight installed 8 feet above a desk without any shielding produces direct glare that makes screen work miserable, even if the overall illuminance meets code.
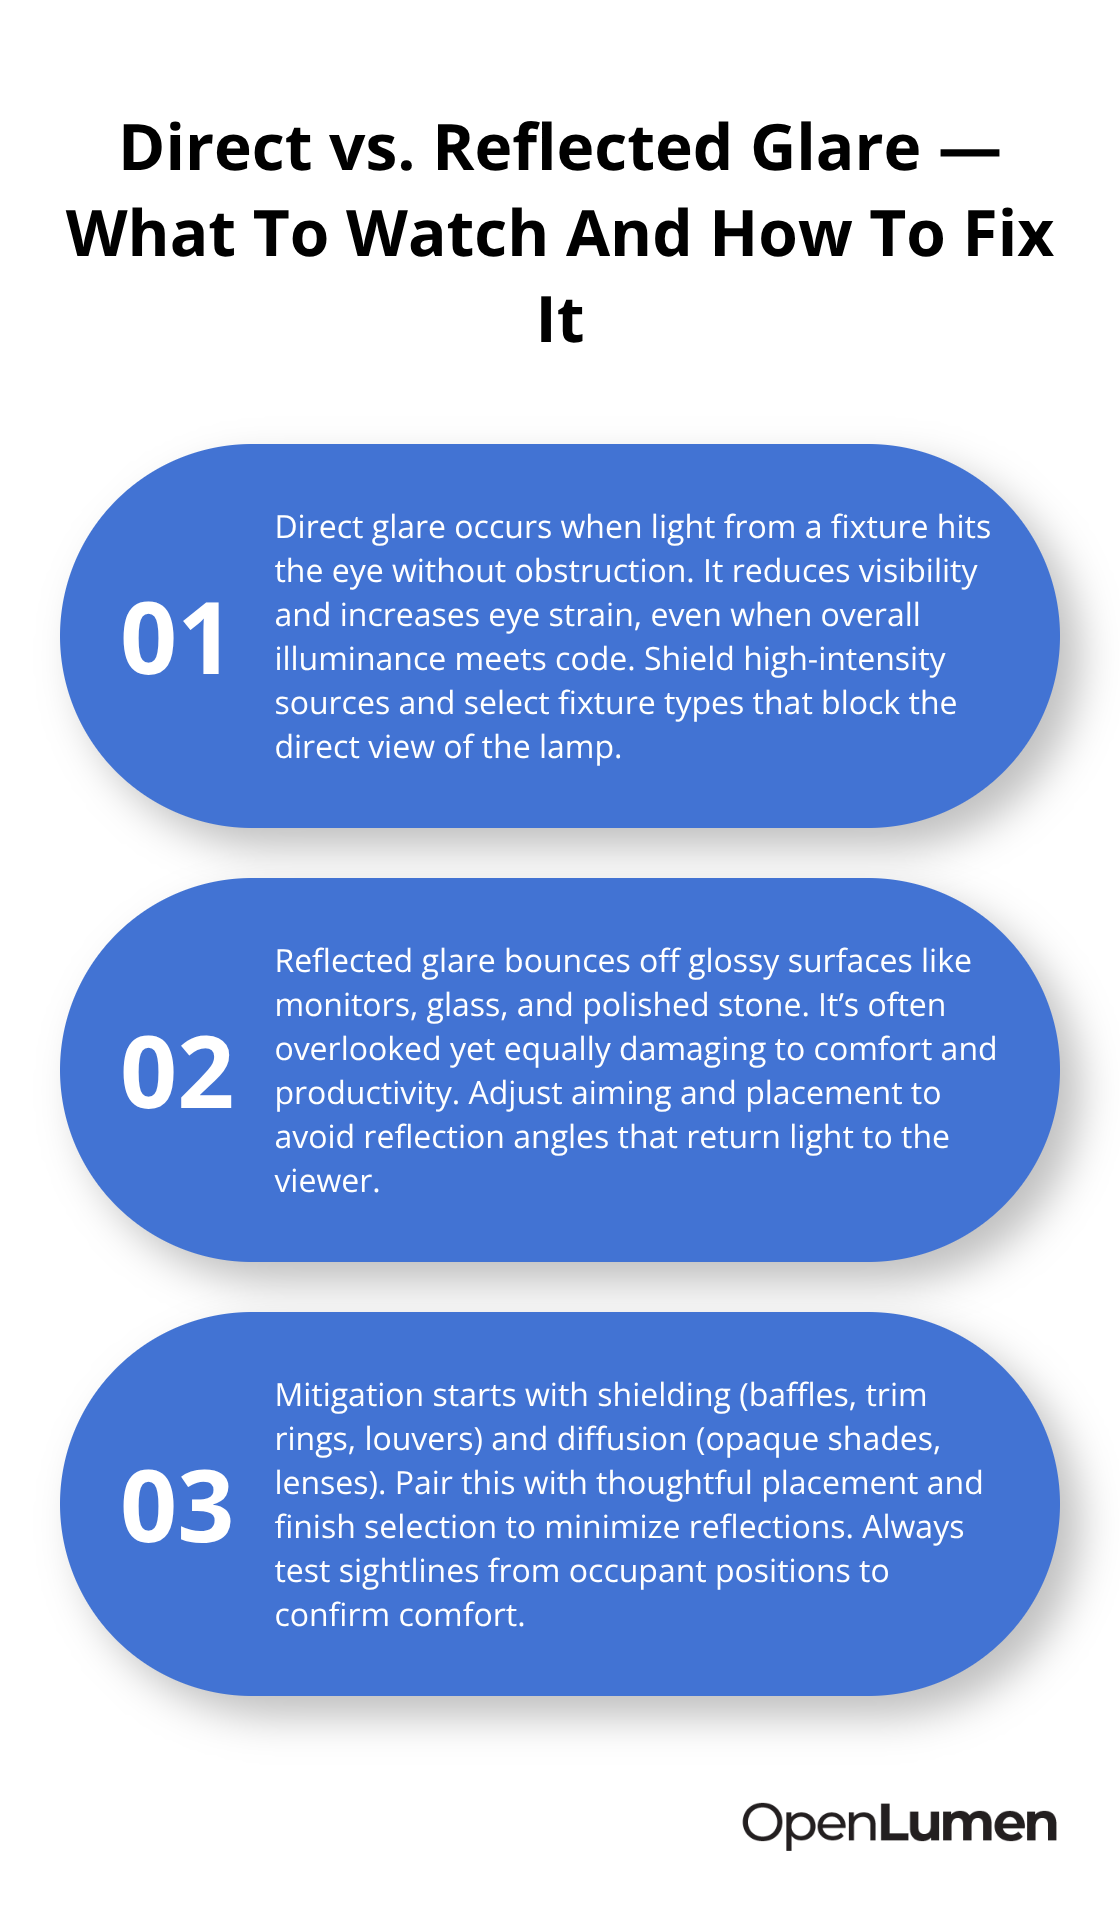
The fix is straightforward: shield high-intensity lights and choose fixture types that match the space. Recessed downlights in retail need baffles or trim rings to block the direct view of the lamp. Pendant fixtures over counters need diffusers or opaque shades. A 50-watt LED spotlight aimed at artwork requires a lens or louver to prevent glare on glass-covered frames. Without these shields, you’ve created a lighting system that technically meets illuminance numbers but fails at user comfort.
Reflected Glare Damages Productivity in Hidden Ways
Reflected glare bounces off surfaces like glass, polished stone, or glossy finishes and travels back to the eye at uncomfortable angles. A desk lamp reflecting off a computer monitor creates reflected glare that’s harder to detect than direct glare but just as damaging to productivity. Most designers focus on direct glare and miss this second problem entirely. The solution requires two steps: position fixtures to avoid reflection angles, and specify matte or semi-gloss finishes on work surfaces when possible. In offices with glass partitions, move task lighting away from angles that reflect toward seated workers. In retail environments with polished floors, lower the angle of accent lights to prevent light from bouncing back at eye level. Test your layout by standing where occupants will sit or work, then look for any bright reflections in mirrors, screens, or shiny surfaces. If you see a reflection of the fixture, occupants will too.
Color Temperature Consistency Prevents Visual Conflict
Color temperature consistency across connected spaces separates professional lighting from amateur work. Warm white at 2700K in a living room looks inviting, but if the kitchen directly adjacent runs 4000K, the transition feels jarring and the kitchen feels clinical. Most designers pick color temperature for individual rooms without considering sightlines between spaces. A hallway connecting a 2700K bedroom to a 4000K bathroom creates visual conflict that registers as wrong, even if occupants can’t articulate why. The solution is planning color temperature strategy early, not fixture by fixture. In residential projects, hold 2700K throughout living areas and bedrooms, then shift to 3000K maximum in kitchens and bathrooms if task lighting demands it. In commercial spaces, 4000K works across open offices and corridors, but conference rooms and lounges benefit from dropping to 3000K to create distinction without visual clash. This requires specifying color temperature on every fixture schedule before ordering, then verifying it during installation. Many projects fail because electricians receive fixture orders without color temperature notes, then mix whatever stock arrives on the truck. A single 5000K floodlight in a 2700K retail environment creates an obvious error that damages the entire design. Lock down color temperature in writing, verify it during site visits, and you eliminate one of the most visible mistakes in lighting projects.
These glare and comfort issues reveal a deeper problem: most lighting designs lack the analysis needed to catch these errors before installation. The next section shows why planning and testing separate successful projects from costly failures.
Poor Planning and Inadequate Analysis
Illuminance Calculations Separate Professional Design From Guesswork
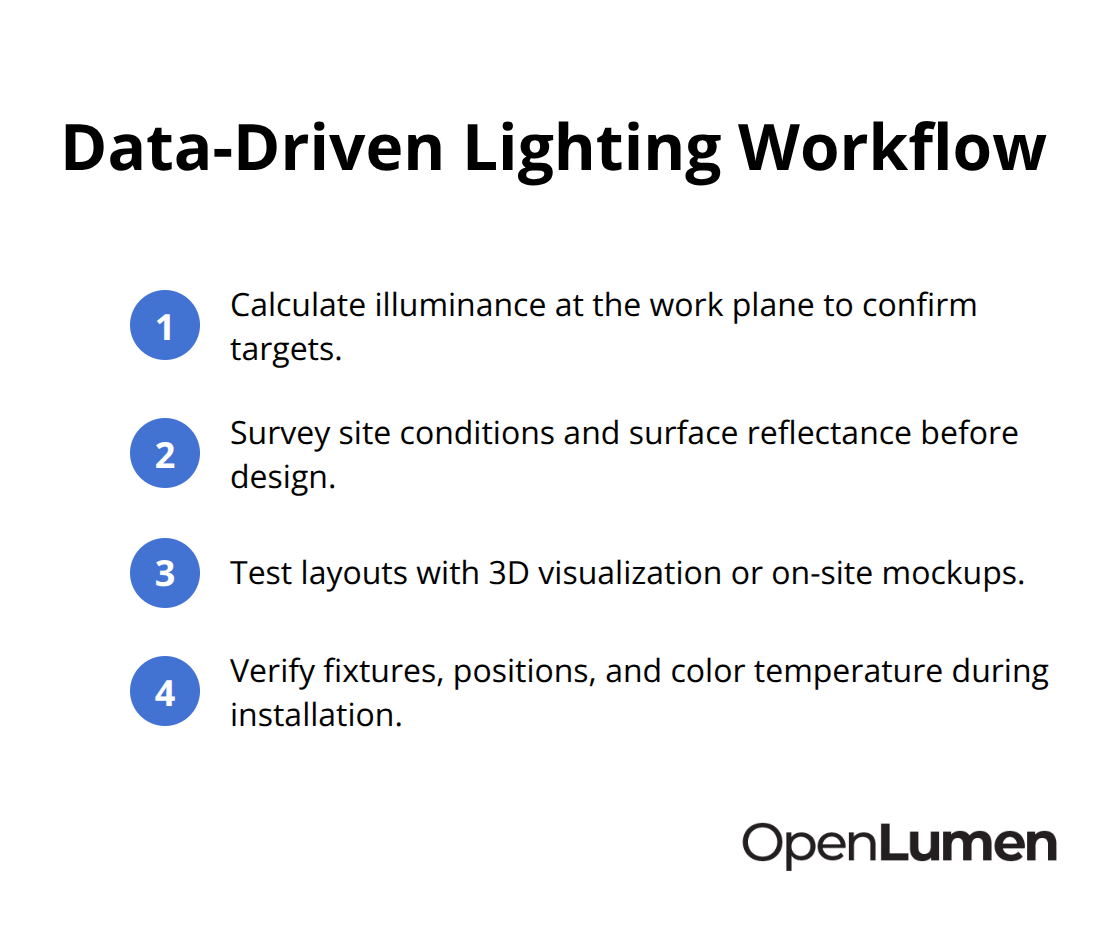
Illuminance calculations reveal whether your fixture layout actually hits performance targets. A 500-lux target for office task areas sounds straightforward until you account for fixture placement, room reflectance, and maintenance factor-variables that determine whether you succeed or fail. Most designers skip calculations and rely on rules of thumb like spacing fixtures at 1.5 times their mounting height. This approach occasionally works by accident but collapses when ceiling height, surface finishes, or application change. A retail space with 9-foot ceilings and white walls reflects light differently than a warehouse with 16-foot ceilings and dark concrete. Without calculating illuminance at the work plane, you cannot predict performance. The International Commission on Illumination provides recommended illuminance levels for specific tasks, and standards like IESNA LM-83 define how to measure and verify them. Running calculations before ordering fixtures costs nothing but reveals whether your layout delivers adequate light or wastes energy on oversized installations.
Site Surveys Catch Hidden Obstacles Before Design Begins
Site surveys identify obstacles that floor plans never show. Most projects start with a floor plan and nothing else, then electricians arrive to discover HVAC ducts, structural beams, or existing cable runs that block fixture placement. A survey identifying these conditions before design saves weeks of rework and prevents costly installation delays. Existing finishes affect light behavior dramatically. A space with dark wood paneling reflects far less light than one with white drywall, changing how many fixtures you need and where to position them. Without walking the space and assessing surface colors, material textures, and existing ambient light from windows, your calculations become fiction. Surface reflectance values (typically 10–90 percent depending on material and color) directly impact how many lumens reach the work plane. A designer who skips this step and relies on assumptions will either oversupply fixtures and waste energy or undersupply them and create dark zones.
Testing Designs Before Installation Prevents Expensive Rework
Testing designs before installation stops the most expensive mistakes. Teams that calculate layouts on paper or basic software often discover during installation that the design fails to perform. A 3D photometric visualization shows exactly where light lands and how bright it appears before any fixture gets ordered. This step catches errors like overlapping coverage zones, dark corners, and glare problems that spreadsheets miss. Some teams mock up critical areas using temporary fixtures, which costs time upfront but saves far more in avoided rework. A designer testing a kitchen island layout with a single pendant fixture discovers quickly whether the beam angle creates shadows or even illumination. Testing also reveals how color temperature transitions between spaces feel in reality, not just in theory. A 2700K living room looks warm in isolation but jarring next to a 4000K kitchen when you stand in the actual space.
Verification During Installation Confirms Design Accuracy
Verification during installation confirms that fixtures match specifications and that electricians positioned them correctly. Site visits confirm that fixtures arrived at correct color temperatures and that crews mounted them within specified tolerances. Many projects fail because no one verifies that work matches the design. A fixture mounted 6 inches off-axis from specification changes beam coverage enough to create dark zones. Checking fixture positioning, color temperature, and illuminance on-site costs a few hours but prevents handing over a failed project. Design confidence comes from data, not assumptions. Illuminance calculations, site surveys, and mockups add process time but eliminate the catastrophic failures that plague rushed projects. Tools like OpenLumen streamline this workflow by letting you run real-time illuminance analysis and generate photometric layouts without expensive software, so teams can validate designs faster and catch errors before installation begins.
Conclusion
Common lighting mistakes stem from one problem: teams make design decisions without data. Ignoring beam angles, underestimating glare, and skipping calculations feel like shortcuts, but they create expensive failures that cost far more to fix than prevention would have cost upfront. Every mistake discussed here vanishes when you follow a process that starts with photometric data, includes site assessment, and validates designs before installation.
Successful lighting projects require three core practices. First, understand how light actually behaves in your specific space by reviewing photometric data and calculating illuminance at the work plane. Second, assess existing conditions on-site to identify obstacles and surface finishes that affect light distribution. Third, test your design before ordering fixtures so you catch errors while changes remain free.
Data-driven decisions eliminate the guessing that leads to oversized installations, dark zones, glare problems, and color temperature conflicts. OpenLumen lets you run real-time illuminance analysis, access photometric data instantly, and generate professional reports without expensive software or technical barriers. Start designing with data, not assumptions, and watch your project success rate climb.
The information provided is for general educational purposes only and should not be considered professional engineering or lighting design advice. Always verify project requirements, local codes, and specifications with qualified professionals before making final decisions.


